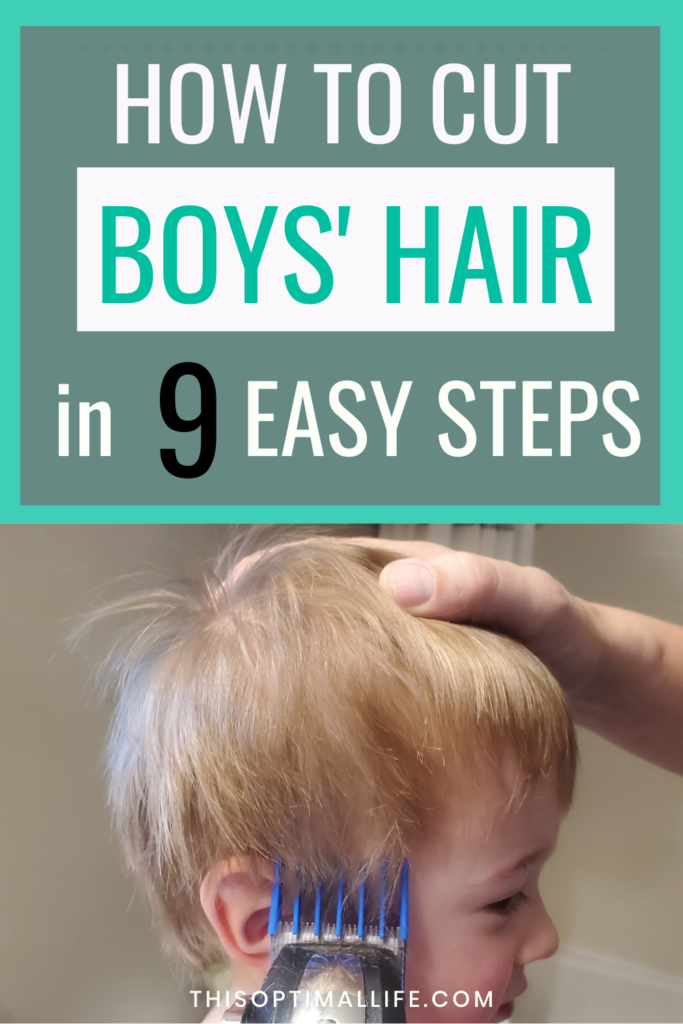
The Easy and Affordable Way to Cut Boys’ Hair At Home
Looking for a way to save money? If you have sons, try cutting their hair at home! For a busy mom, these are great home life hacks and money saving hacks! If you’re interested in learning about DIY boy haircuts and haircuts for boys, keep reading!
If you have sons (and particularly sons who like to keep their hair short), the monthly trips to the salon can be very expensive and time-consuming. We have two boys, and it’s crazy how fast their hair grows. So we had to learn how to cut boys hair at home! I’m telling you, learning how to cut boys hair with clippers was a gamechanger.
Luckily, my husband has become an expert at cutting his own hair over the years. He likes to keep it very short and is able to cut it every 2-3 weeks this way. This made it very easy for him to also feel confident enough to cut our sons’ hair!
It isn’t always perfect, especially since the kids sometimes struggle to sit still. However, I think the quality of the cuts are just right for my 2 and 4 year old. I am sure that once they’re older they may want more sophisticated cuts, but for now we are enjoying this money saving hack!
Materials Needed for DIY Haircuts for Boys
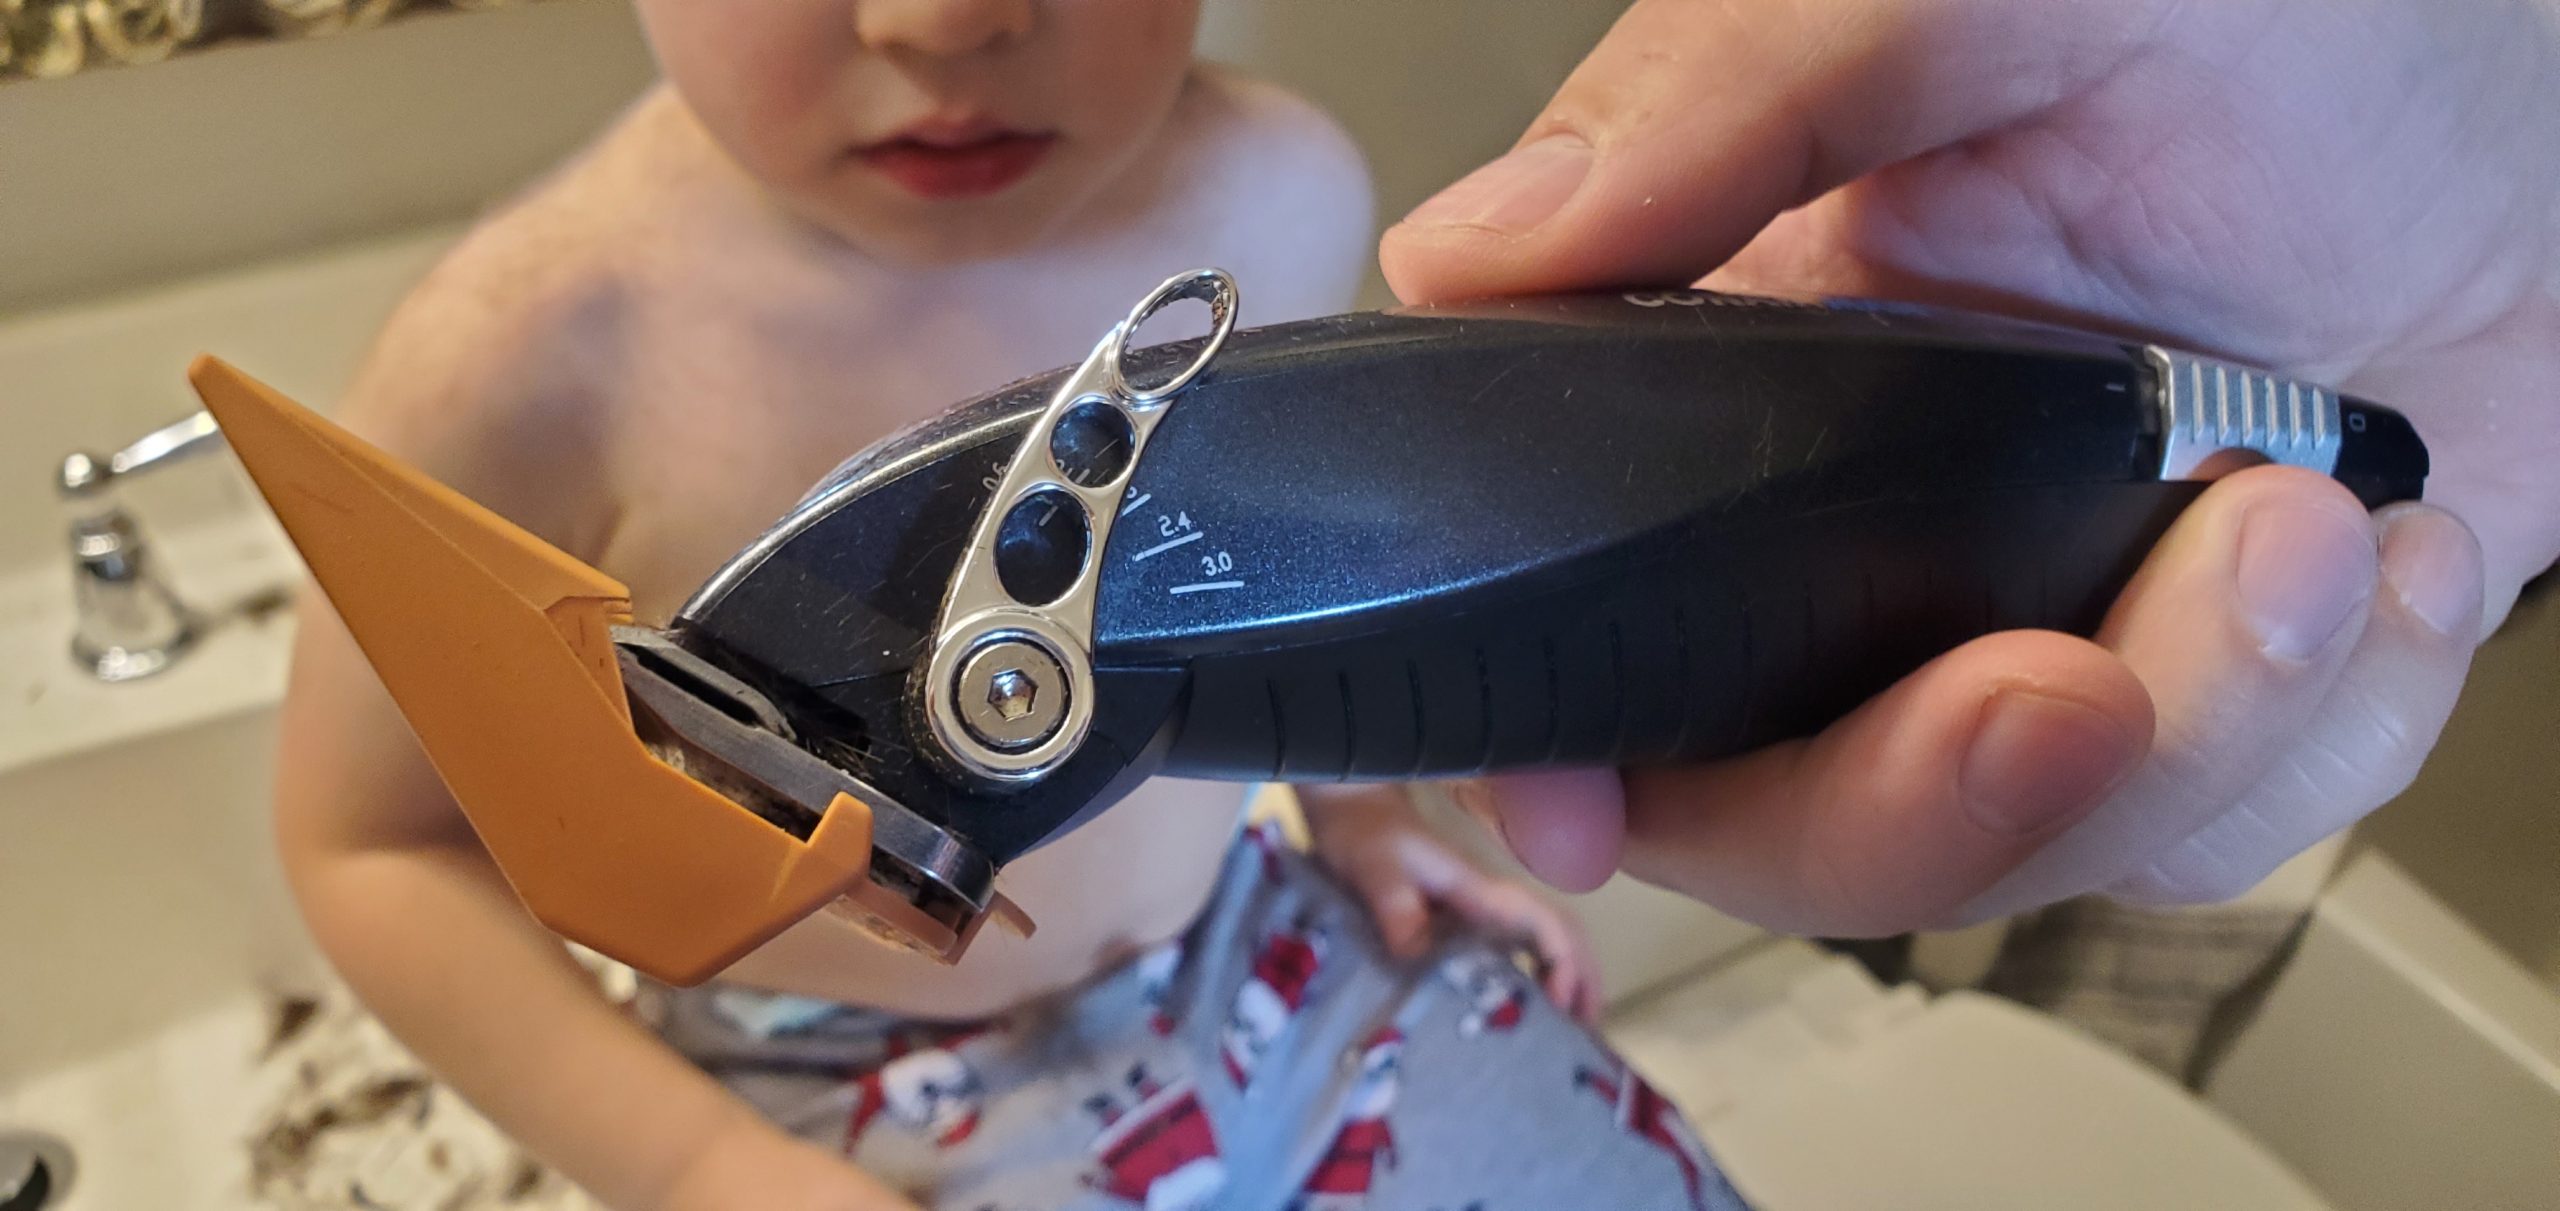
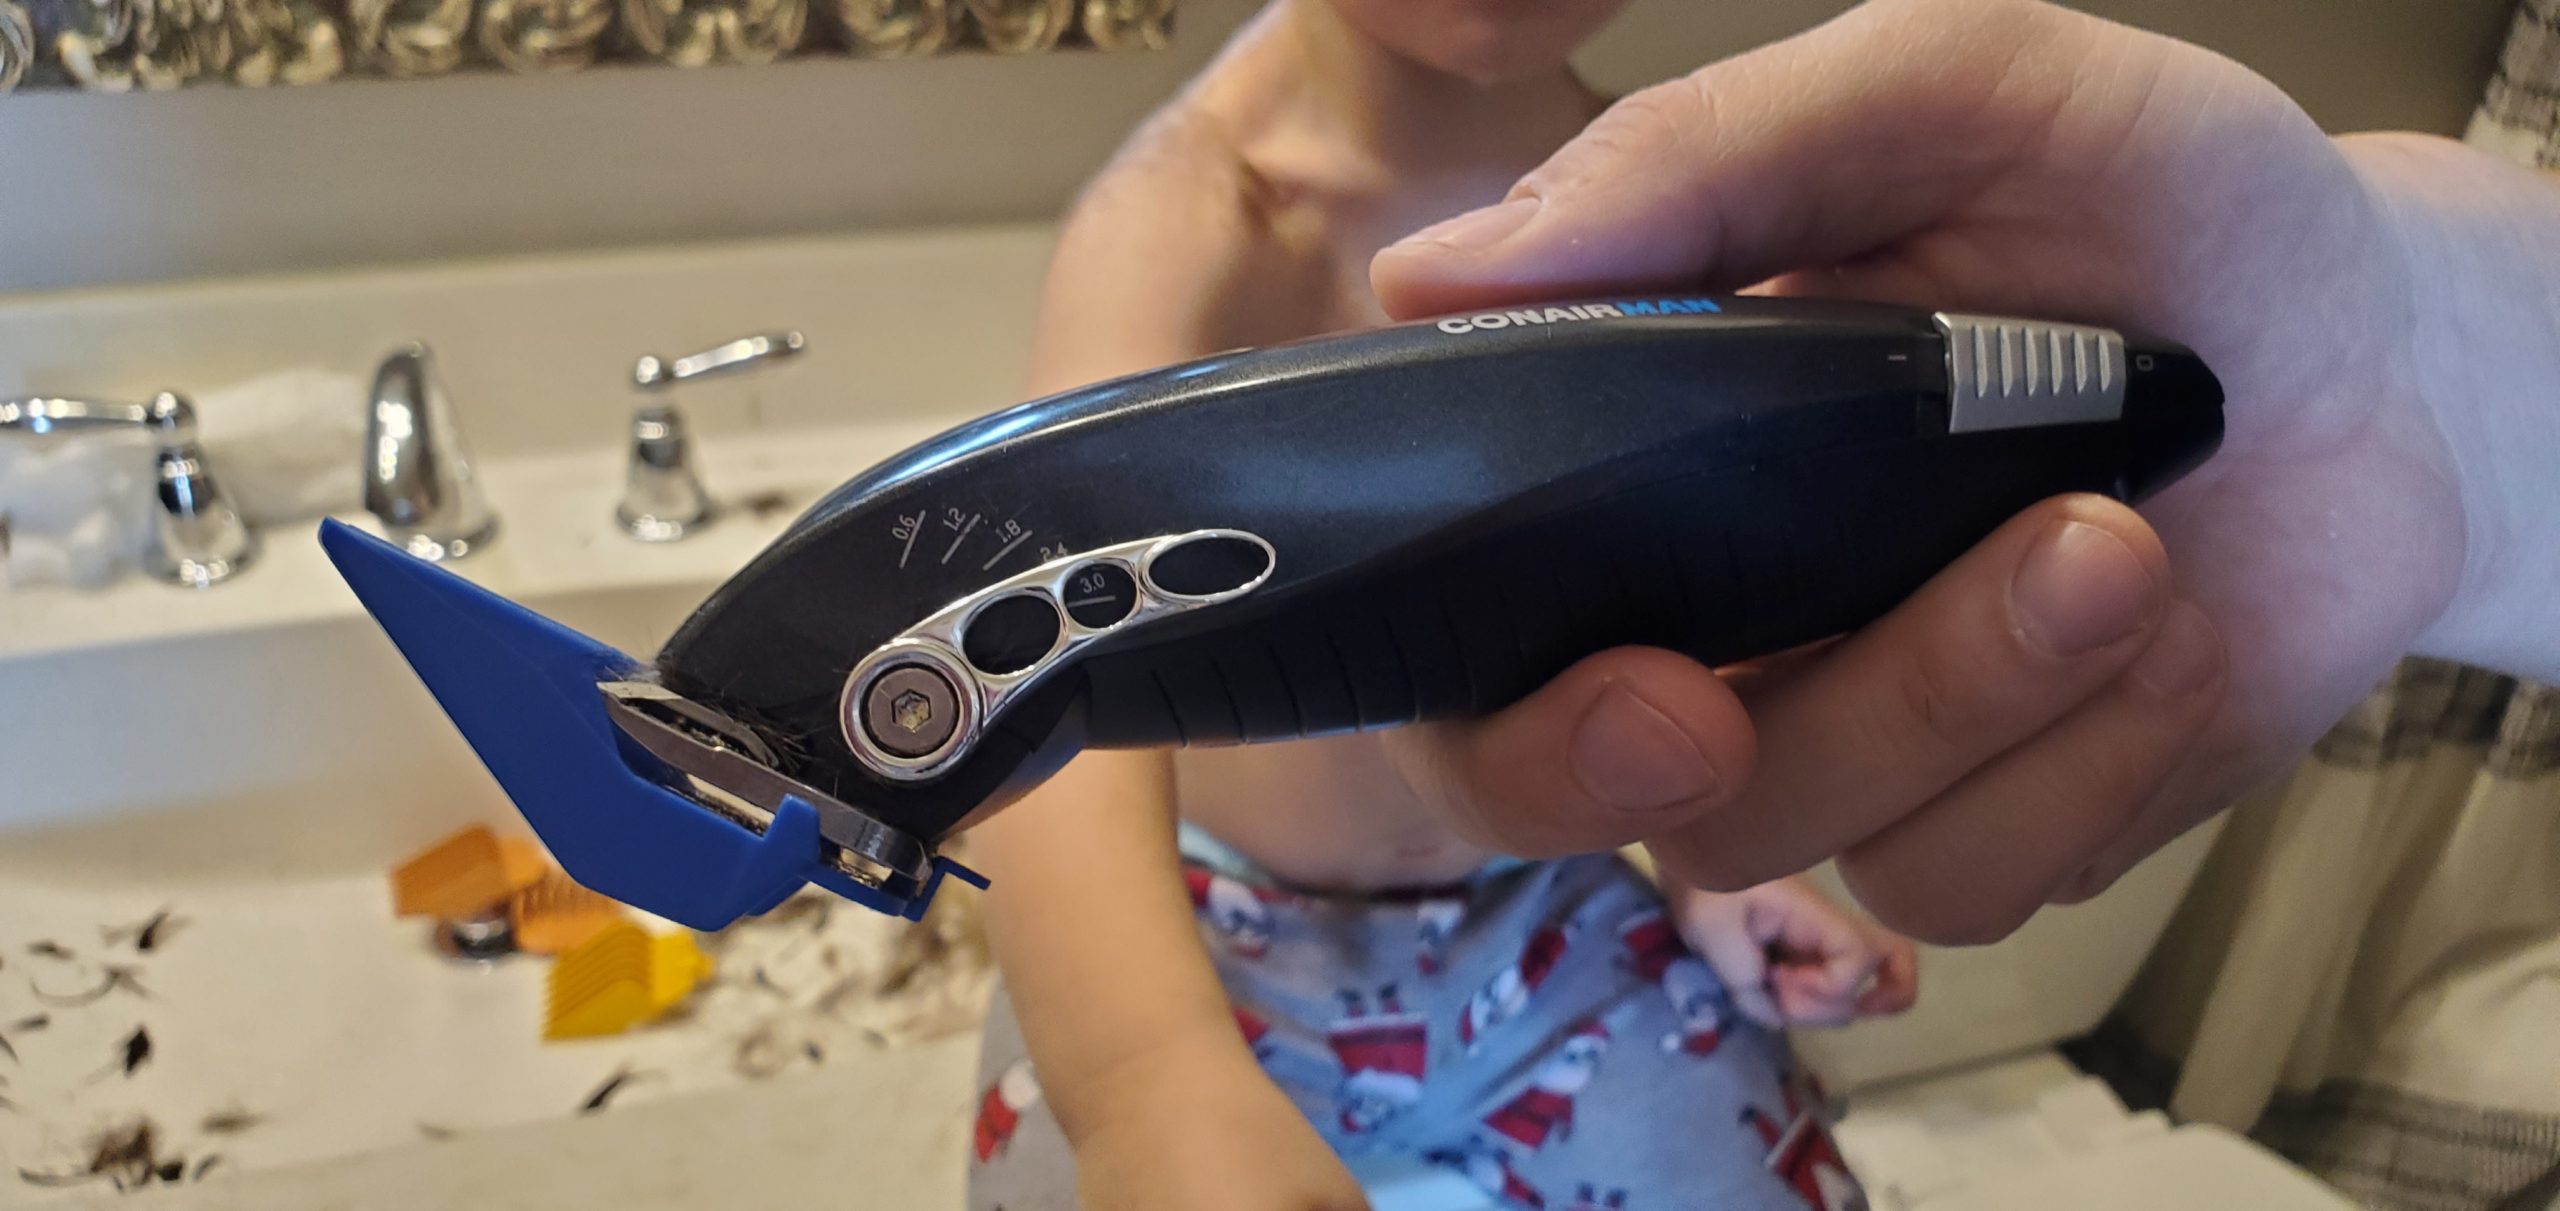
- Clippers
- ClipperGuards
- Hair-cutting Scissors
- Apron
- (Optional) a tablet or phone to occupy the kids with a show
How to Cut Boys’ Hair
You have 3 main areas to cut for a boy: the sides, the top, and the bangs. The steps below are what we do to save hundreds of dollars and many hours of time that would have been spent at the barber shop.
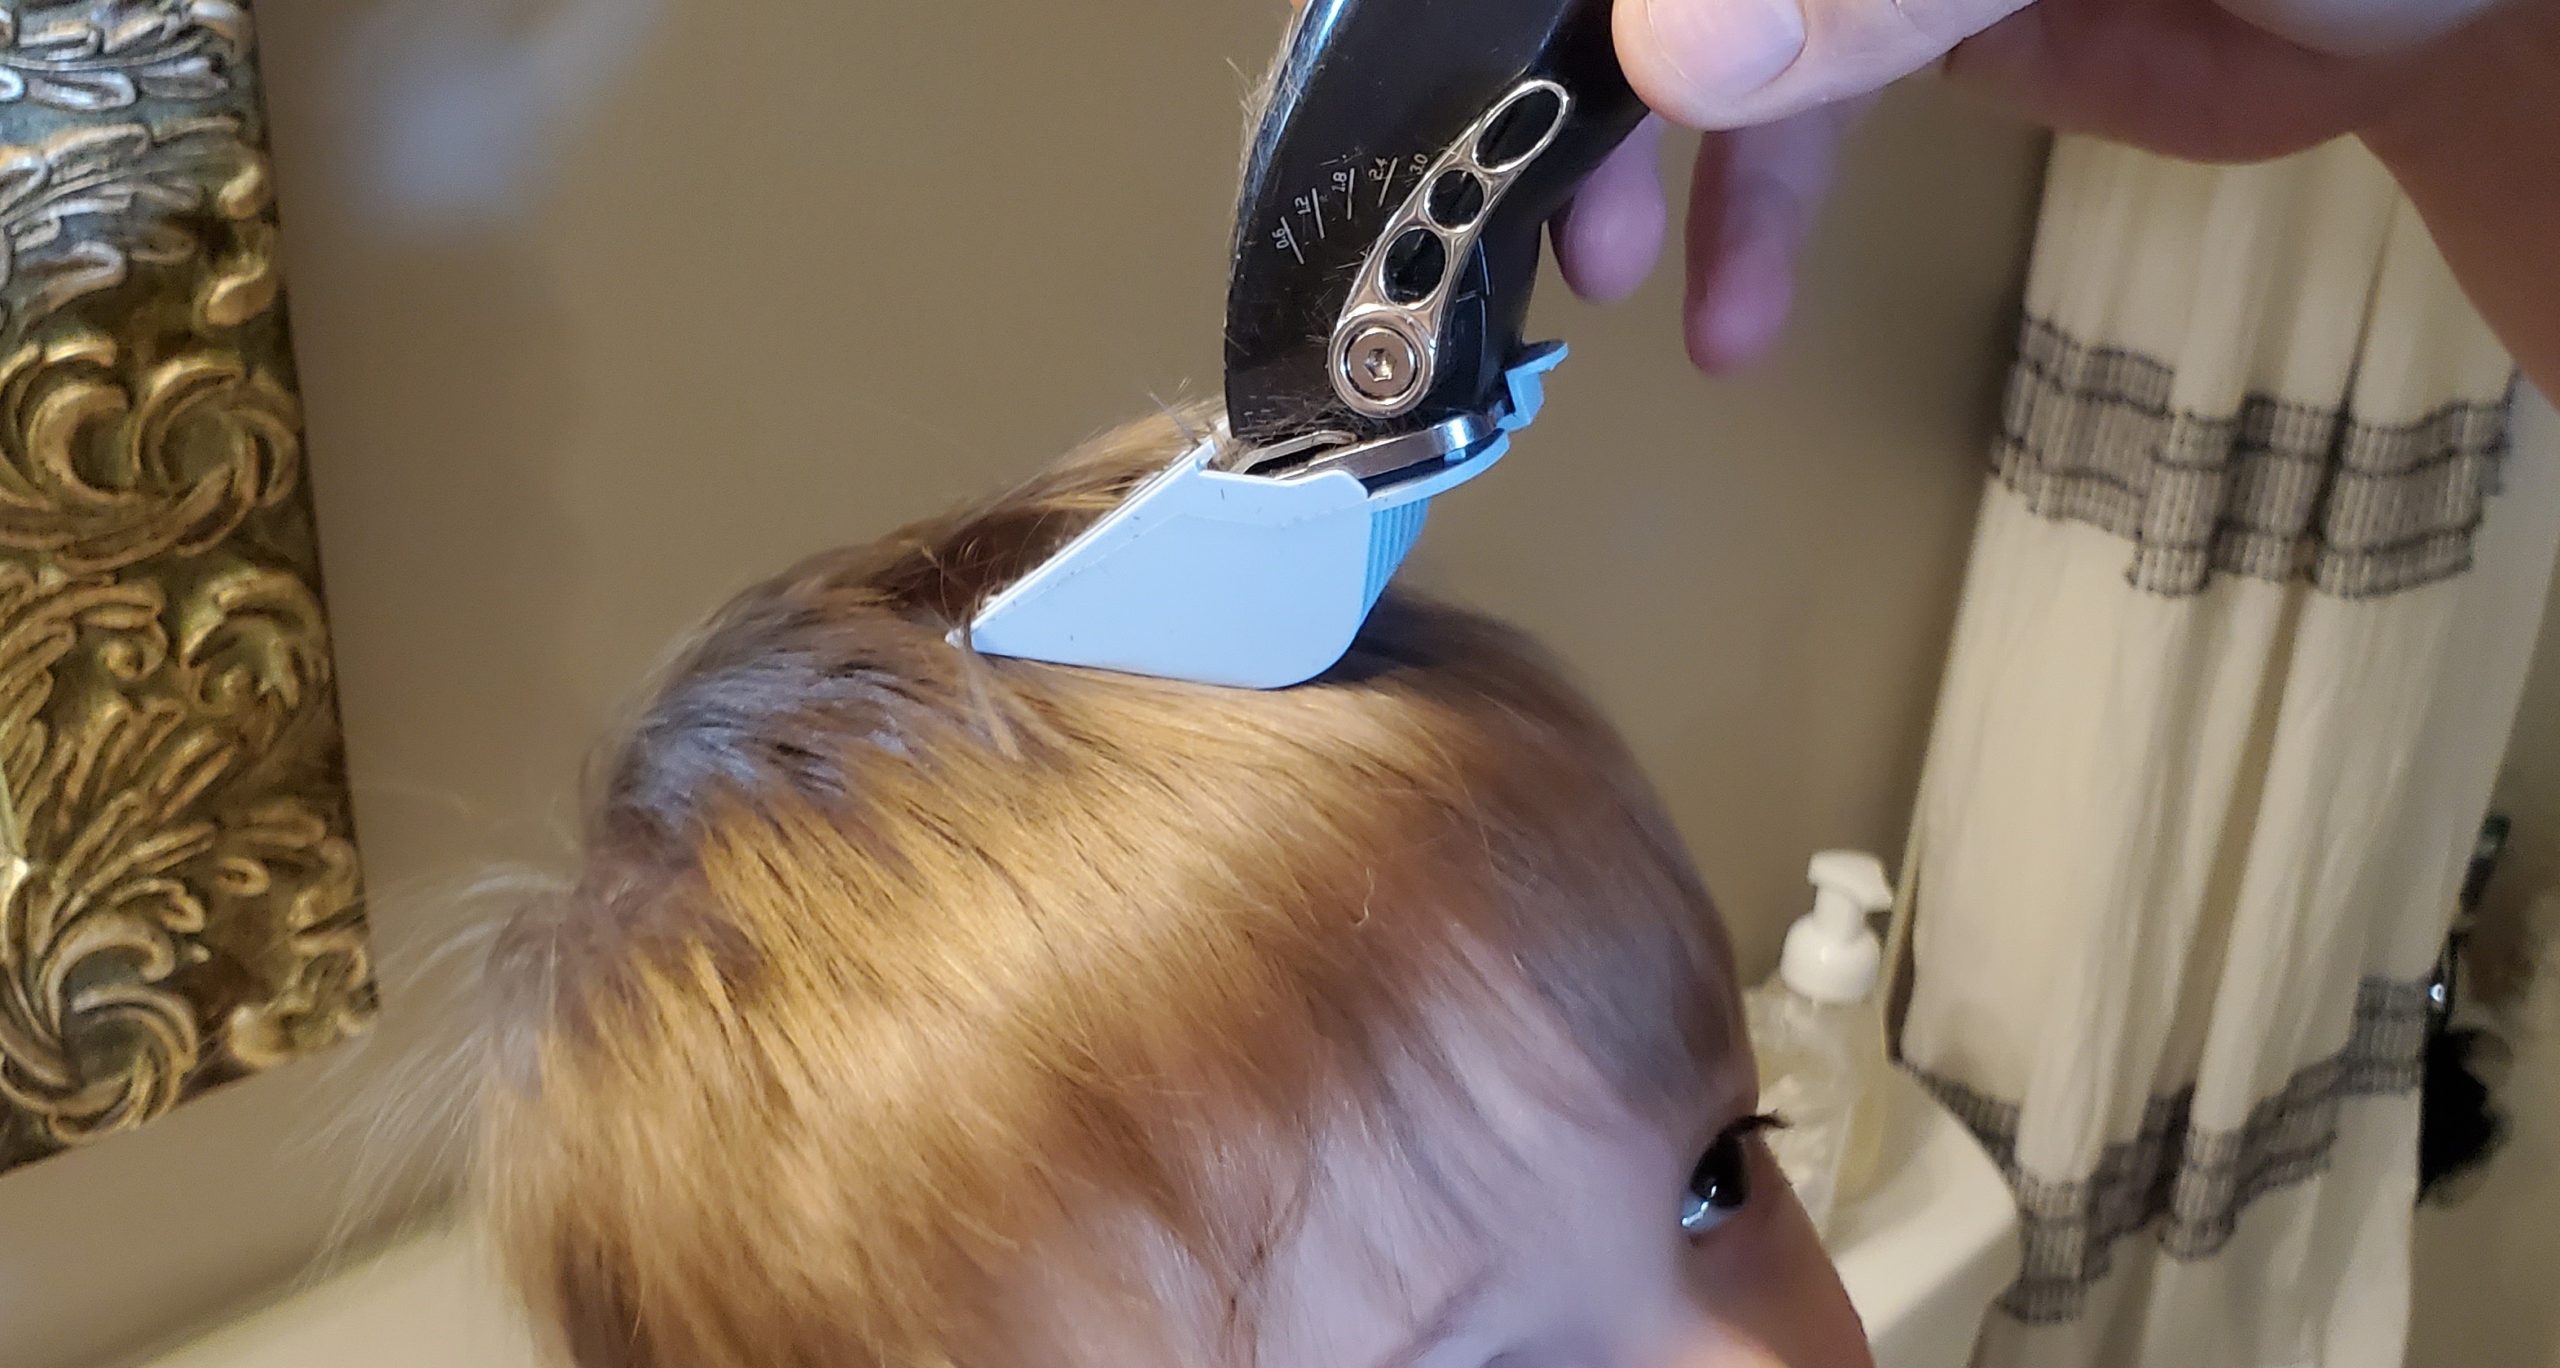
- To cut the sides, we cut in levels going up. For us, we started with a number 2 and worked our way up to a number 4 on the sides. You can play around with different numbers based on how long you like the sides.
- Starting from the bottom, place your taper at the lowest level and make your way around the sides. For your first cut, I would suggest cutting lower on the head till you get used to it. We will be fading our way up so if you cut too far up the head to start, you will not have enough room to fade it up and will have a very short haircut.
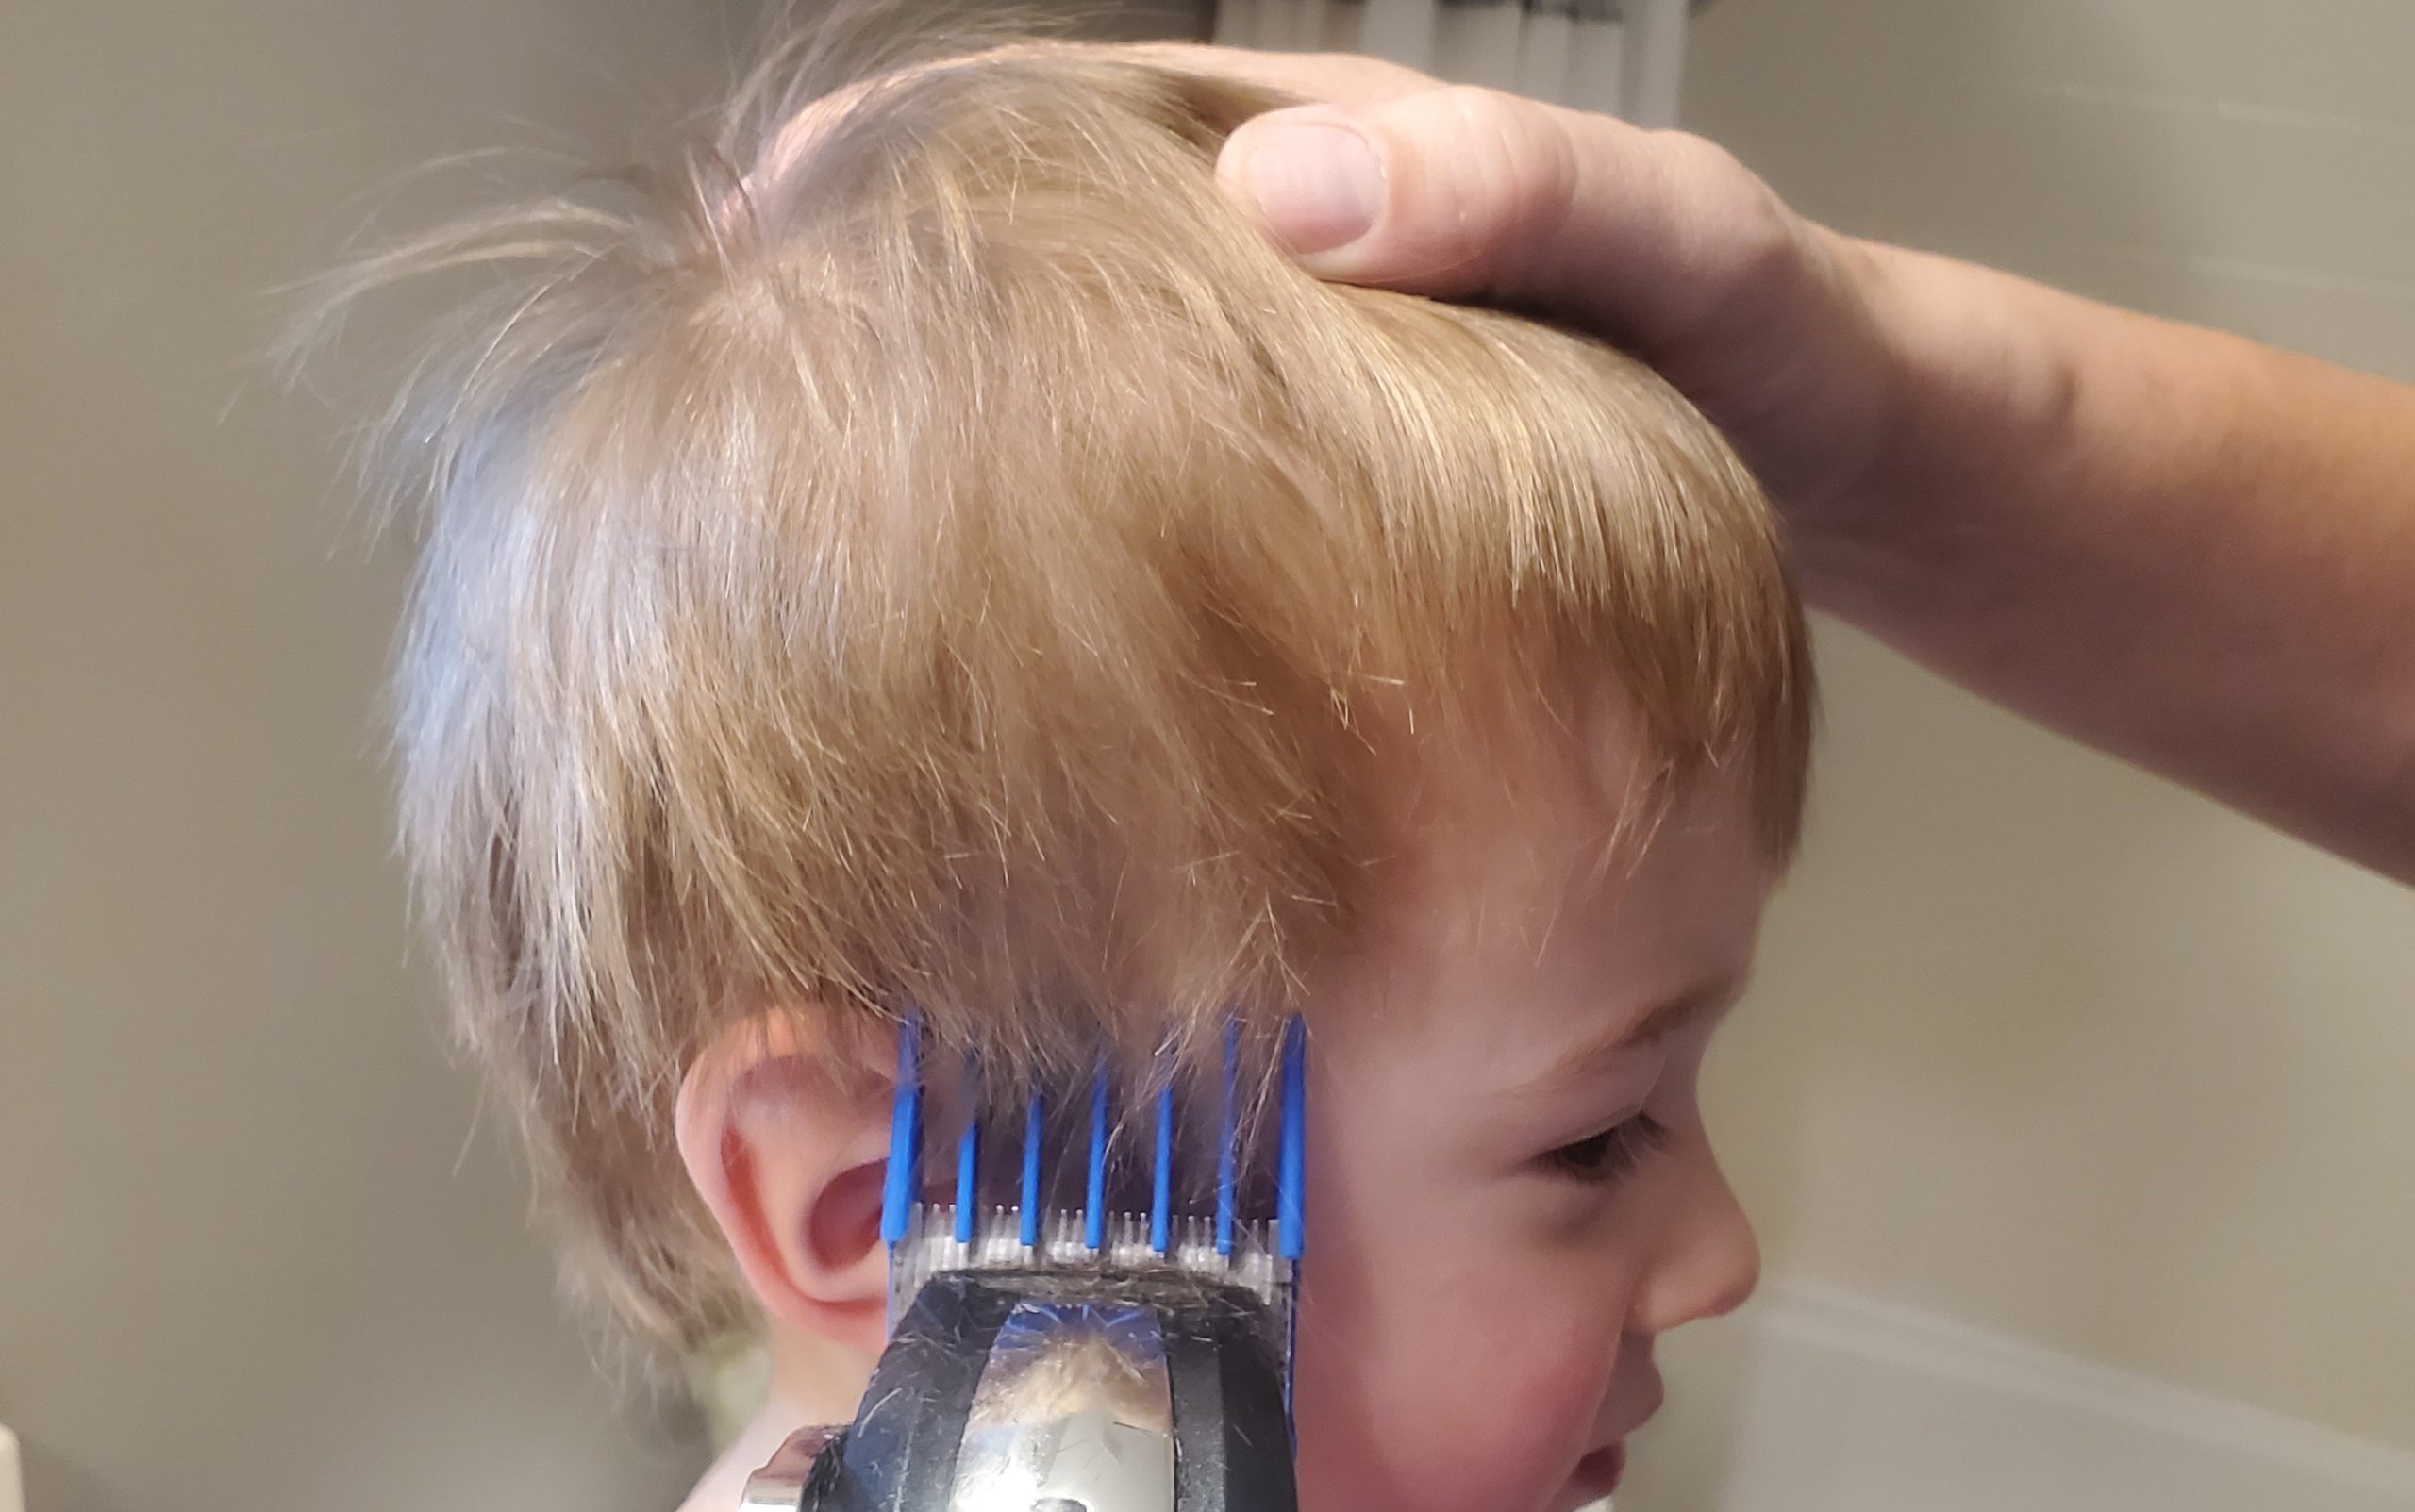
- As you work on the sides, keep in mind how high you cut and try to keep it even on the left and right sides. For the back, I would drop the level slightly as you go back (not a straight ring around the head but dips a little at the back)
- Once you make the first round, move up to the next number and make the next ring around the sides.
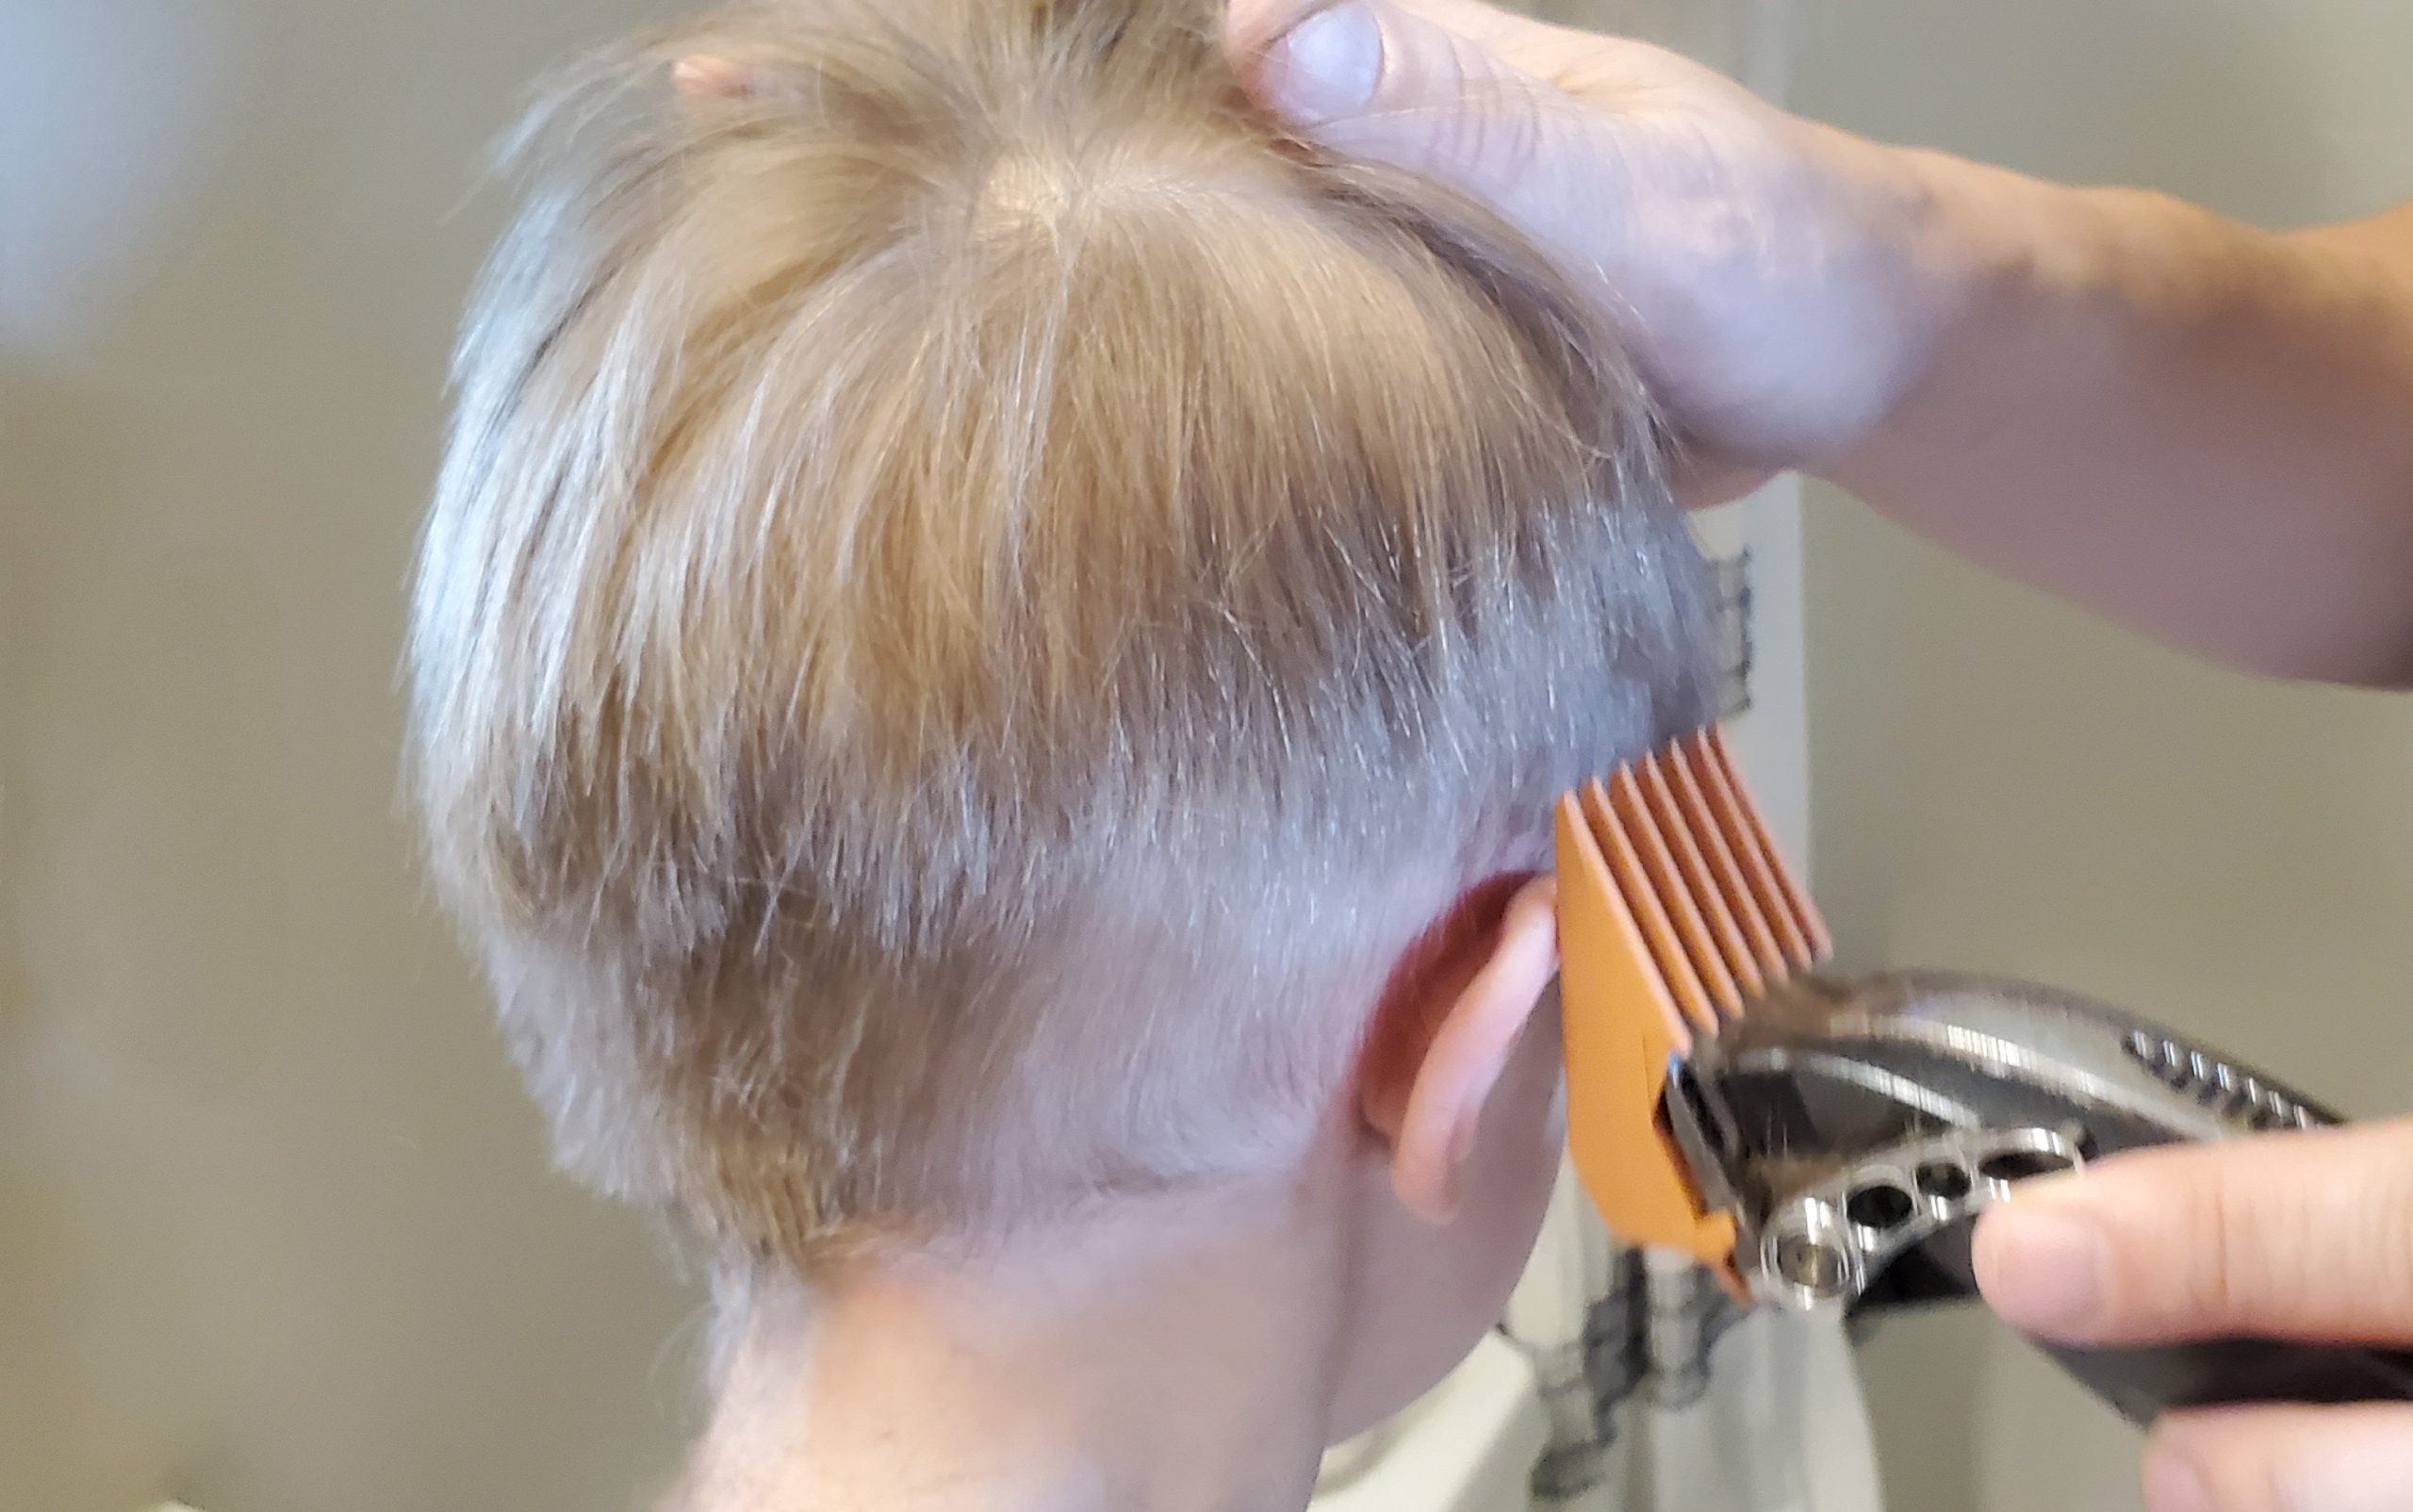
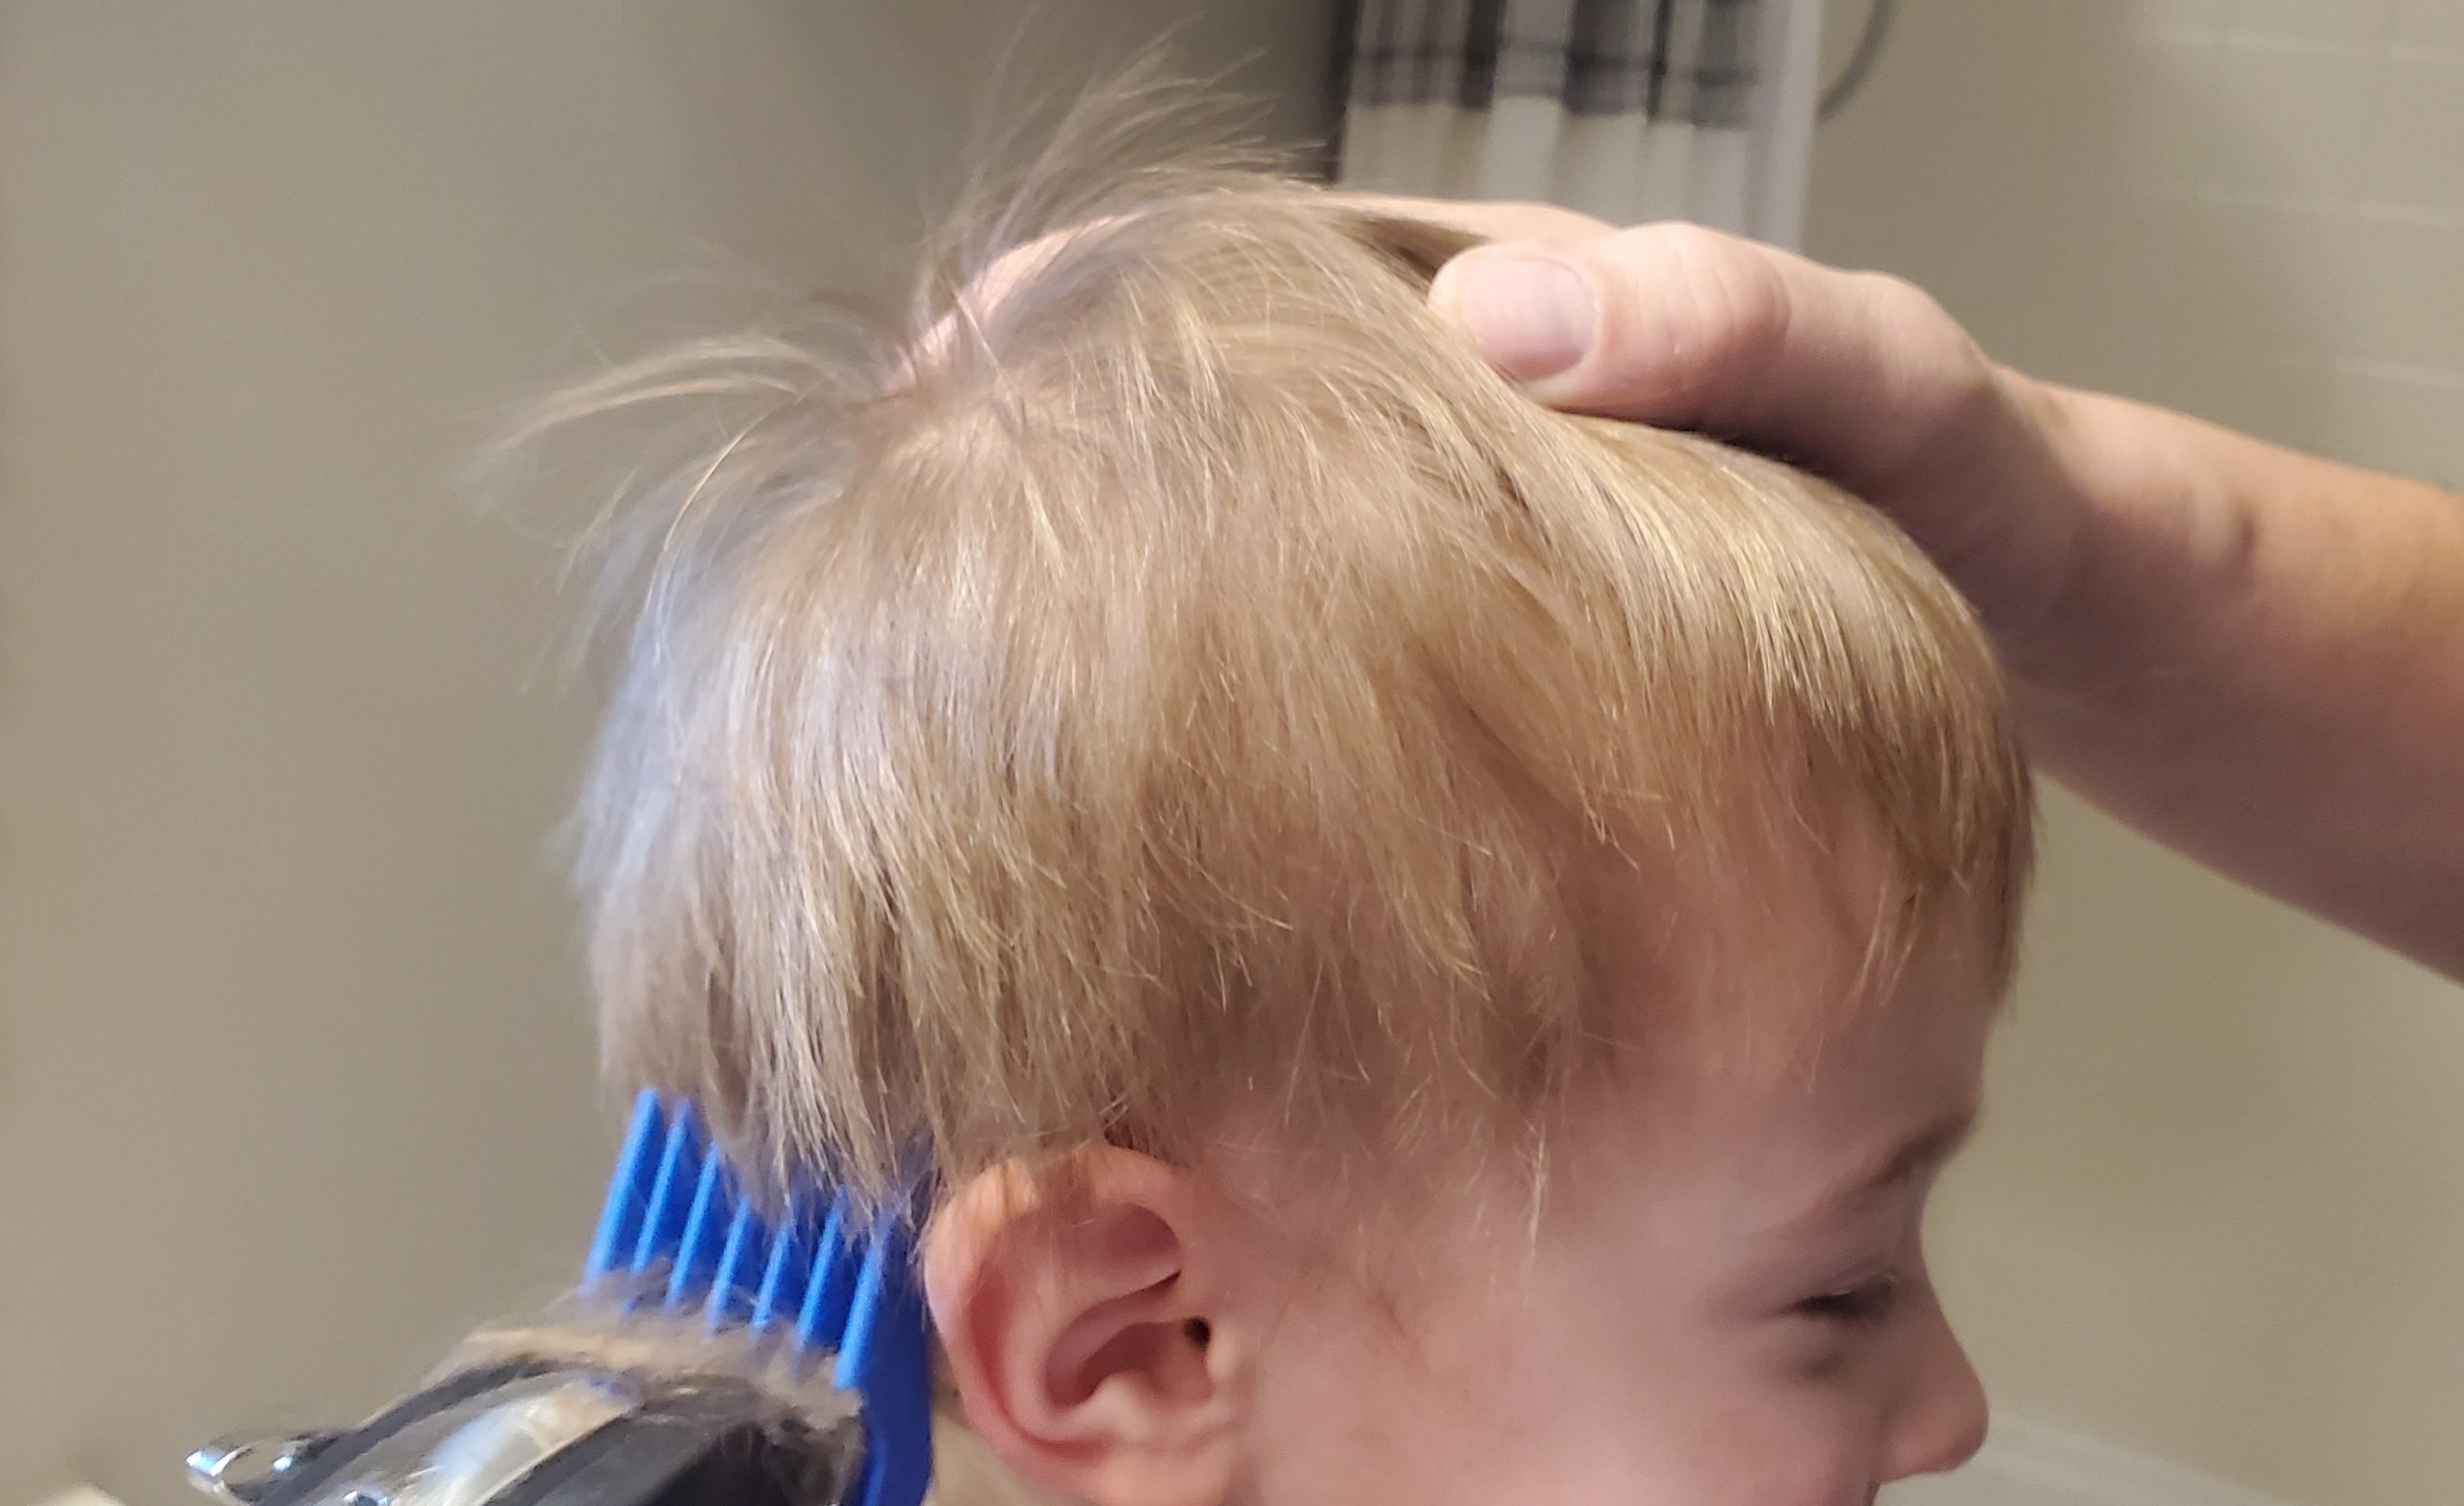
It is normal to have clear distinctions between levels. We will come back to that in a sec to blend them. From here, add clips till you make your way to the top of the sides.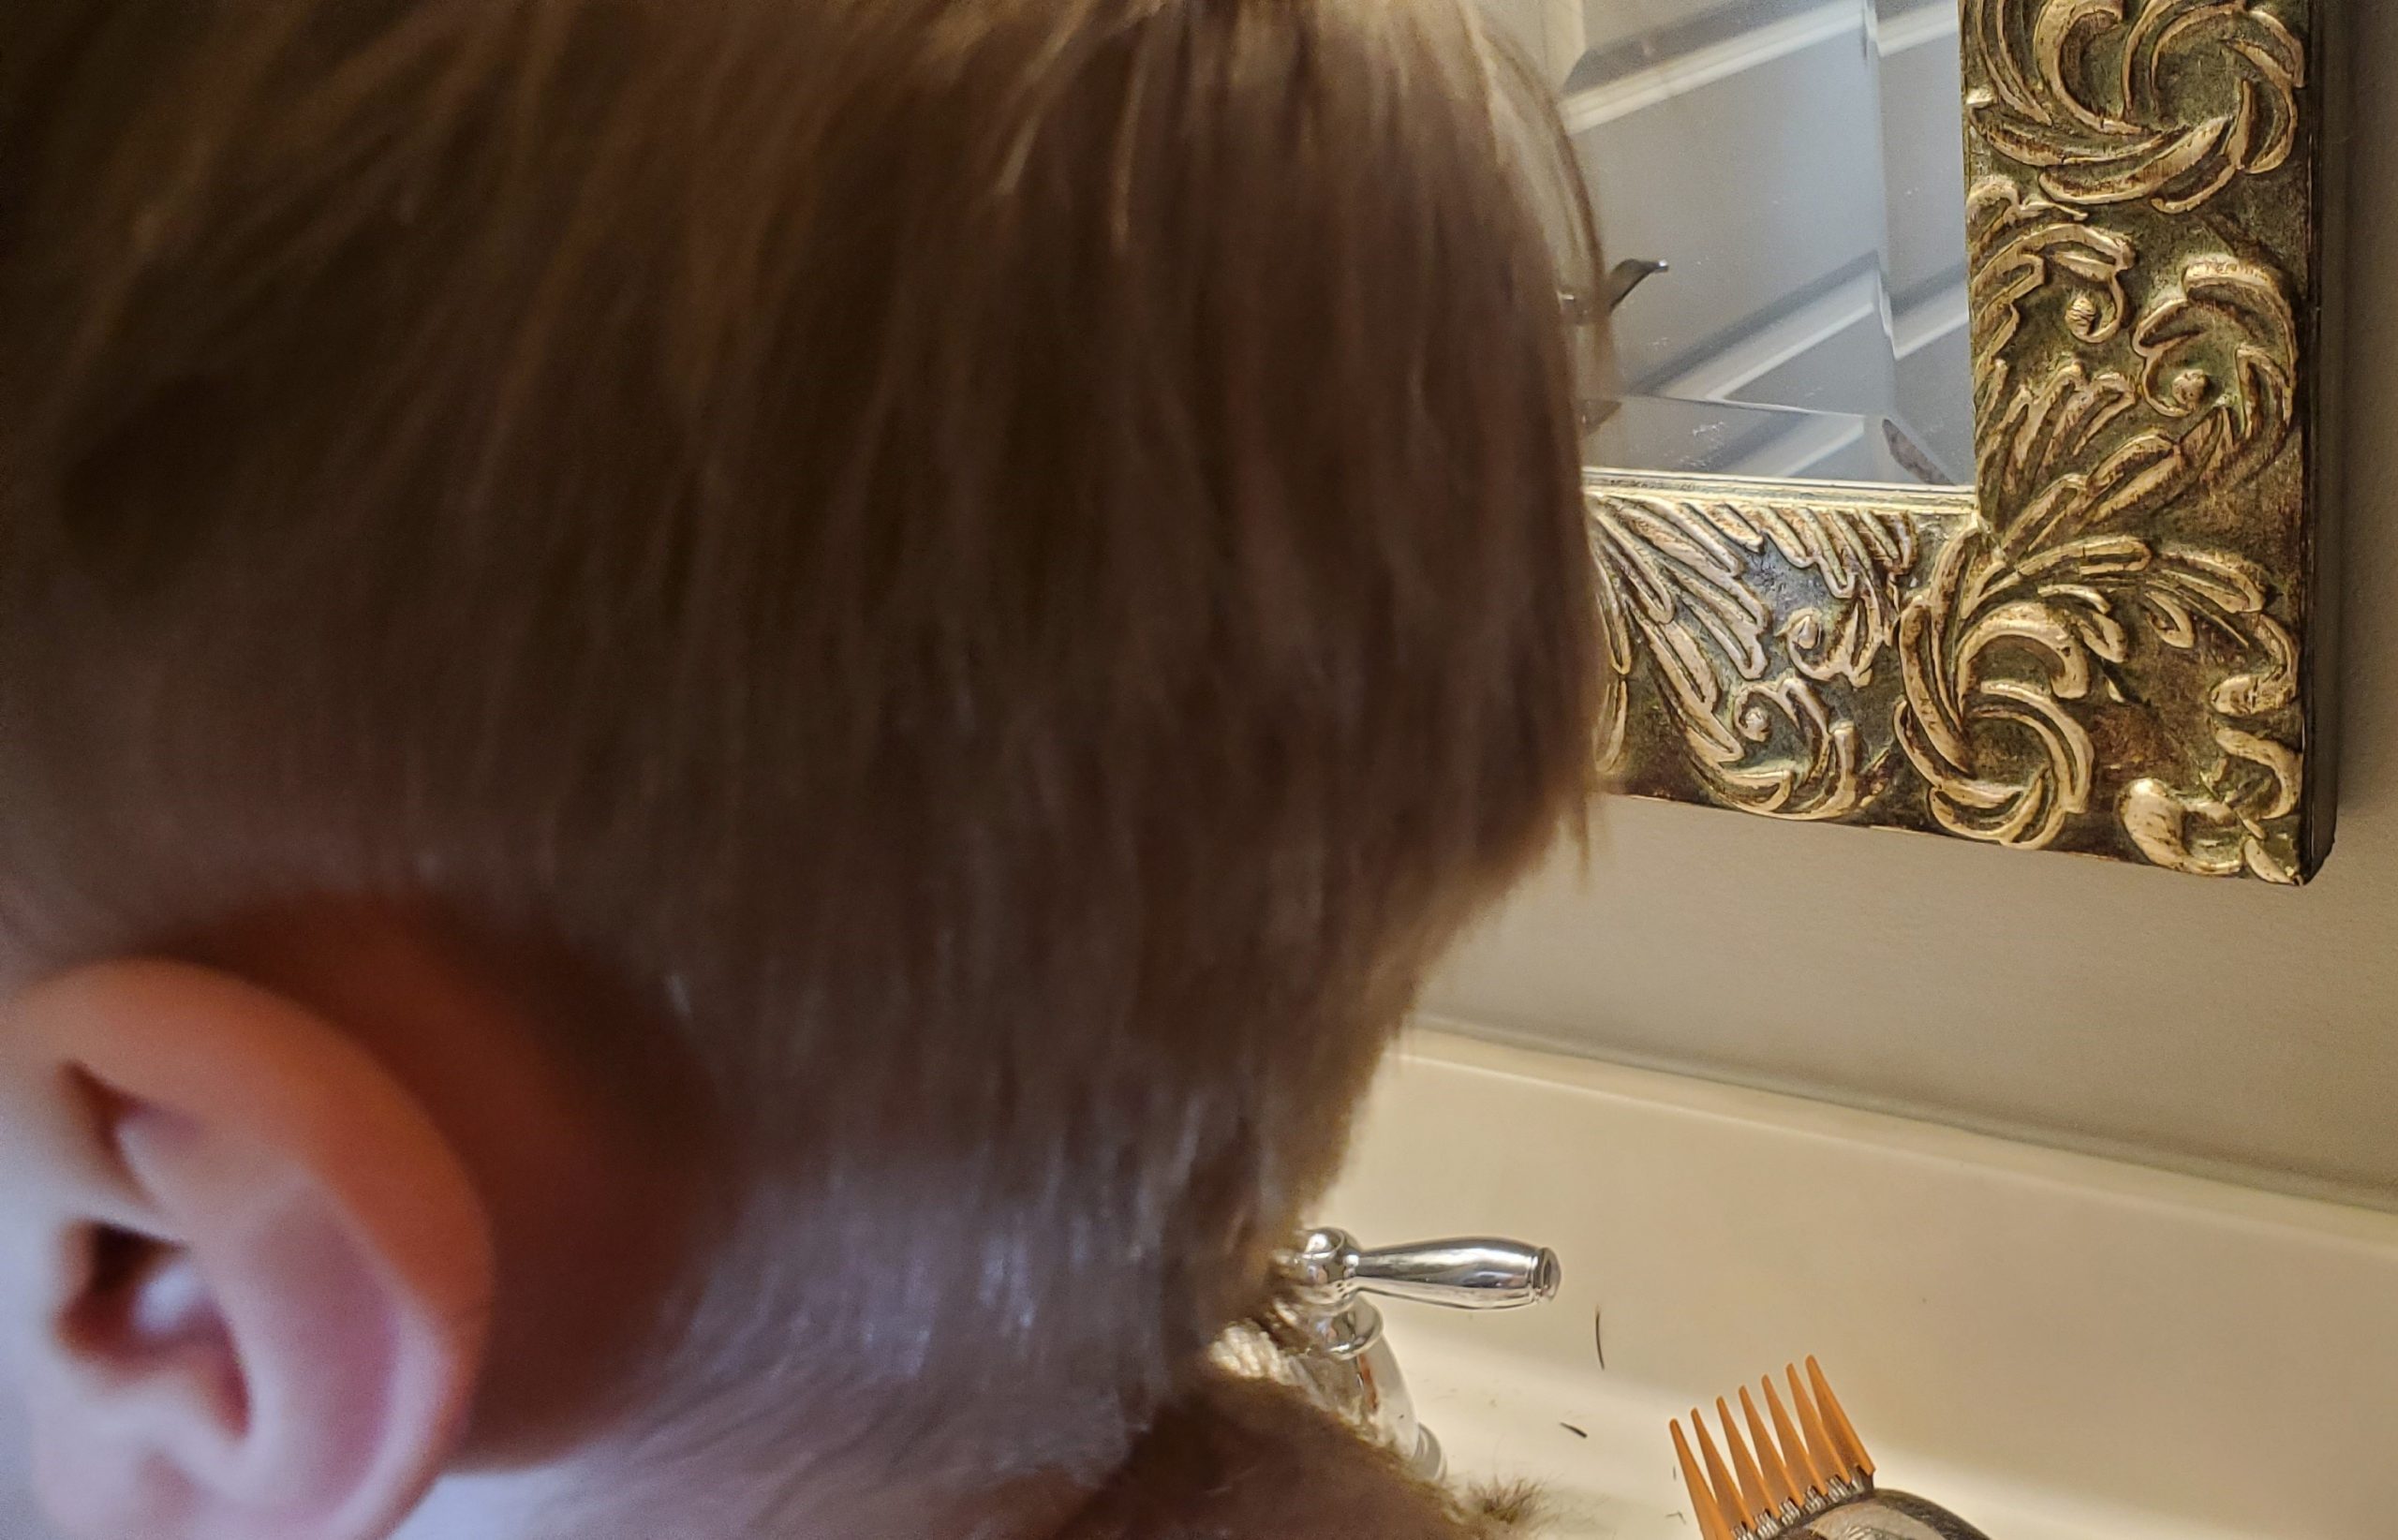
- Once at the top of the sides, now you can make your way back at the transition areas to blend them. You do this by placing the taper all the way out and touching up at each position
When doing this, the transitions will now appear smooth. This gives a nice gradual increase in length going up the sides.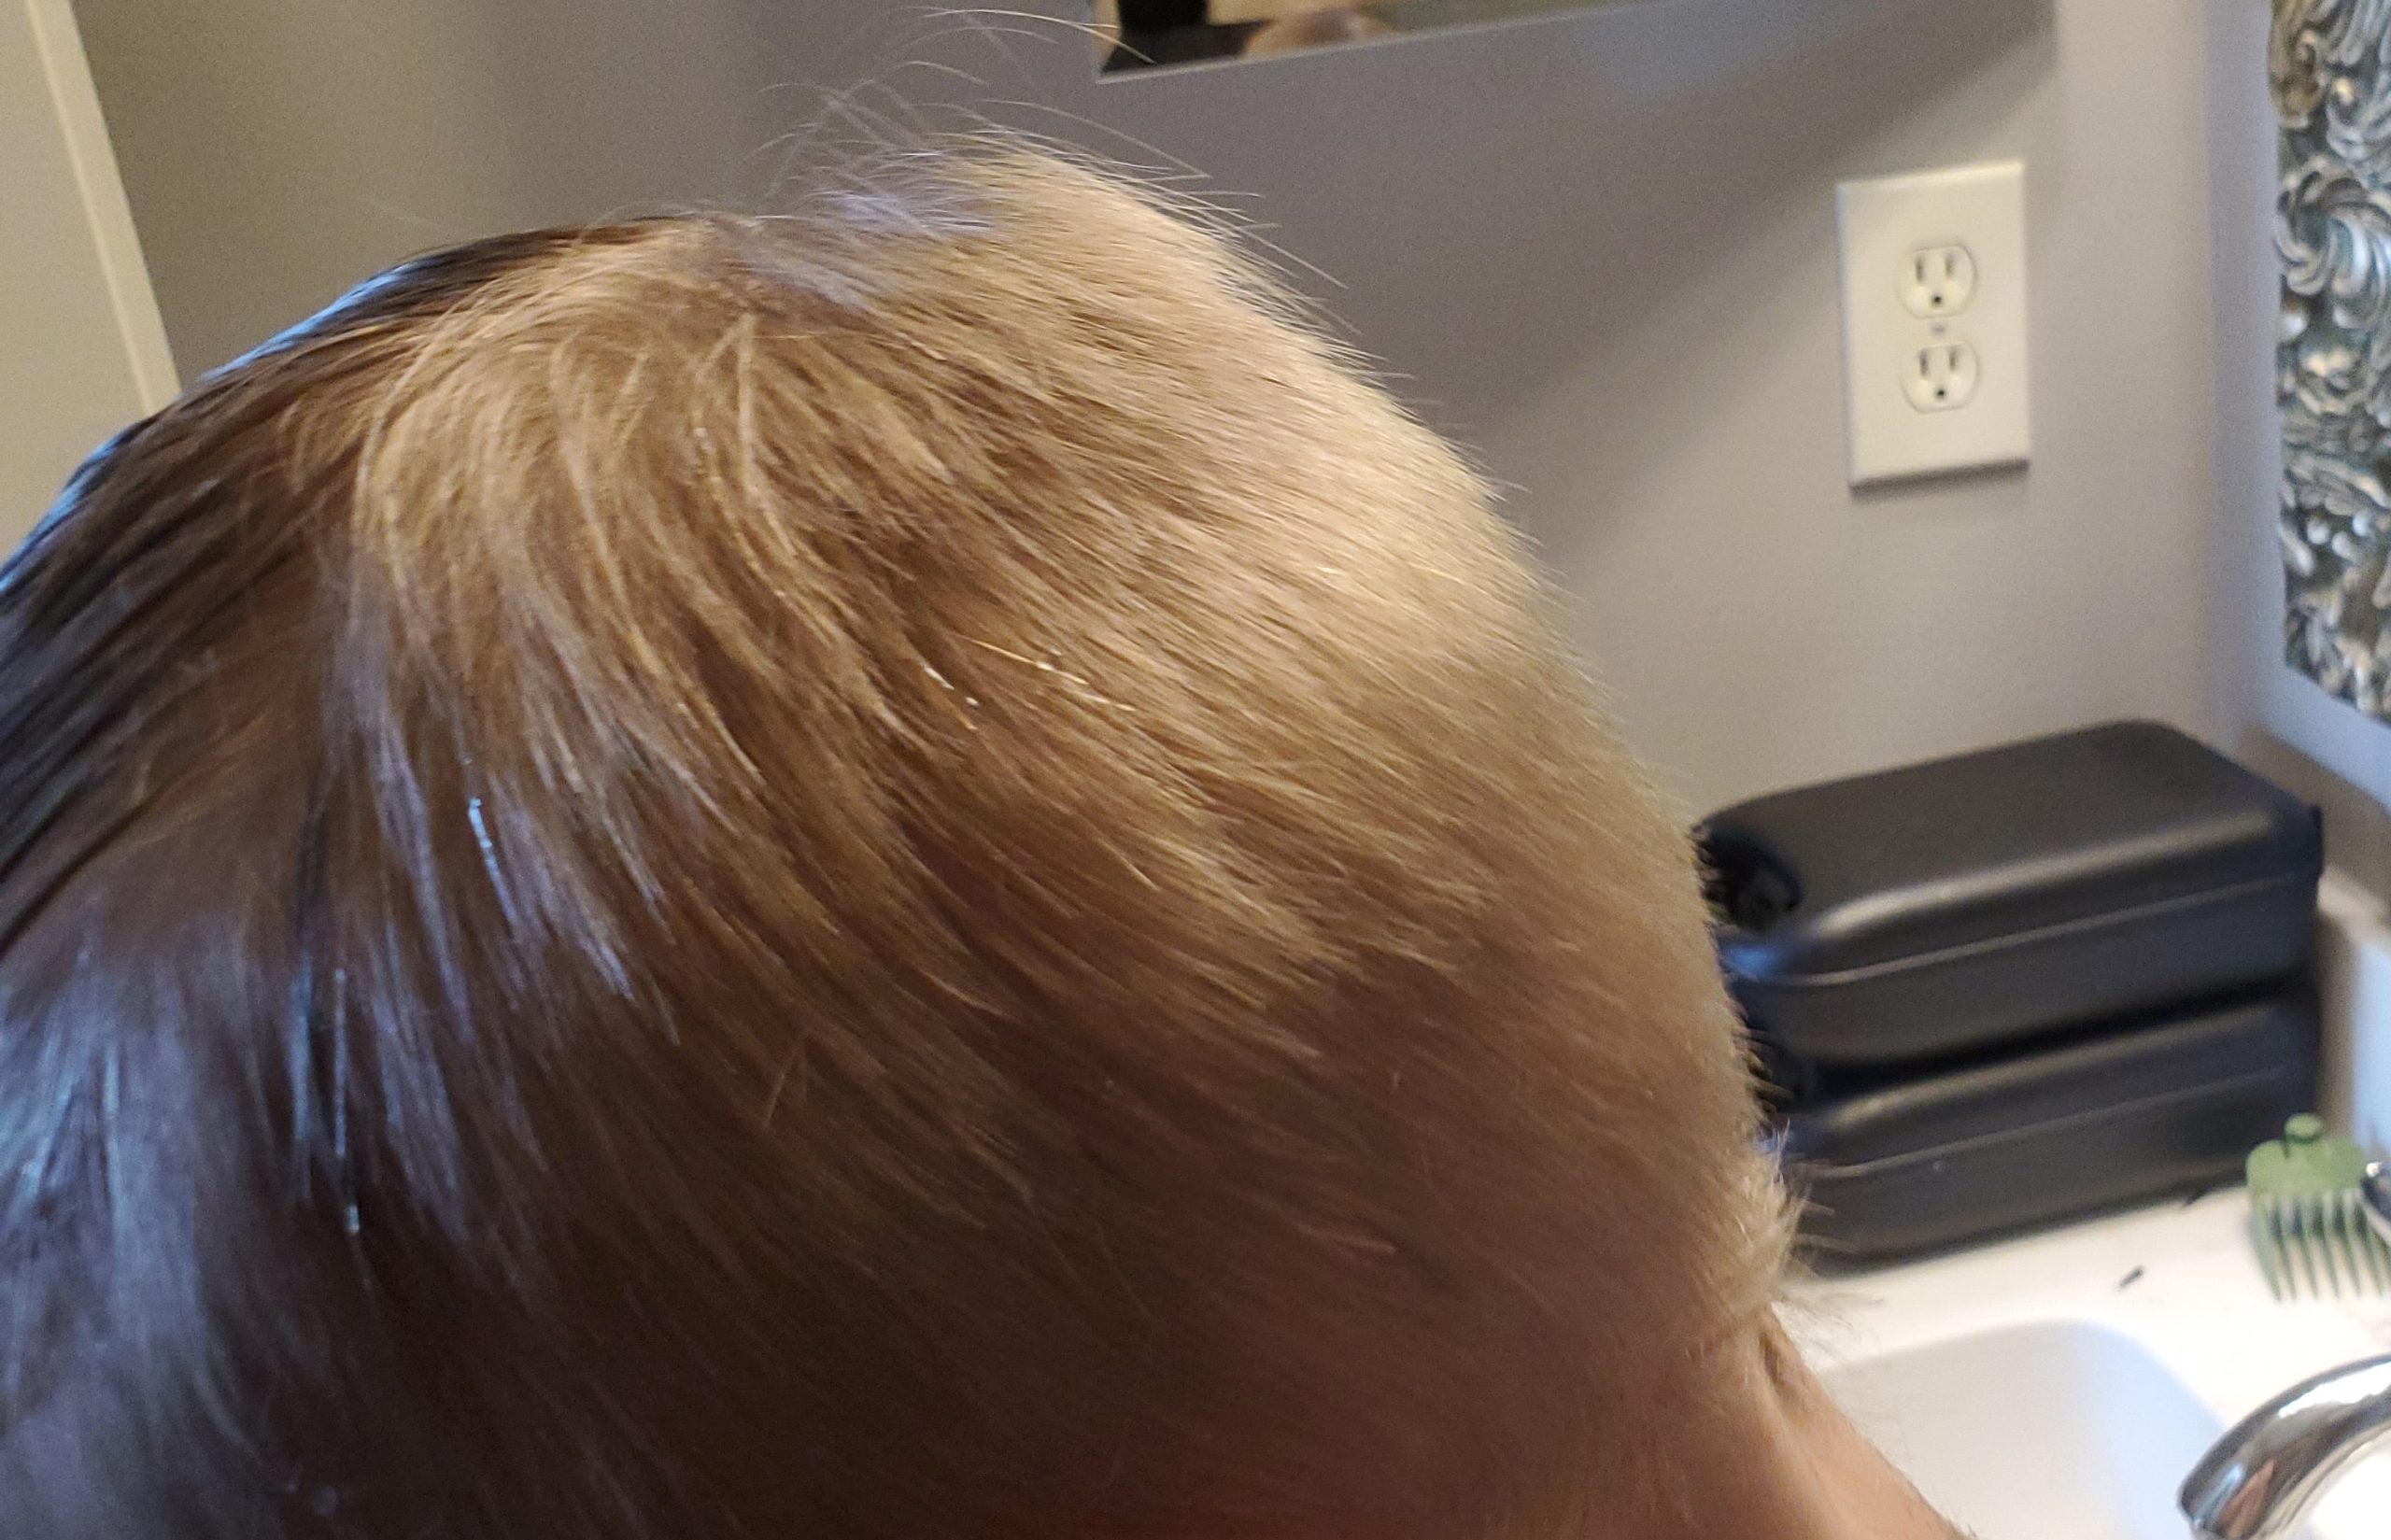
- For the top, we have cut using clippers or scissors. We like the look of the scissors a little better but if you do not want to go the scissor route, you could get a long clip like an 8 and cut the top.
We prefer the scissor look. Takes a couple of cuts to get used to but wasn’t bad after you get the hand of it. Start by getting the top of the head wet. You can do so with a spray bottle or we get get our hands wet and pat the top of the head.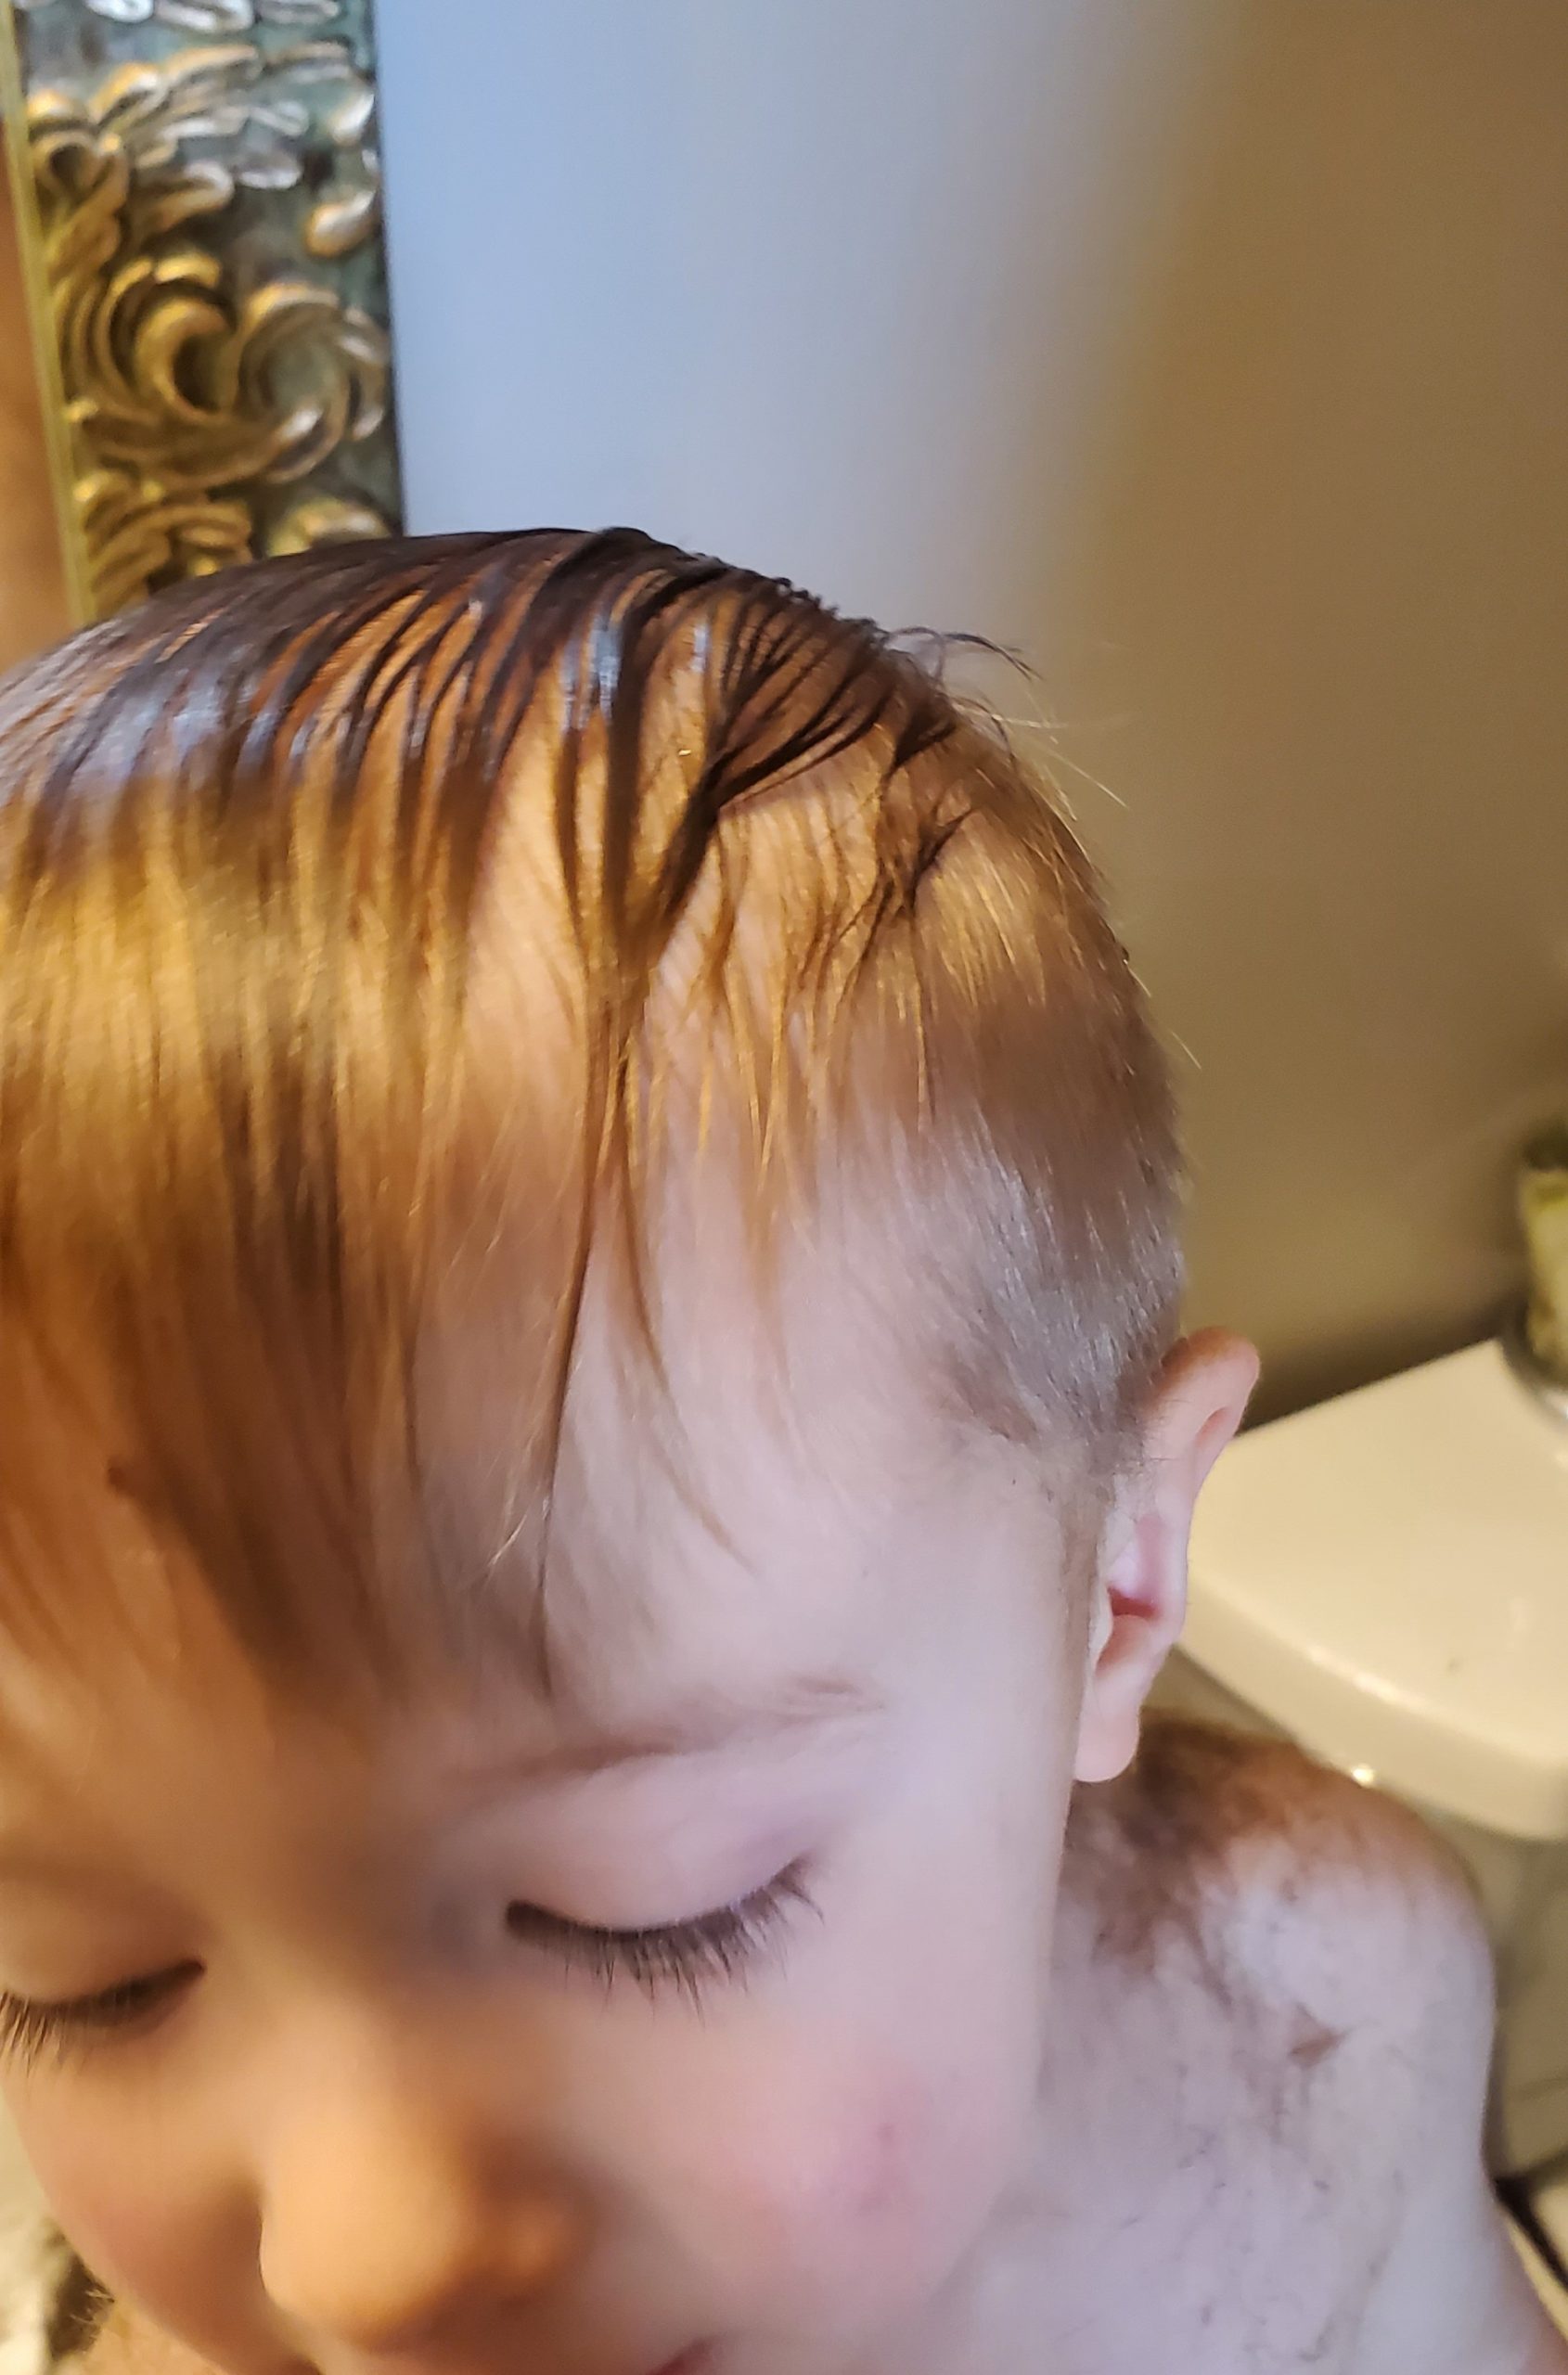
- Once wet, you want to comb the hair up between your fingers. We pick an approximate height to cut and eyeball about an inch and cut that.
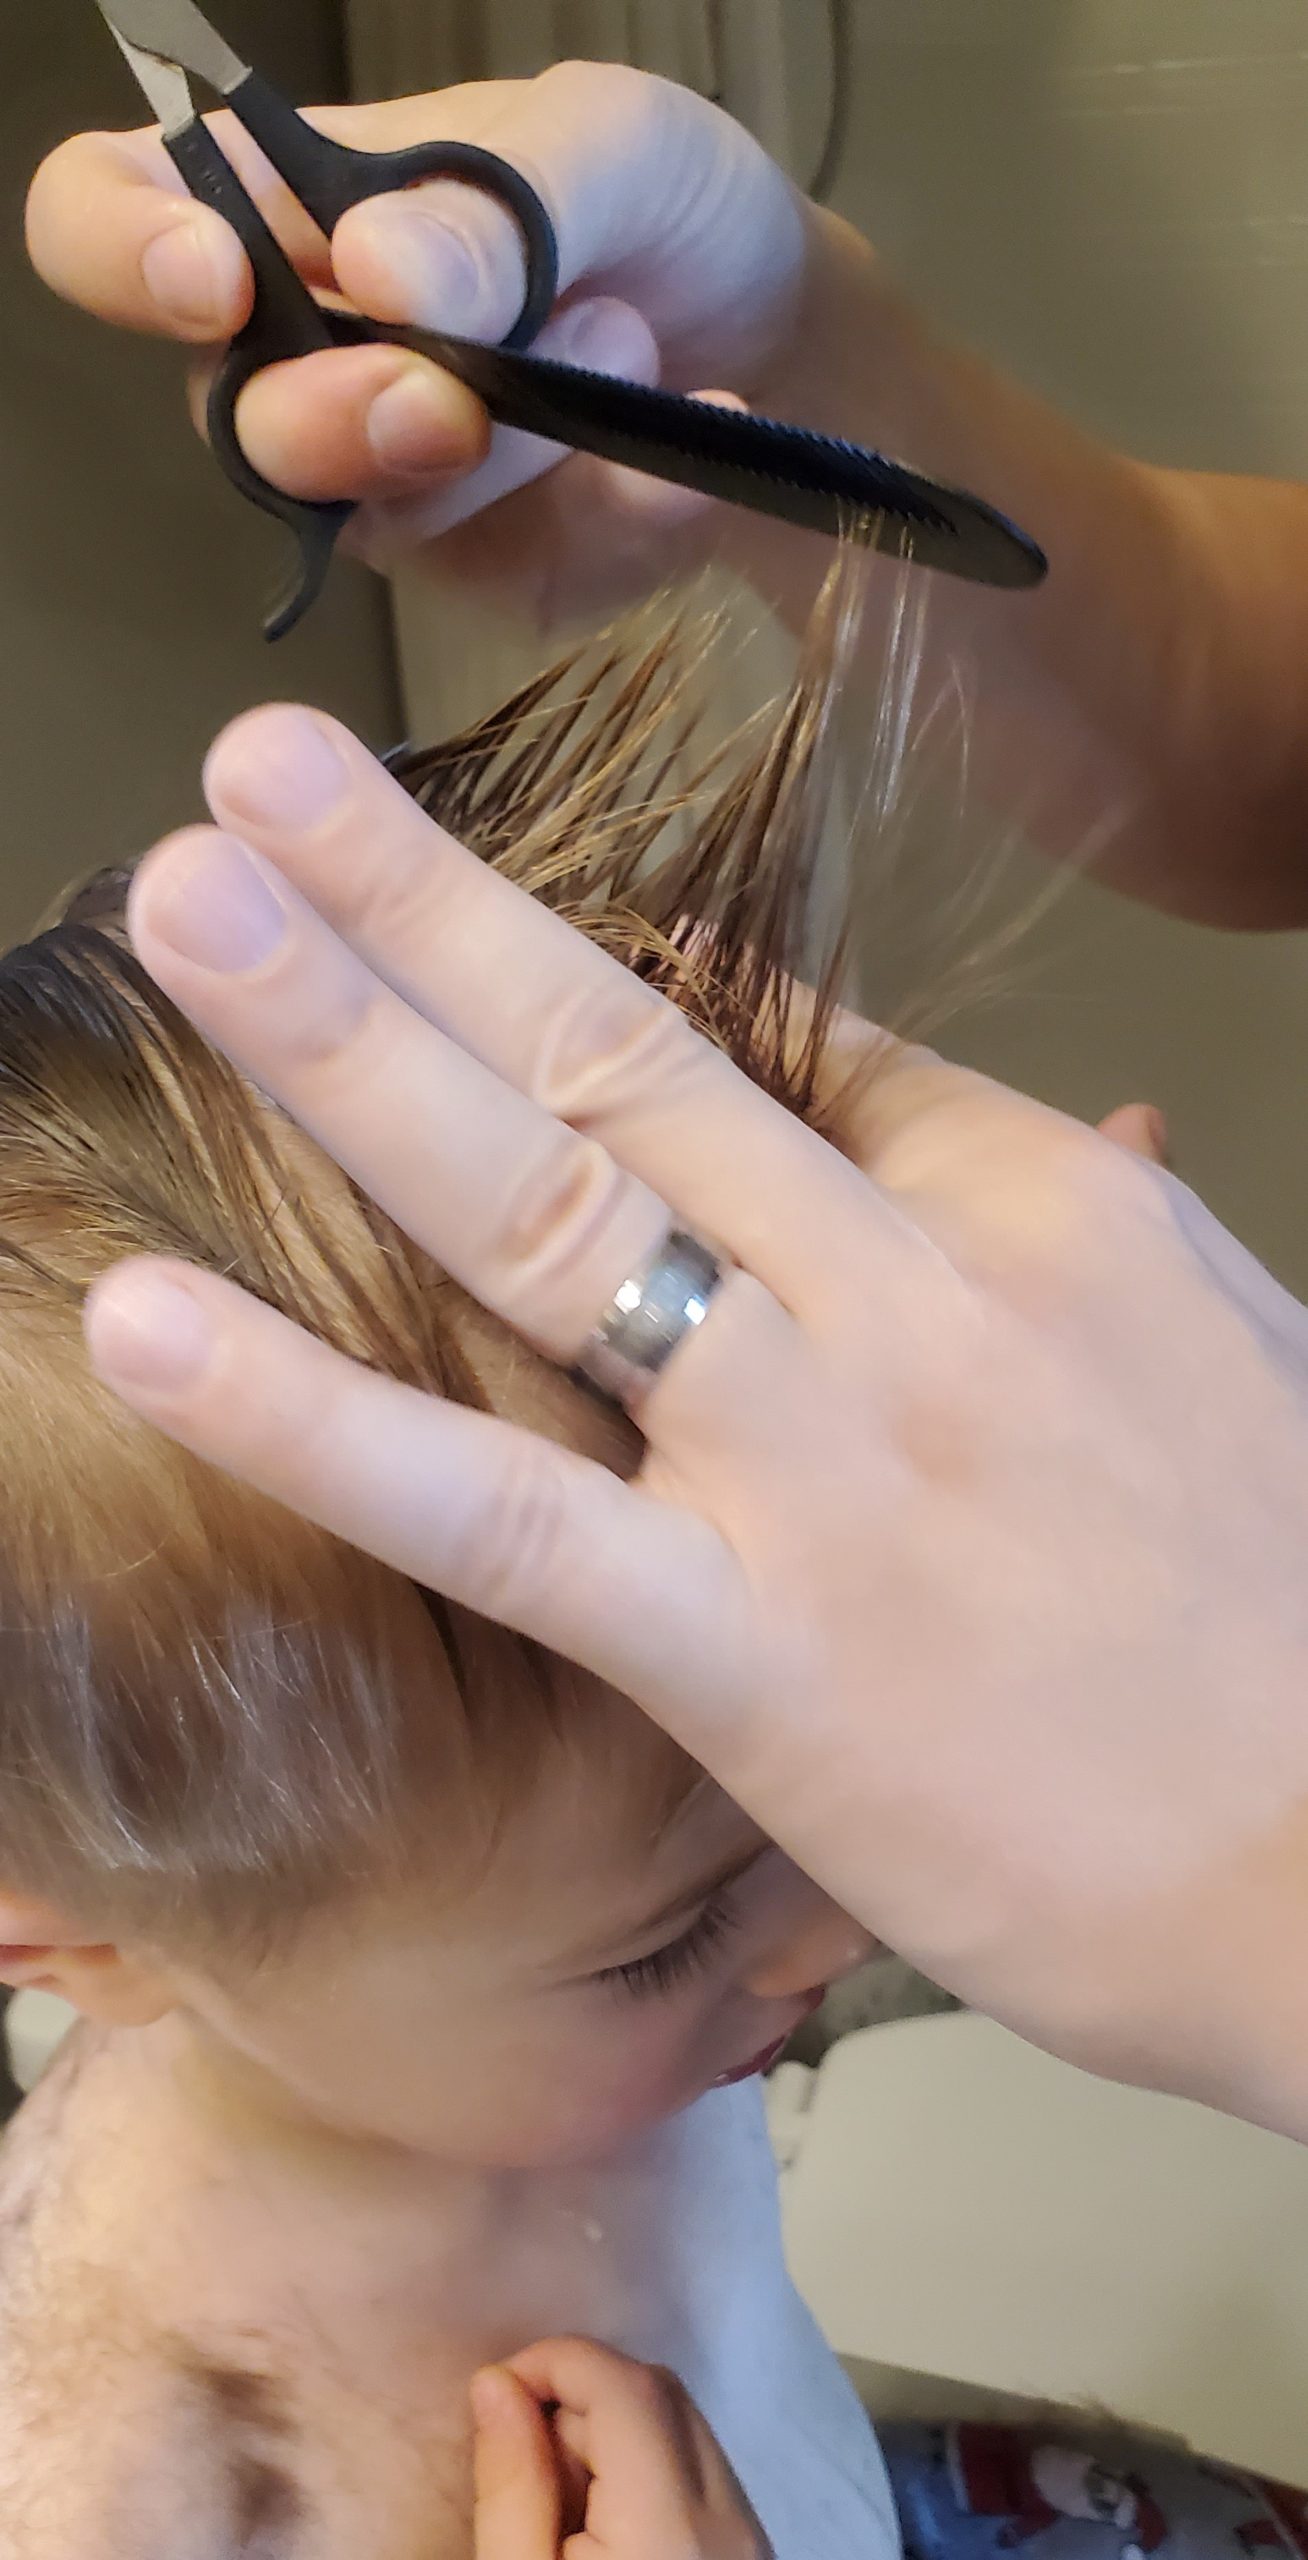
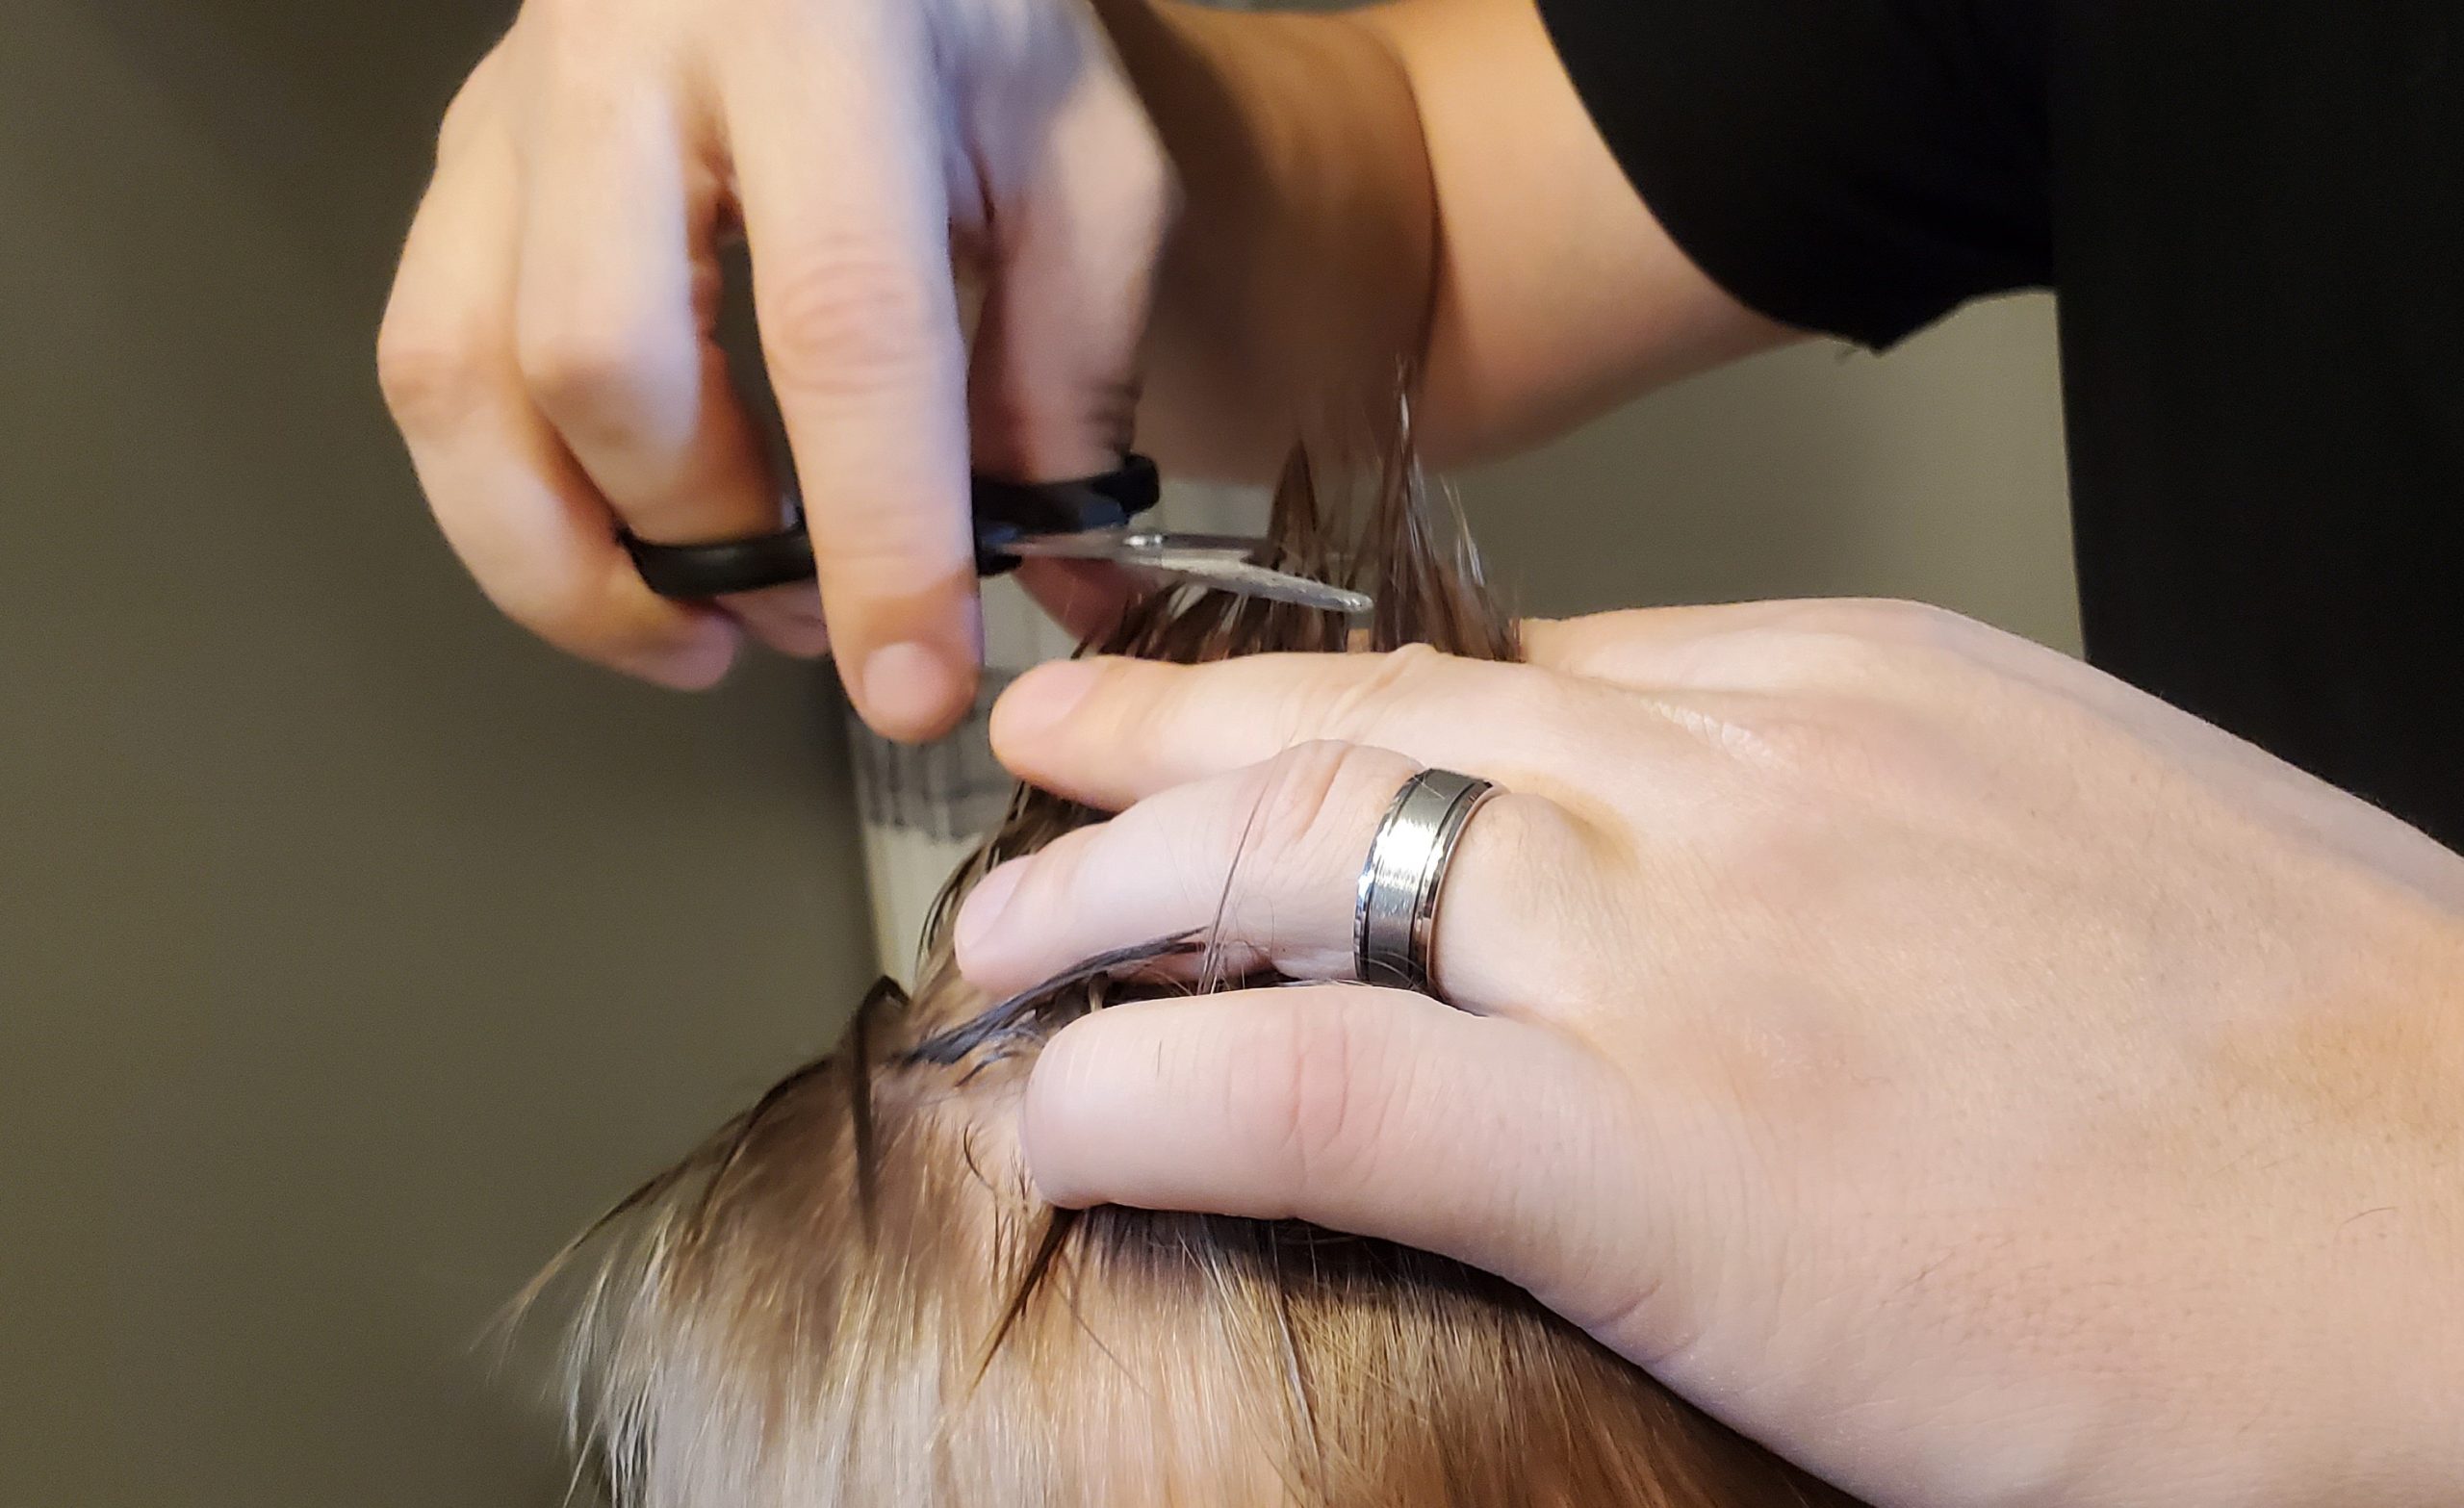
- Make your way all around the rest of the top of the head with the exception of the bangs. Once finished, you are down to the last part. Start this step by combing the hair down in front of the head
- Finally, pick a level and cut all the way across (We go about 1 cm above eye brows).
And that’s it! We use a vacuum to suck up all the hair and give the boys a bath to get the remaining hair off.
I hope these tips help you save some money! I definitely recommend trying this method out at a time when you don’t have school pictures, or your sister’s wedding, or any other special event that might require a more professional haircut.
Start off slow, and see how it goes! Worst case, the hair does grow back (thank goodness!).
For more home life hacks, check out this post on how I keep my house clean as a busy mom.
This post contains affiliate links. As an Amazon Associate, if you buy through these links I may earn a commission at no extra cost to you.
