DIY Industrial Pipe Shelving – Easy and Affordable!
Looking for easy and affordable shelving options for your home? These DIY Industrial Pipe Shelves are simple and easy to install and will add an interesting touch to your home. These are great as laundry room shelves, bathroom shelves, and more! Keep reading for home DIY projects and easy home updates!
I was searching for some type of shelving to add to my laundry room makeover project. I quickly found these DIY industrial pipe shelves and thought they would be perfect!
Plus they are super easy to install! You can also customize them by staining the wood shelves to be the perfect shade to match your home.
Materials Needed to Install Industrial Pipe Shelves
- Wood for the shelves (choose your desired thickness/size)
- Pipe Shelf Brackets (these are 12 in. brackets, but make sure to buy the appropriate size for your shelves!)
- Sandpaper
- Stain of your choice (I used this one)
- Old rags
- Dark colored screws
- Wall anchors
How to Install Industrial Pipe Shelving
- Cut your wood to the size you’re targeting for the shelves. Tip: If you don’t want to cut them yourself, you can usually get some help form the people working at Home Depot!
- Gently sand the wood (especially the corners).
- Stain the wood using the stain of your choice (follow directions on the can).
- Allow shelves to fully dry.
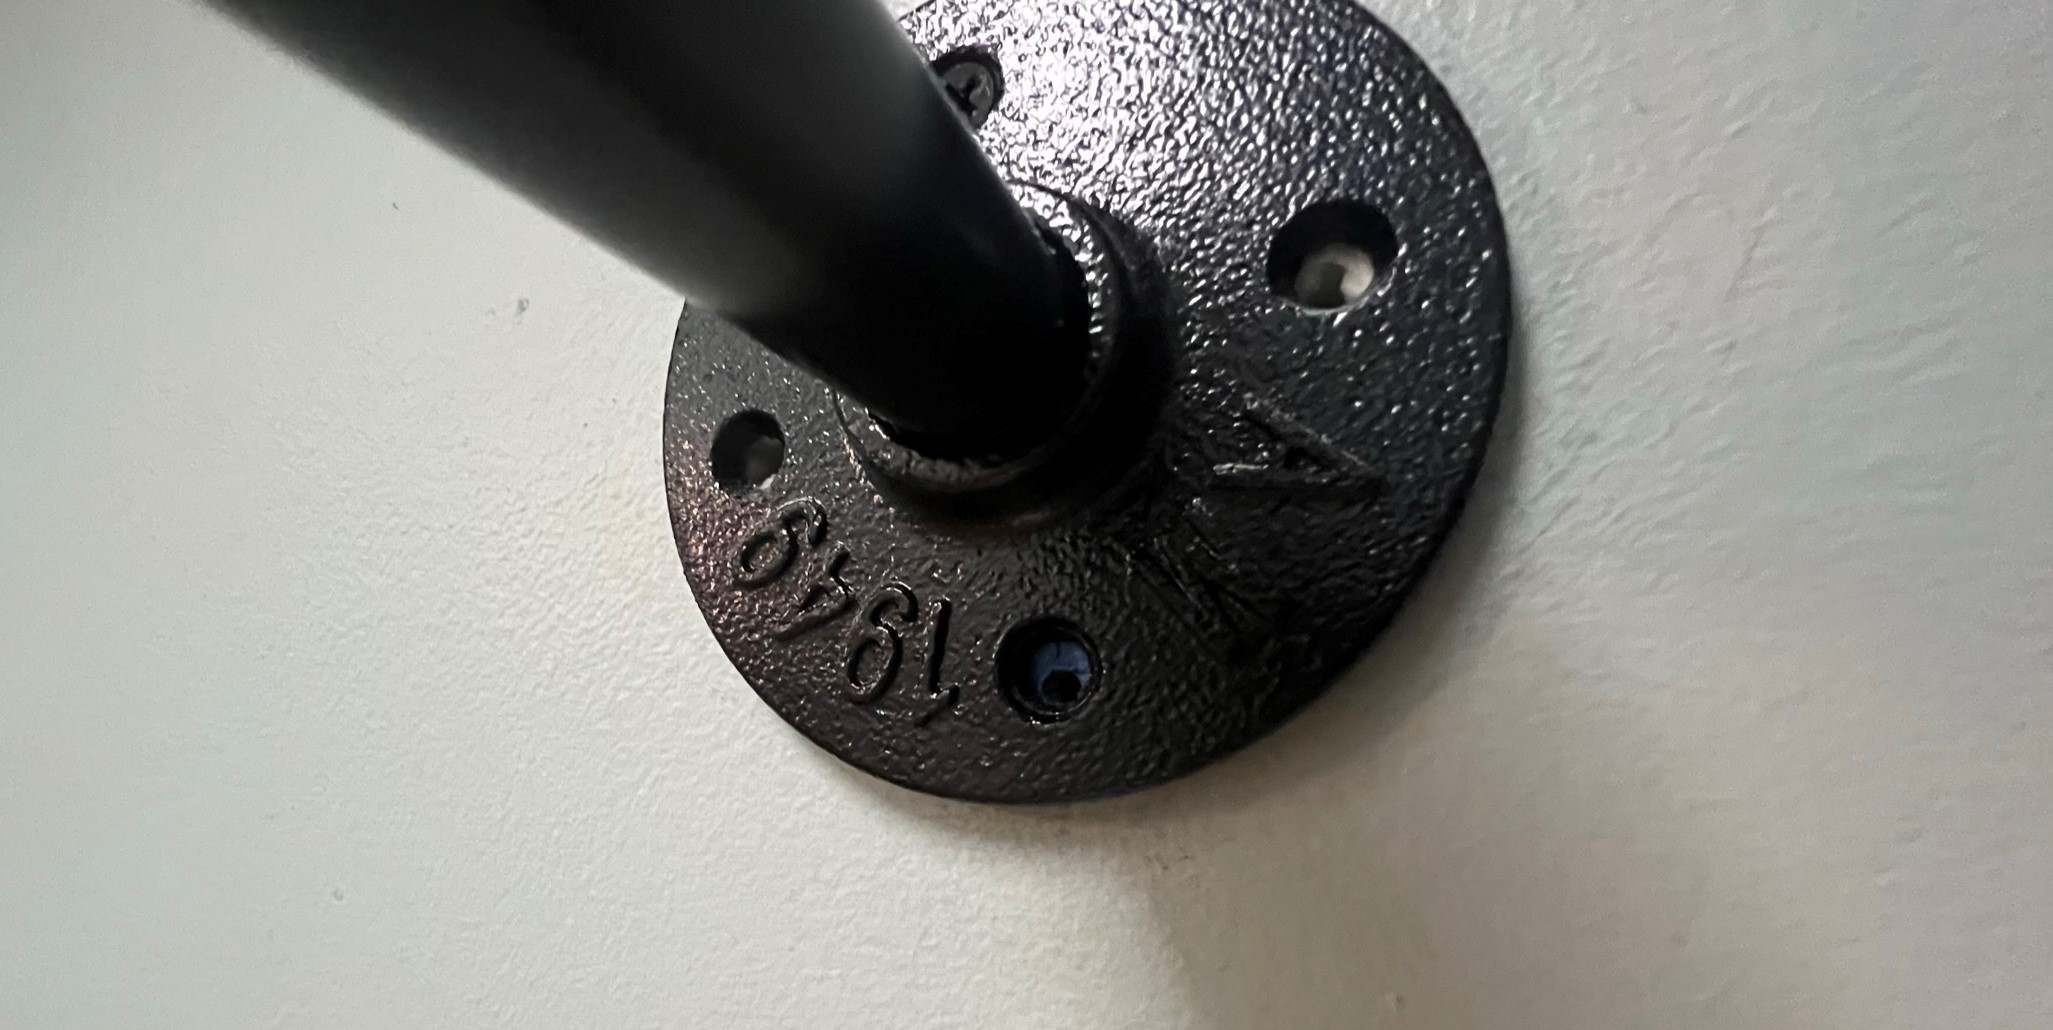
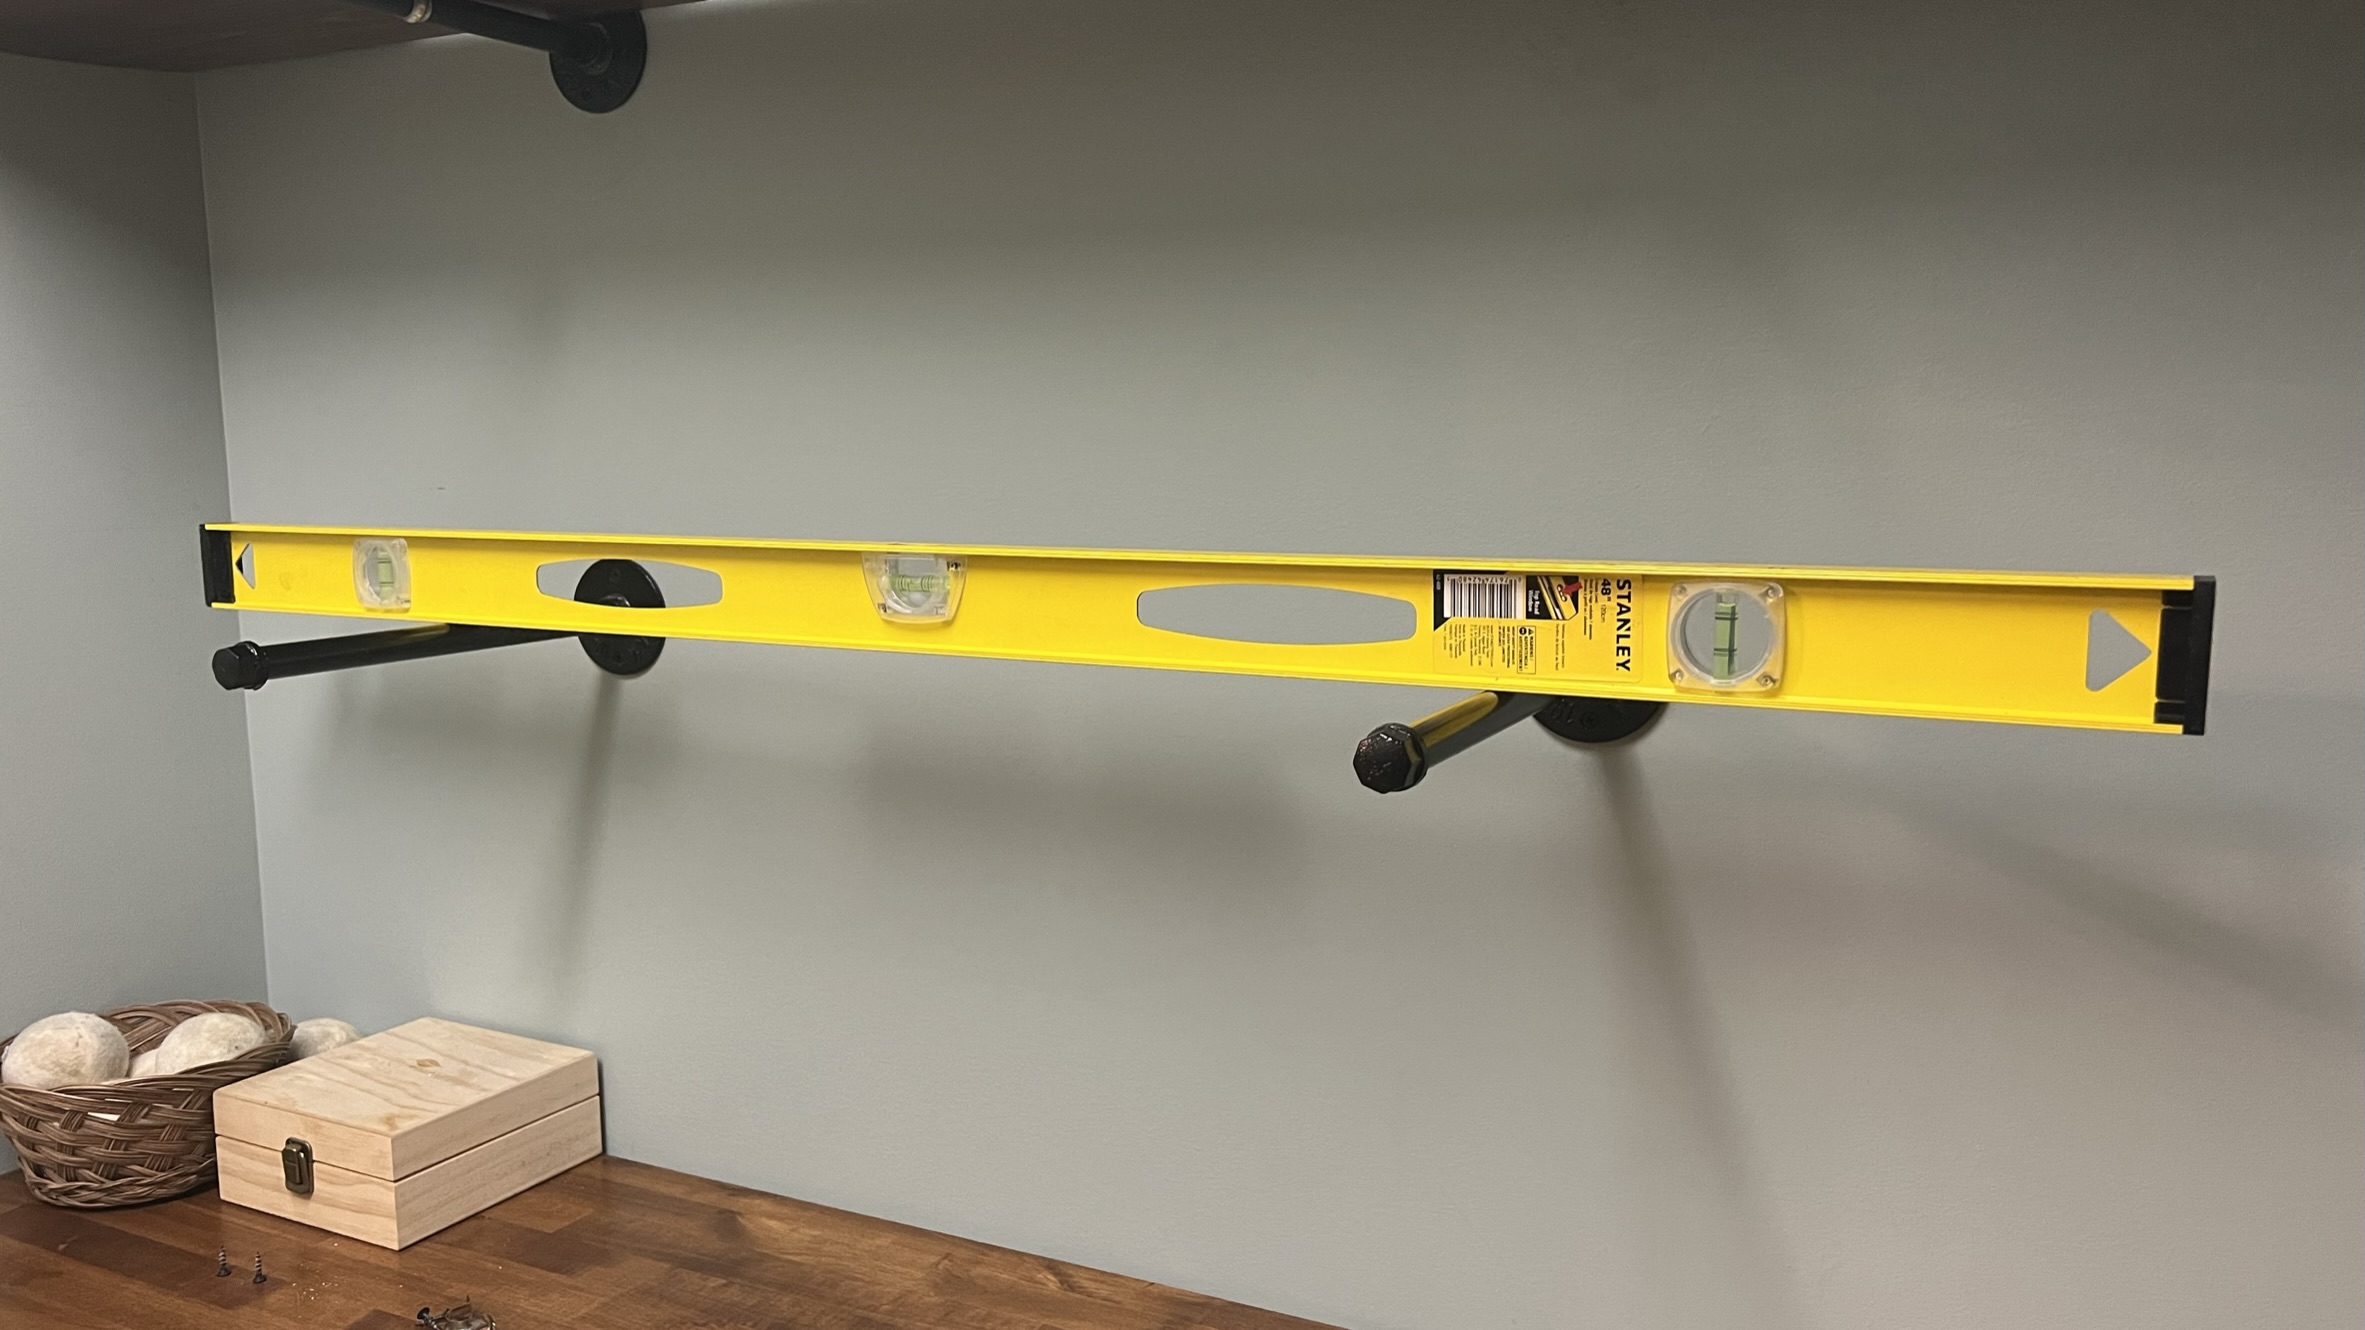
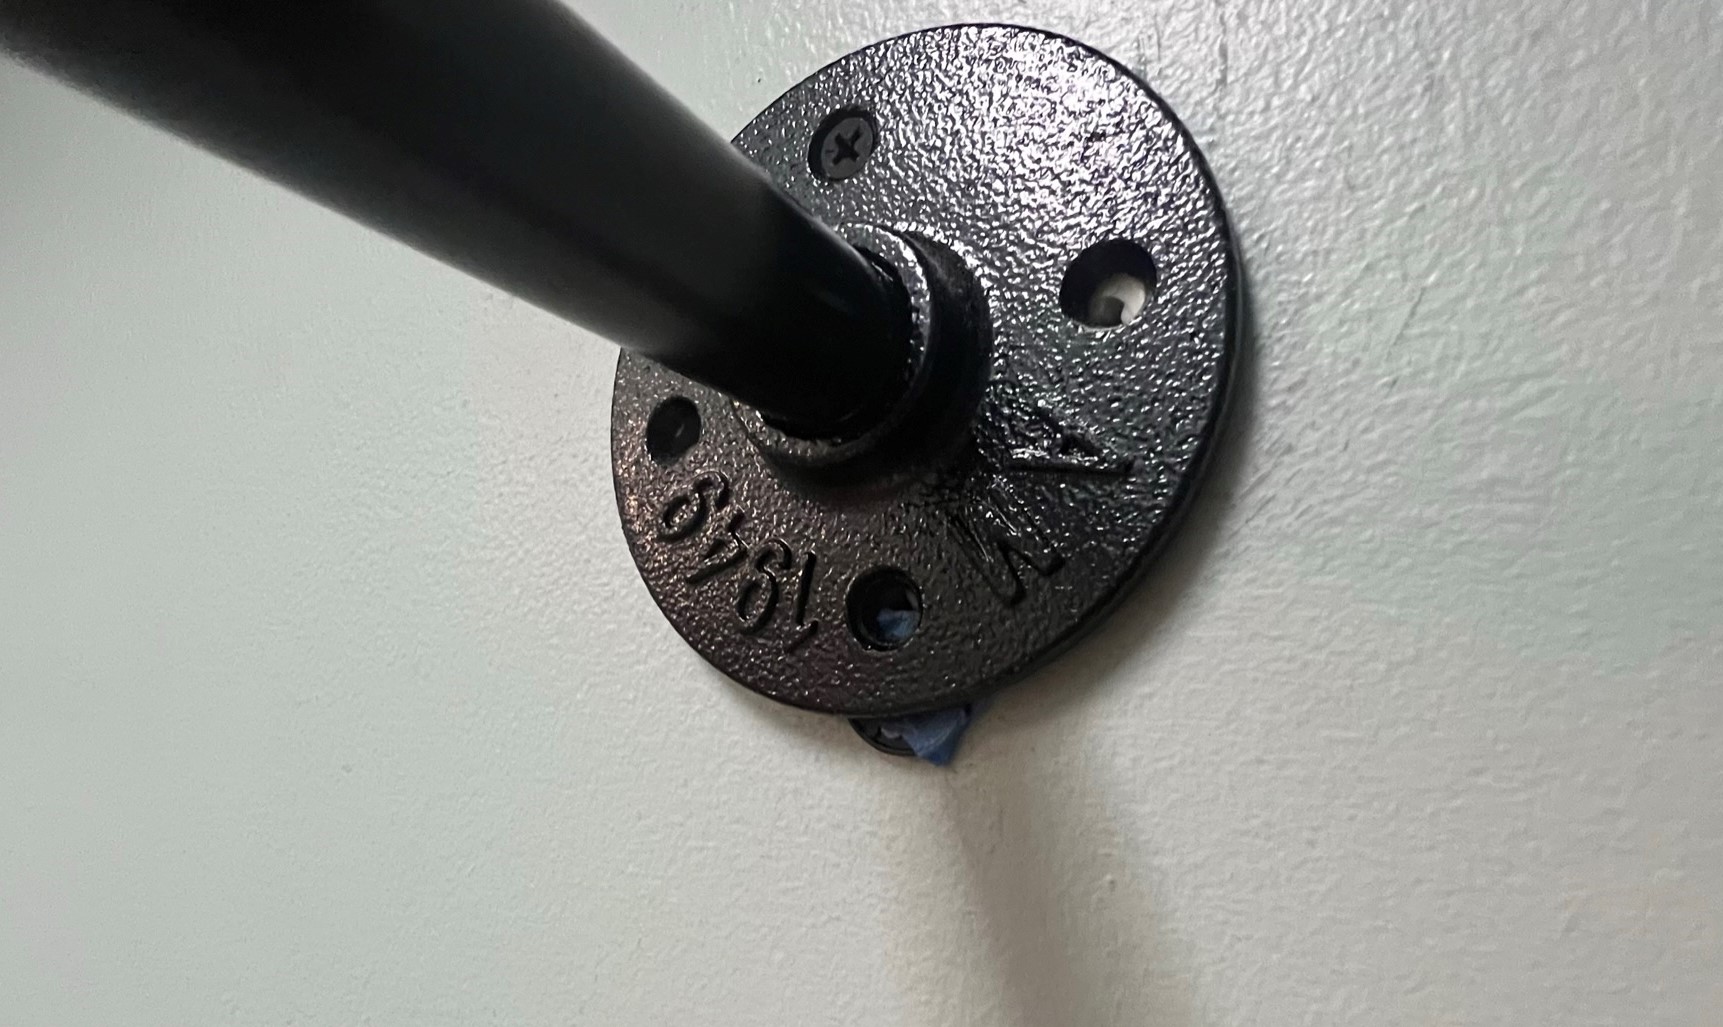
- Next, install the pipe brackets. First, find the studs on the wall, and try to use those if possible. If not, you’ll need to use the drywall anchors to be safe. Start by installing a single screw at the top of the bracket for each pipe holder. (Tip for leveling is to start with one pipe then hold up a level between both pipes before fastening the second pipe). A laser level can also be used if you have one.
- Once they are level between the pipes, you can mark the rest of the holes to drill and fasten. If you are on a stud, you can drill and screw in. If not, use drywall anchors. I like the screw in type that you do not need to drill.
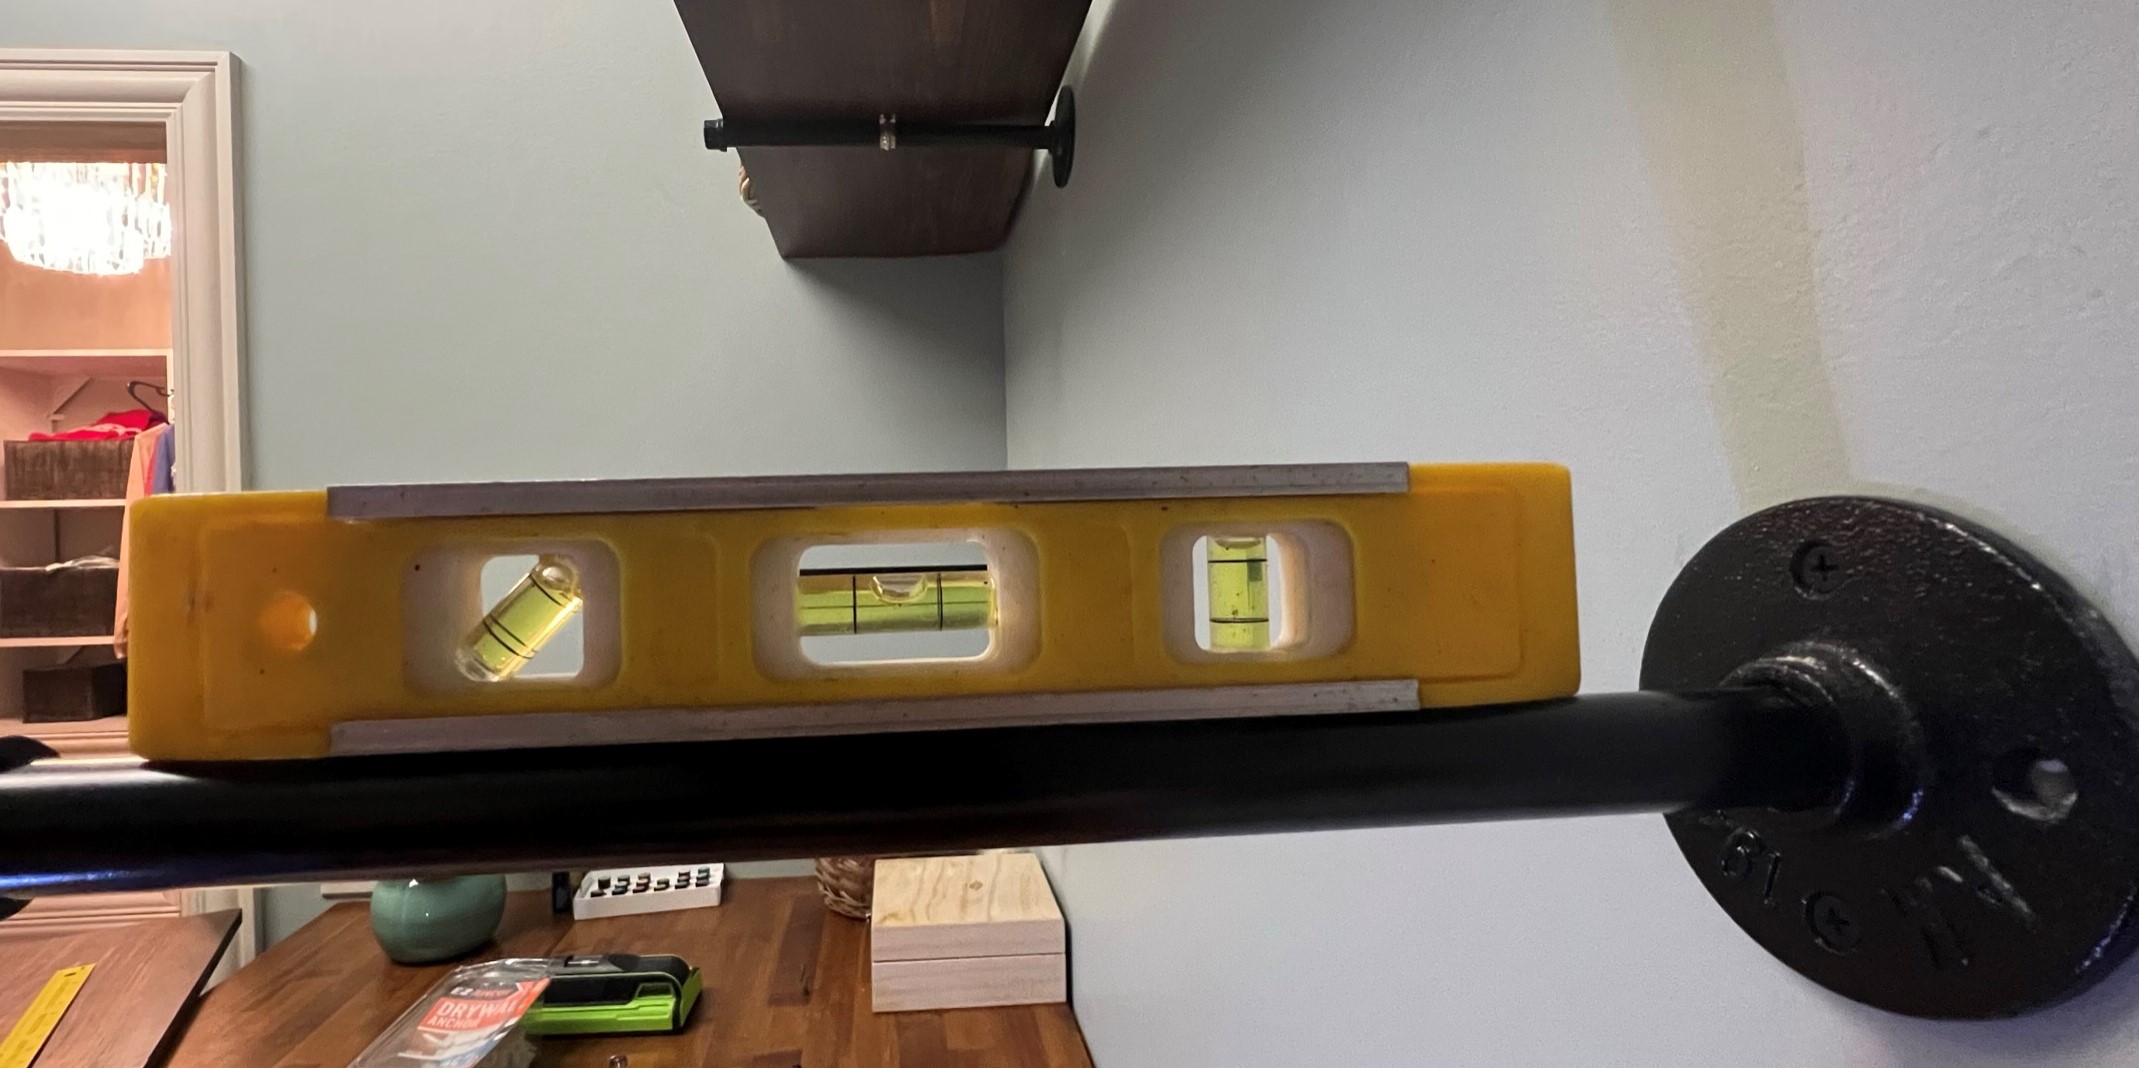
- Once you have all holes marked, it is important to level each individual pipe. You can do this by placing a level on each pipe and adding shims as needed (a shim can be as easy as placing a piece of paper folded as many times as needed between the flange and the wall). I left the shim sticking out in picture below for demonstration purposes but make sure to tuck in before finishing. Fold paper as much as needed till the bubble is in the center of the level. Sometimes you have to add in the top and sometimes in the bottom.
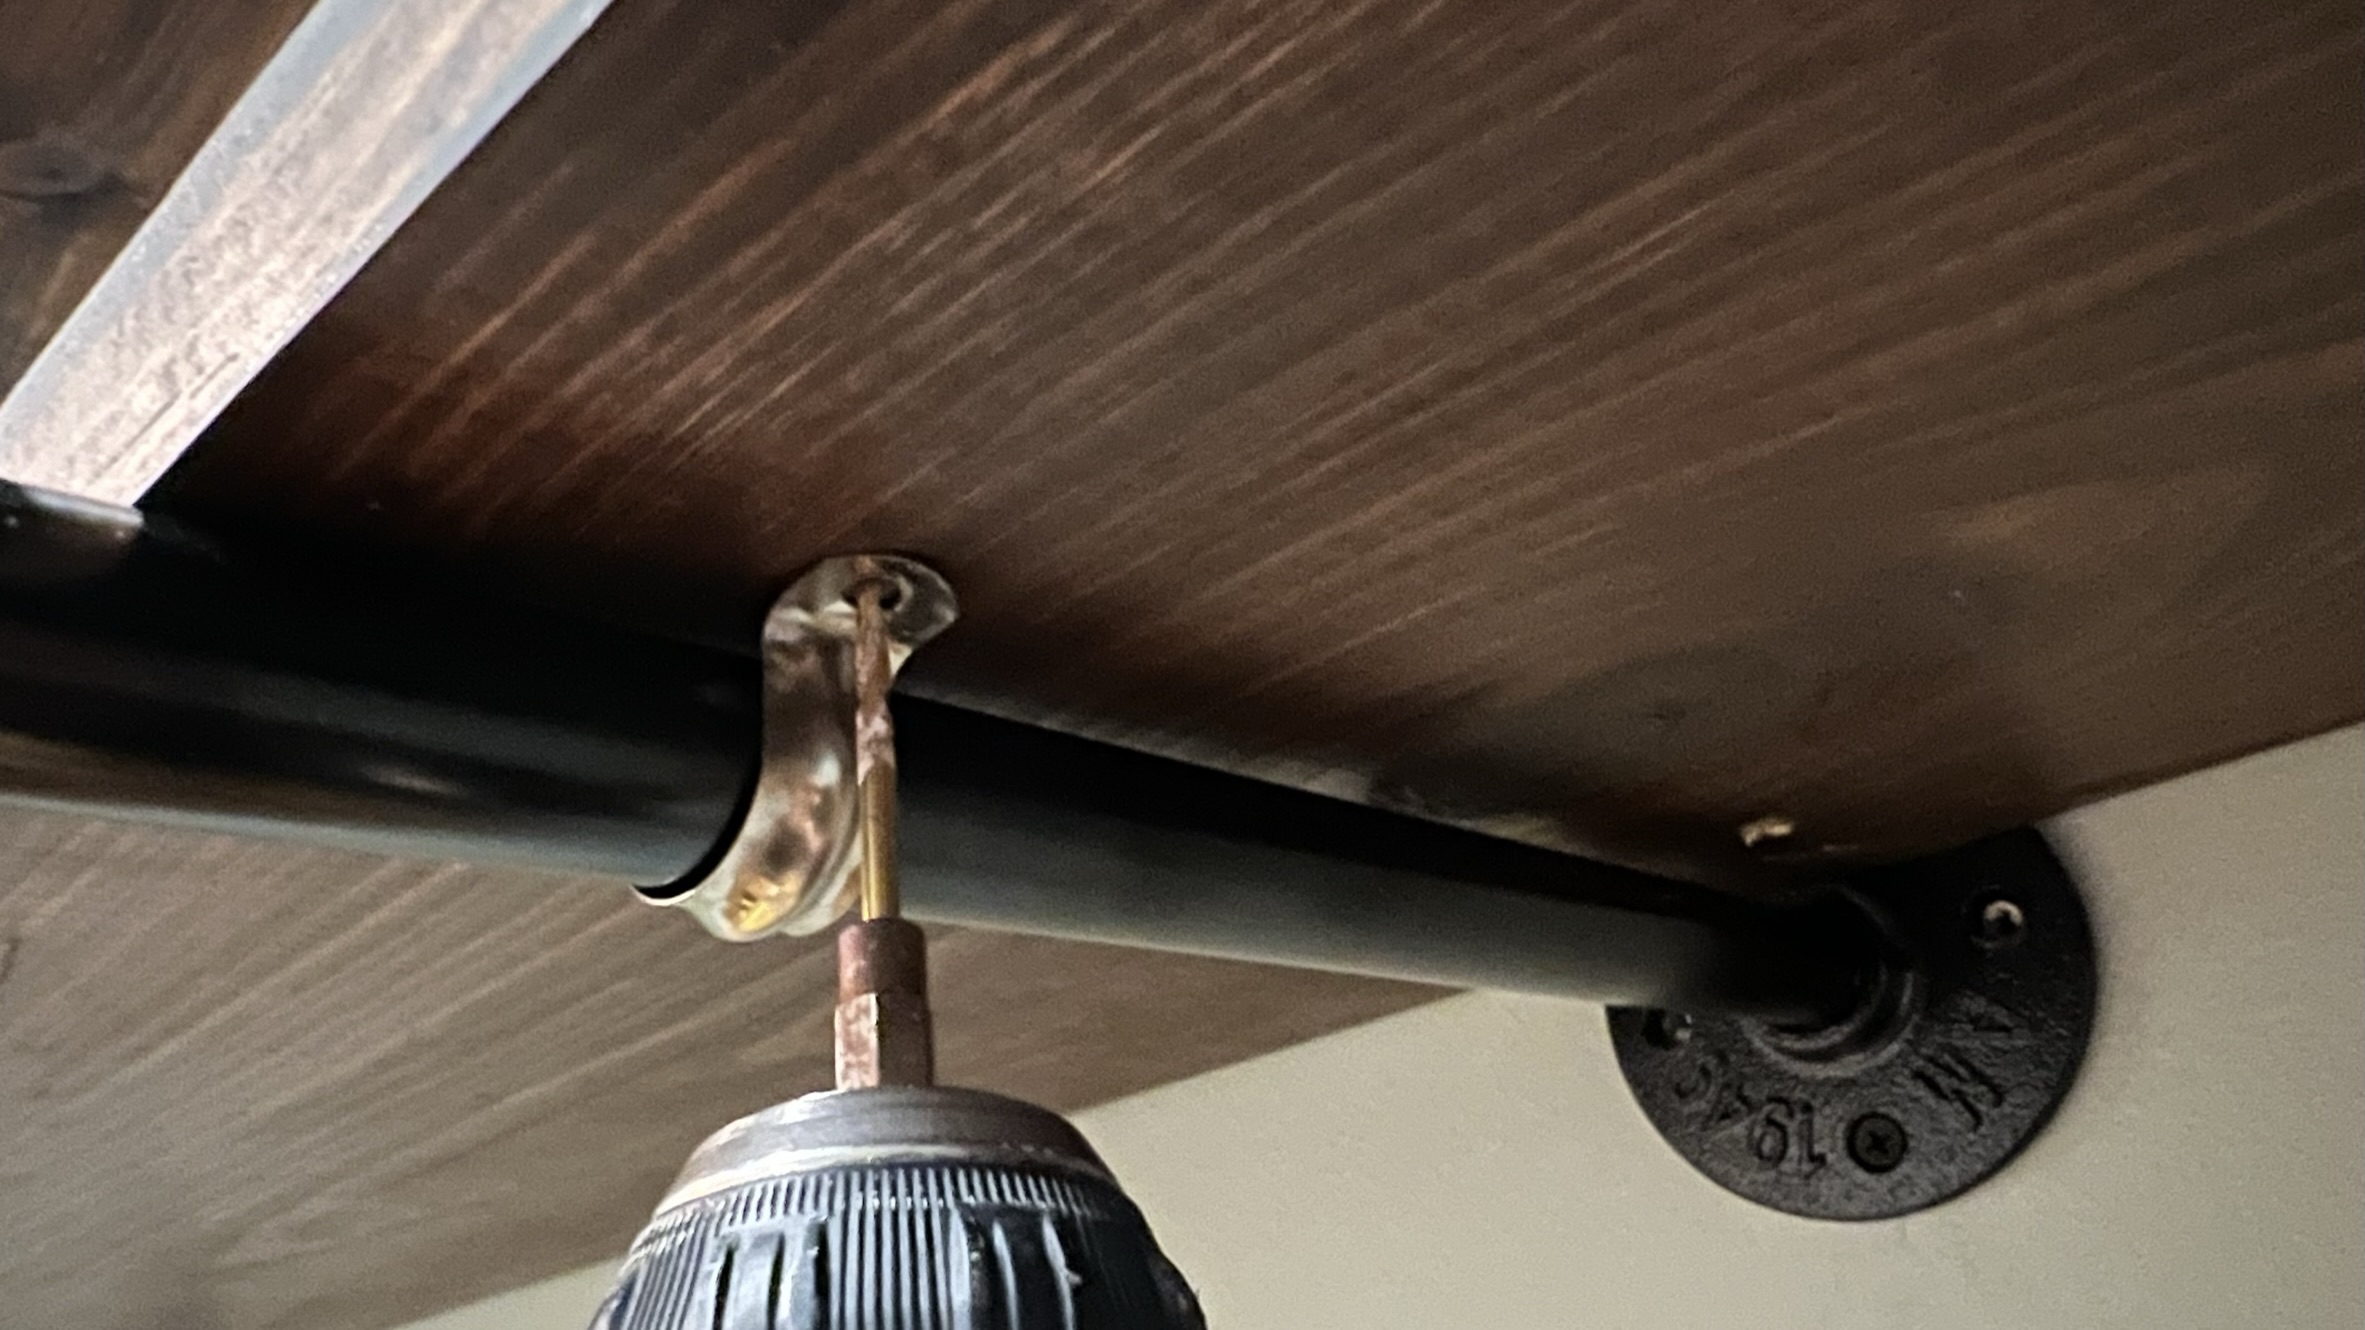
- Place the wood on the pipes and fasten using pipe holders. I HIGHLY suggest using pilot holes (drilling a small hole before screwing in). Just be careful not to drill all the way through the wood but with it being so thin, it would be easy to splinter if you did not add a pilot hole to start.
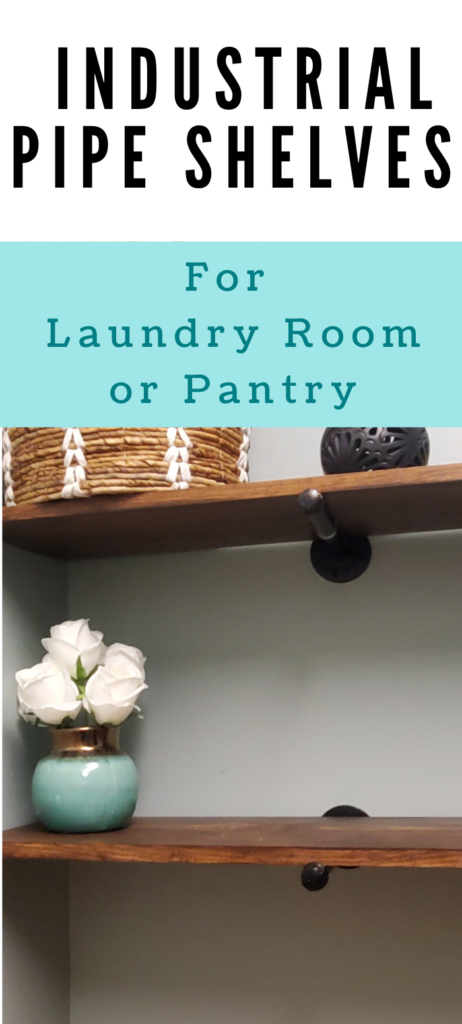
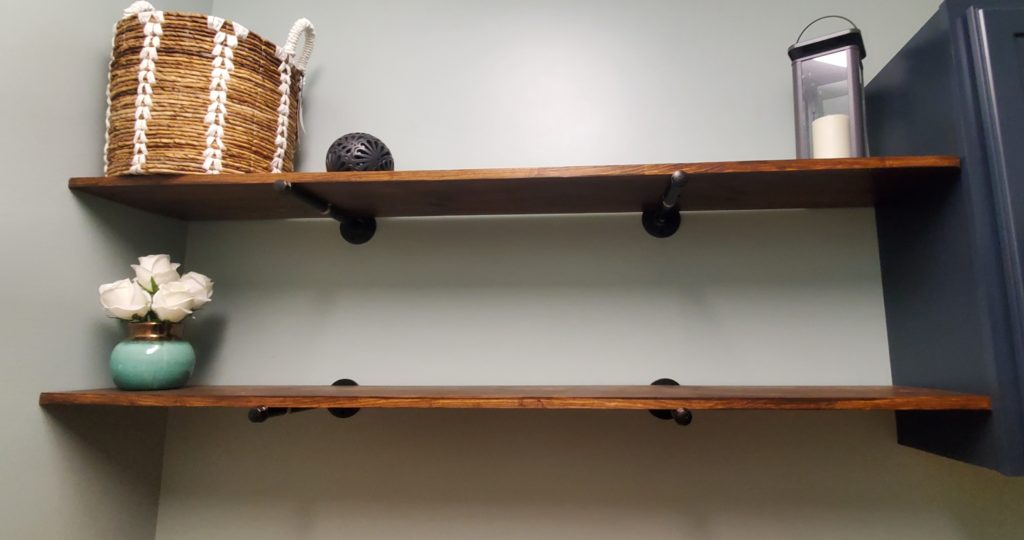
Here is the finished product! We love how they turned out and it’s great having some extra storage space in our laundry room.
For more DIY home project ideas, check out this post on how to stain a butcher block countertop.
