The Super Easy Way to Update a Dresser Using Fusion Mineral Paint!
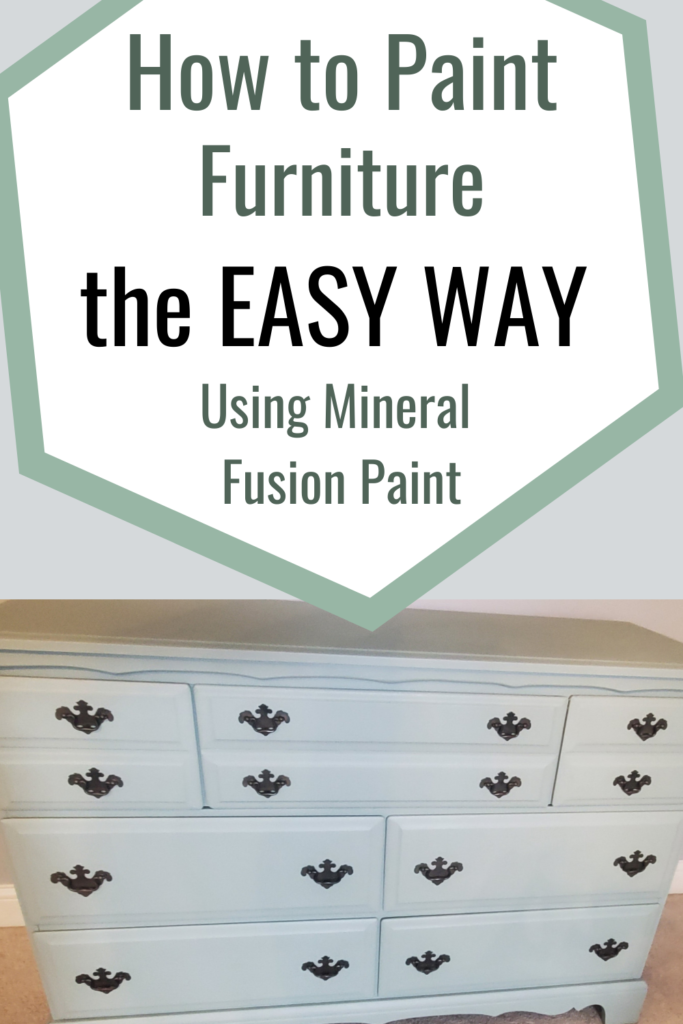
Looking for an easy way to update a piece of furniture? Mineral Fusion Paint is a great option! This is an easy home DIY project that you can do over the course of the weekend. This dresser makeover used Mineral Fusion Bellwood paint. If you’re looking for instructions on how to easily paint furniture, keep reading!
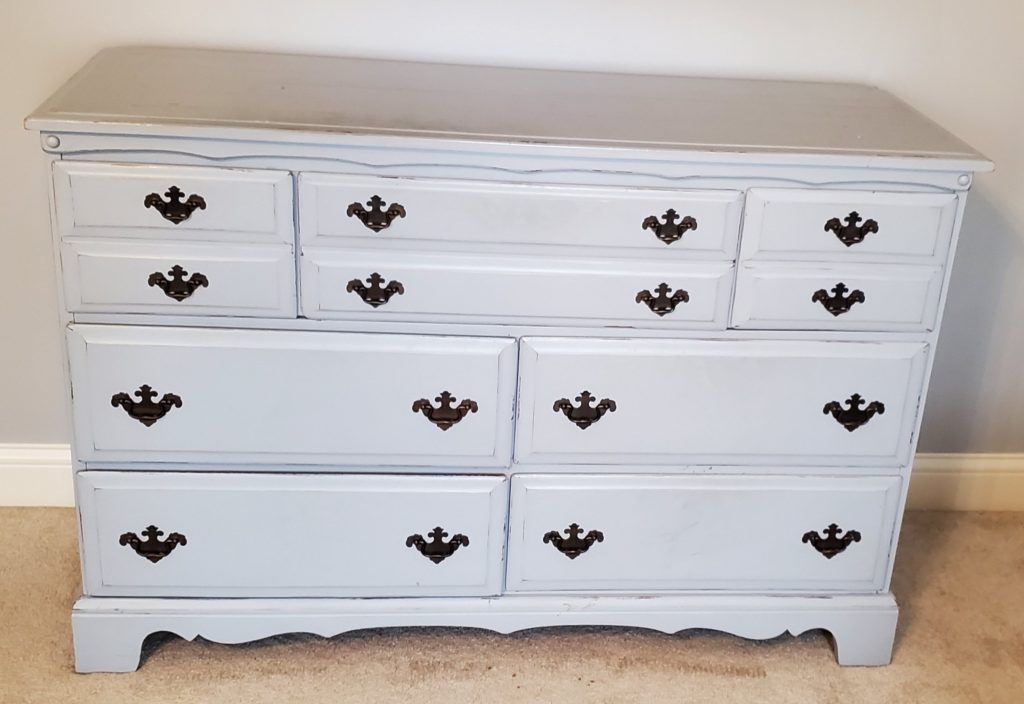
I’ve been searching for a way to give my dresser a quick and easy update. I came across this Mineral Fusion Paint and was very intrigued! It’s got great coverage and there is no need to prime or seal. It only took two coats and a little over 24 hours to complete.
Now, my dresser was already painted, so if you are starting from a dresser that is maybe a wood color you may need more coats, or you may even want to consider priming it first. Even if you have to go to this extra step, I think you’ll be impressed with the quality of this paint. It has a matte finish, which is very “in” right now. Plus they have a phenomenal color selection!
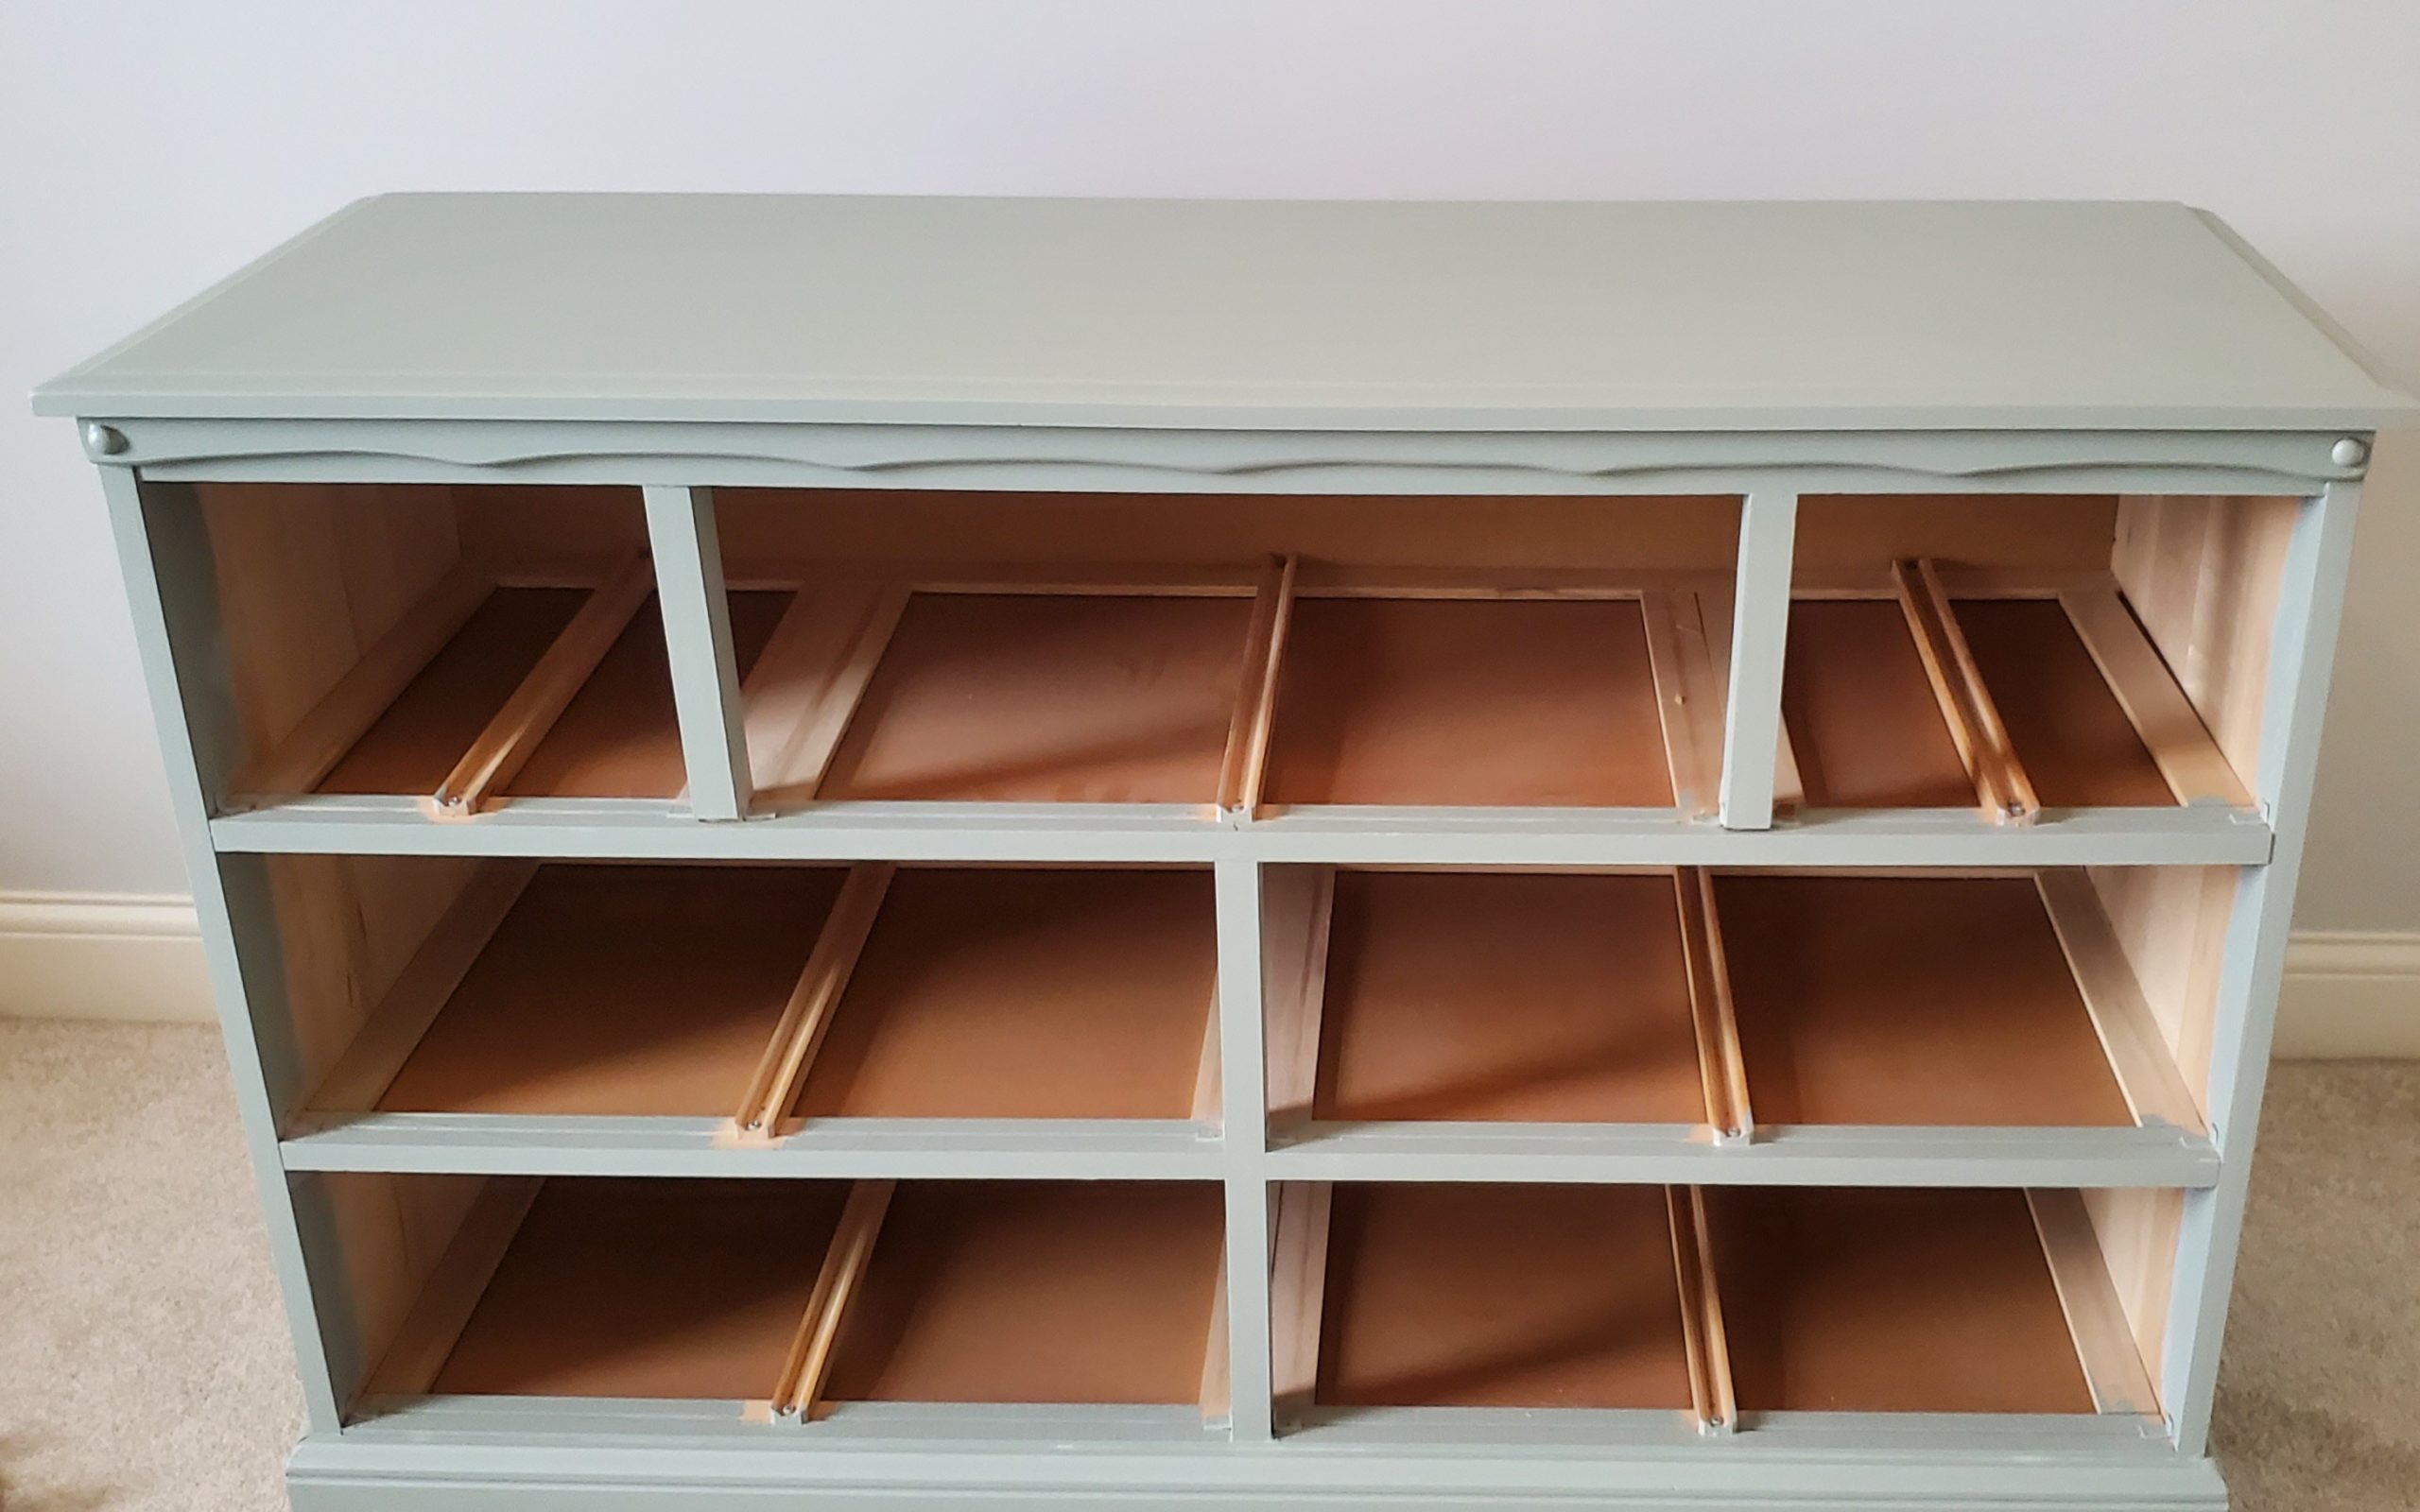
I went with Bellwood, which is a soft sage green. I love how it turned out!
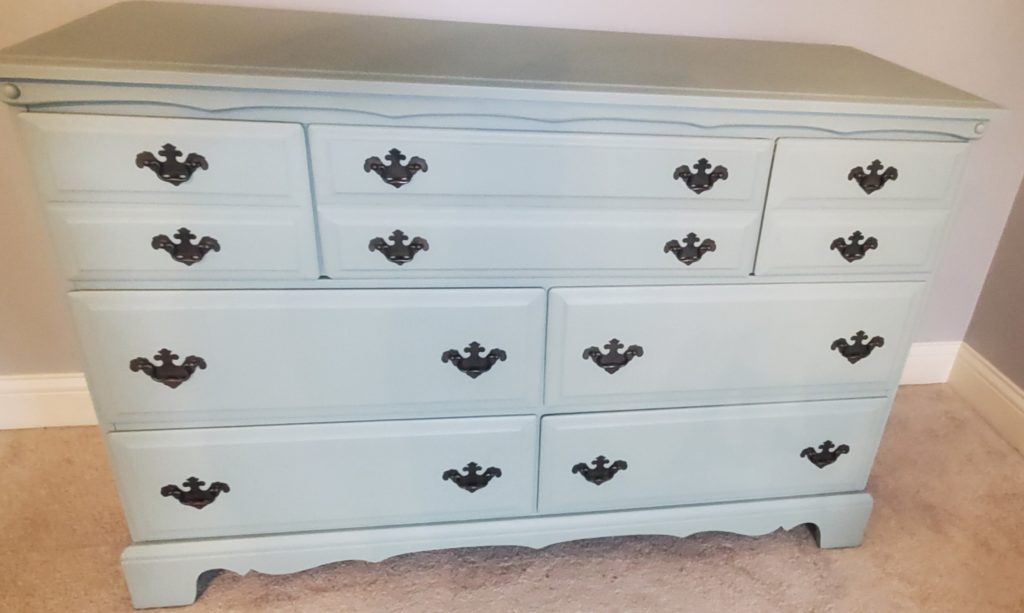
But first, here is the before. It was painted a light gray originally, but the gray was too blue for our new color scheme. I wanted to warm it up, and also add a pop of color, which led me to looking for a sage green.
Materials Needed to Paint Furniture with Mineral Fusion Paint
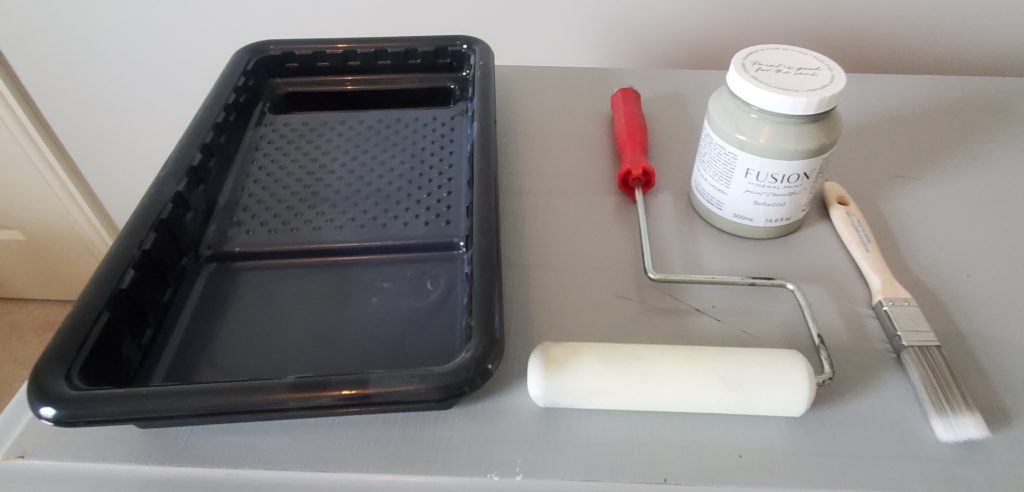
- Mineral Fusion Paint (I got mine here)

- Sand paper (I used 220 grit)
- Tack cloth (or wet rag)
- A small paint brush
- A small foam roller and paint pan
How to Paint Furniture in 7 Easy Steps!
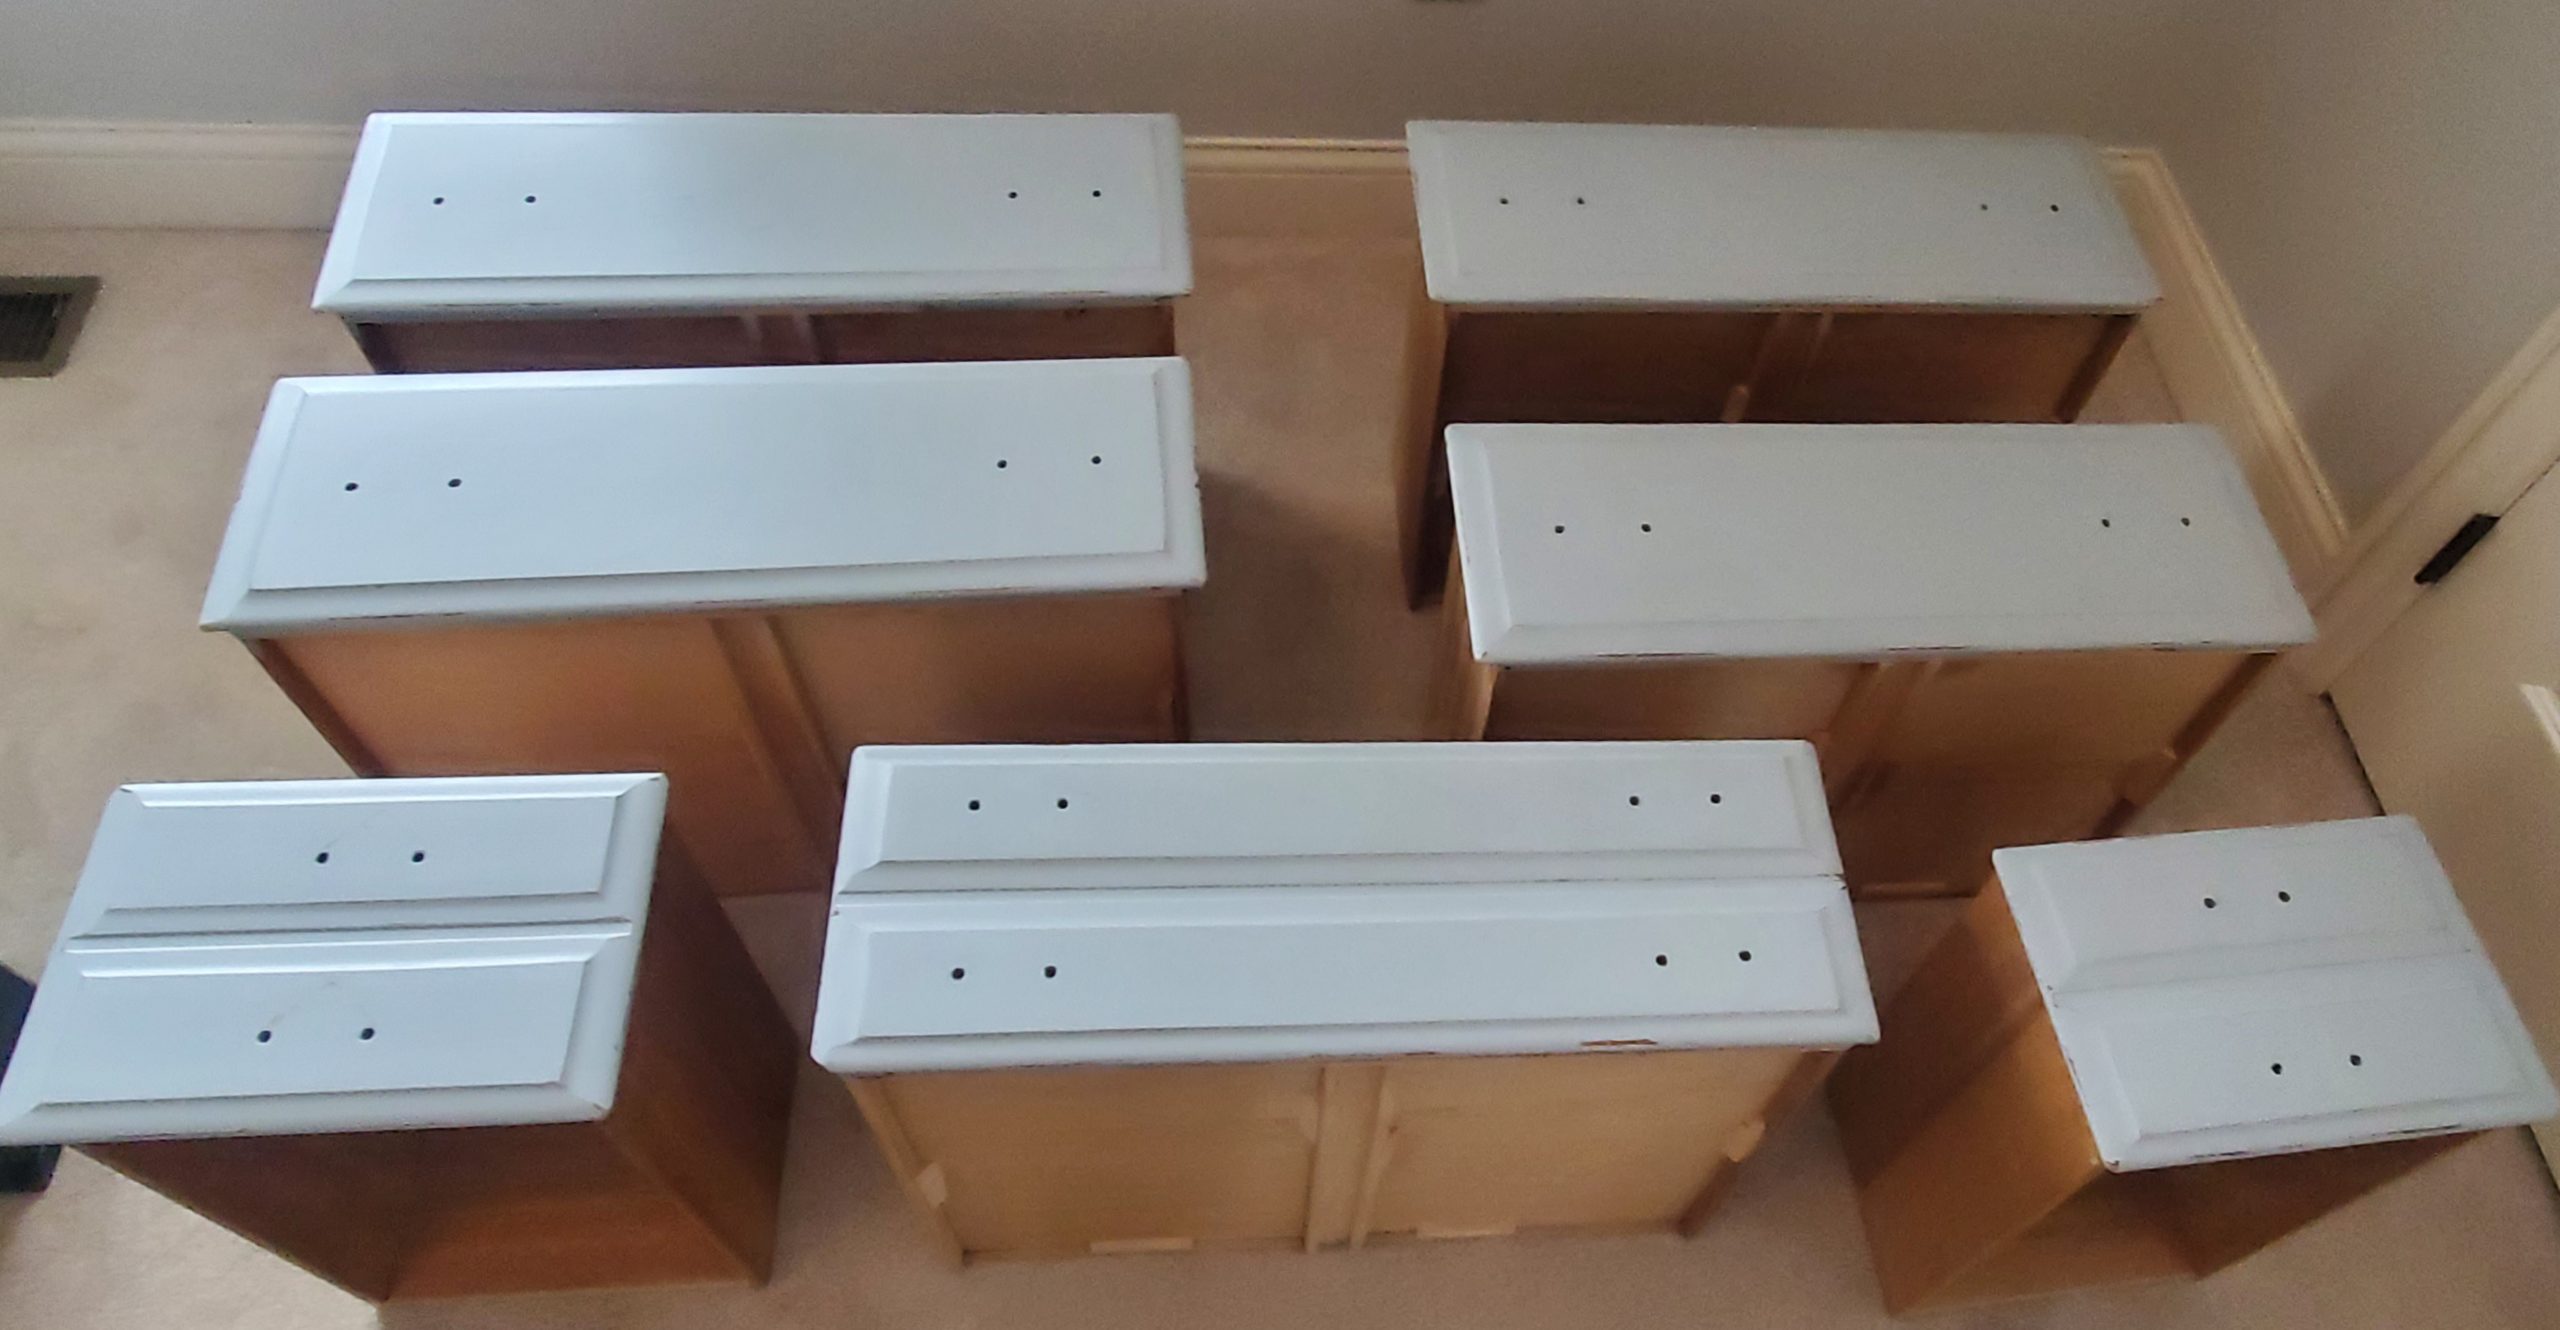
- First, remove the drawers from the dresser. I also took this opportunity to wipe them out.
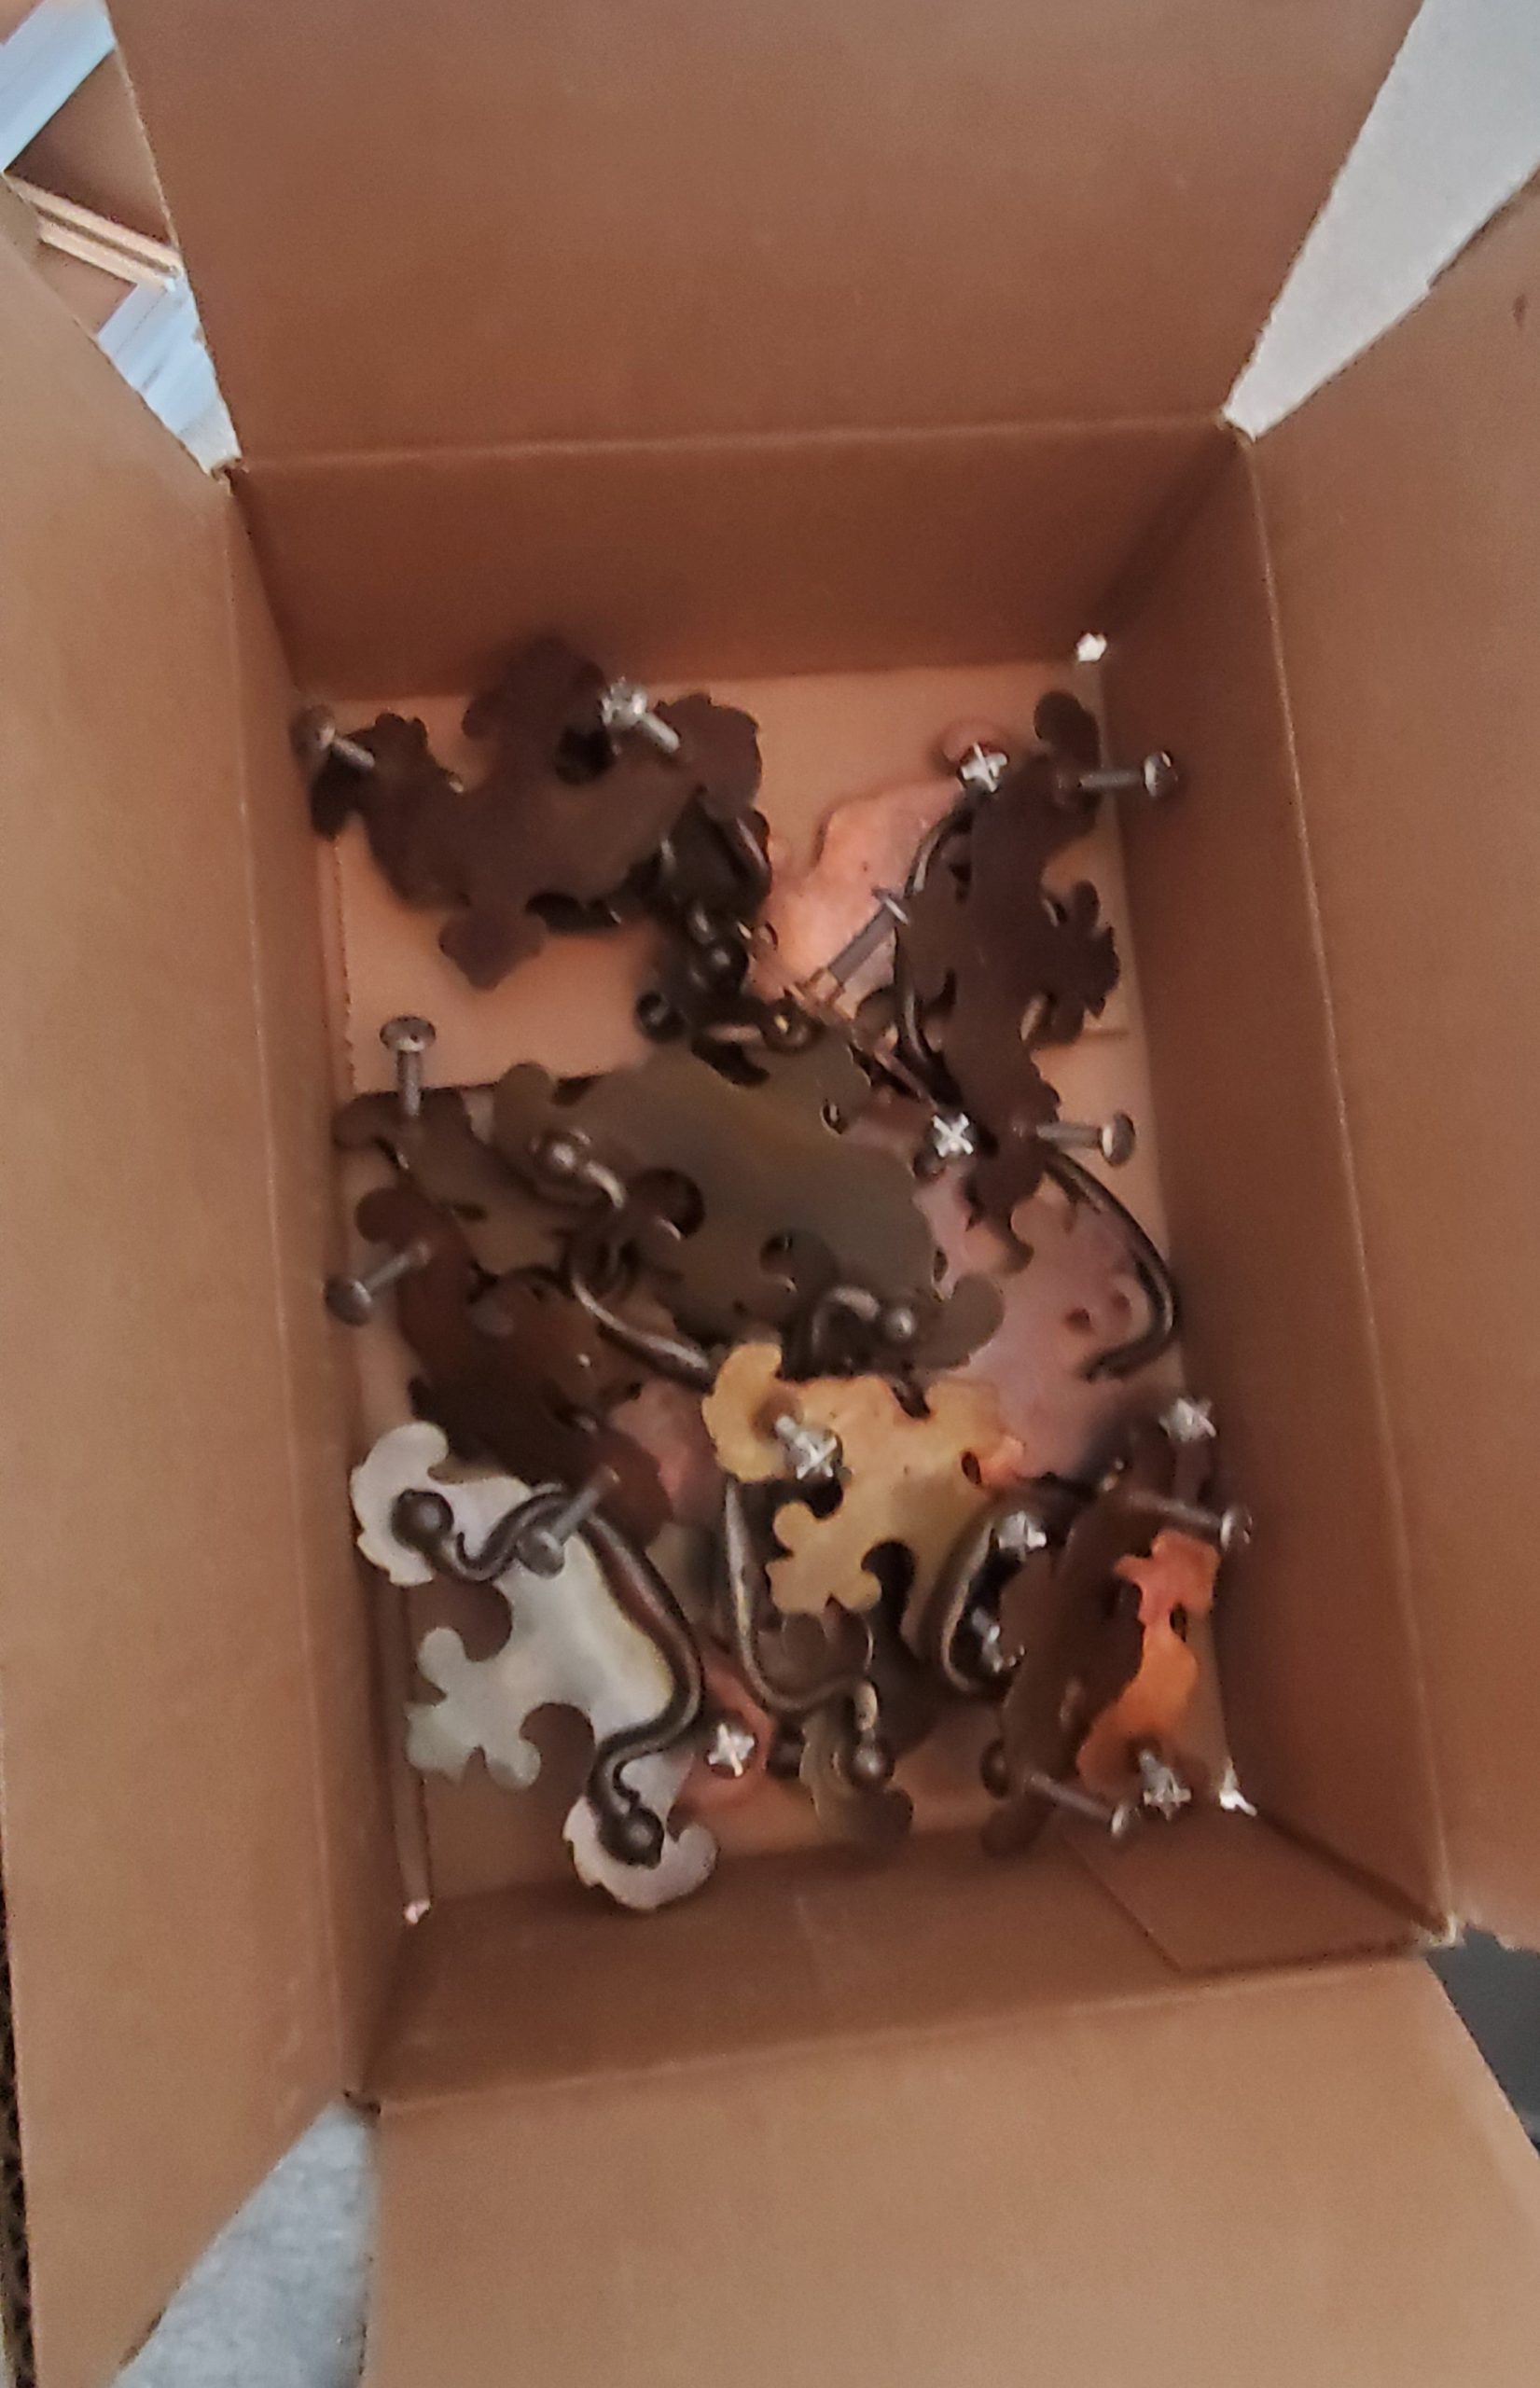
- Remove all of the hardware. I stored them in this box so we wouldn’t lose any of the pieces.
- Next, lightly sand the dresser and drawers. The goal is just to scuff it up a bit to give the paint something to stick to.
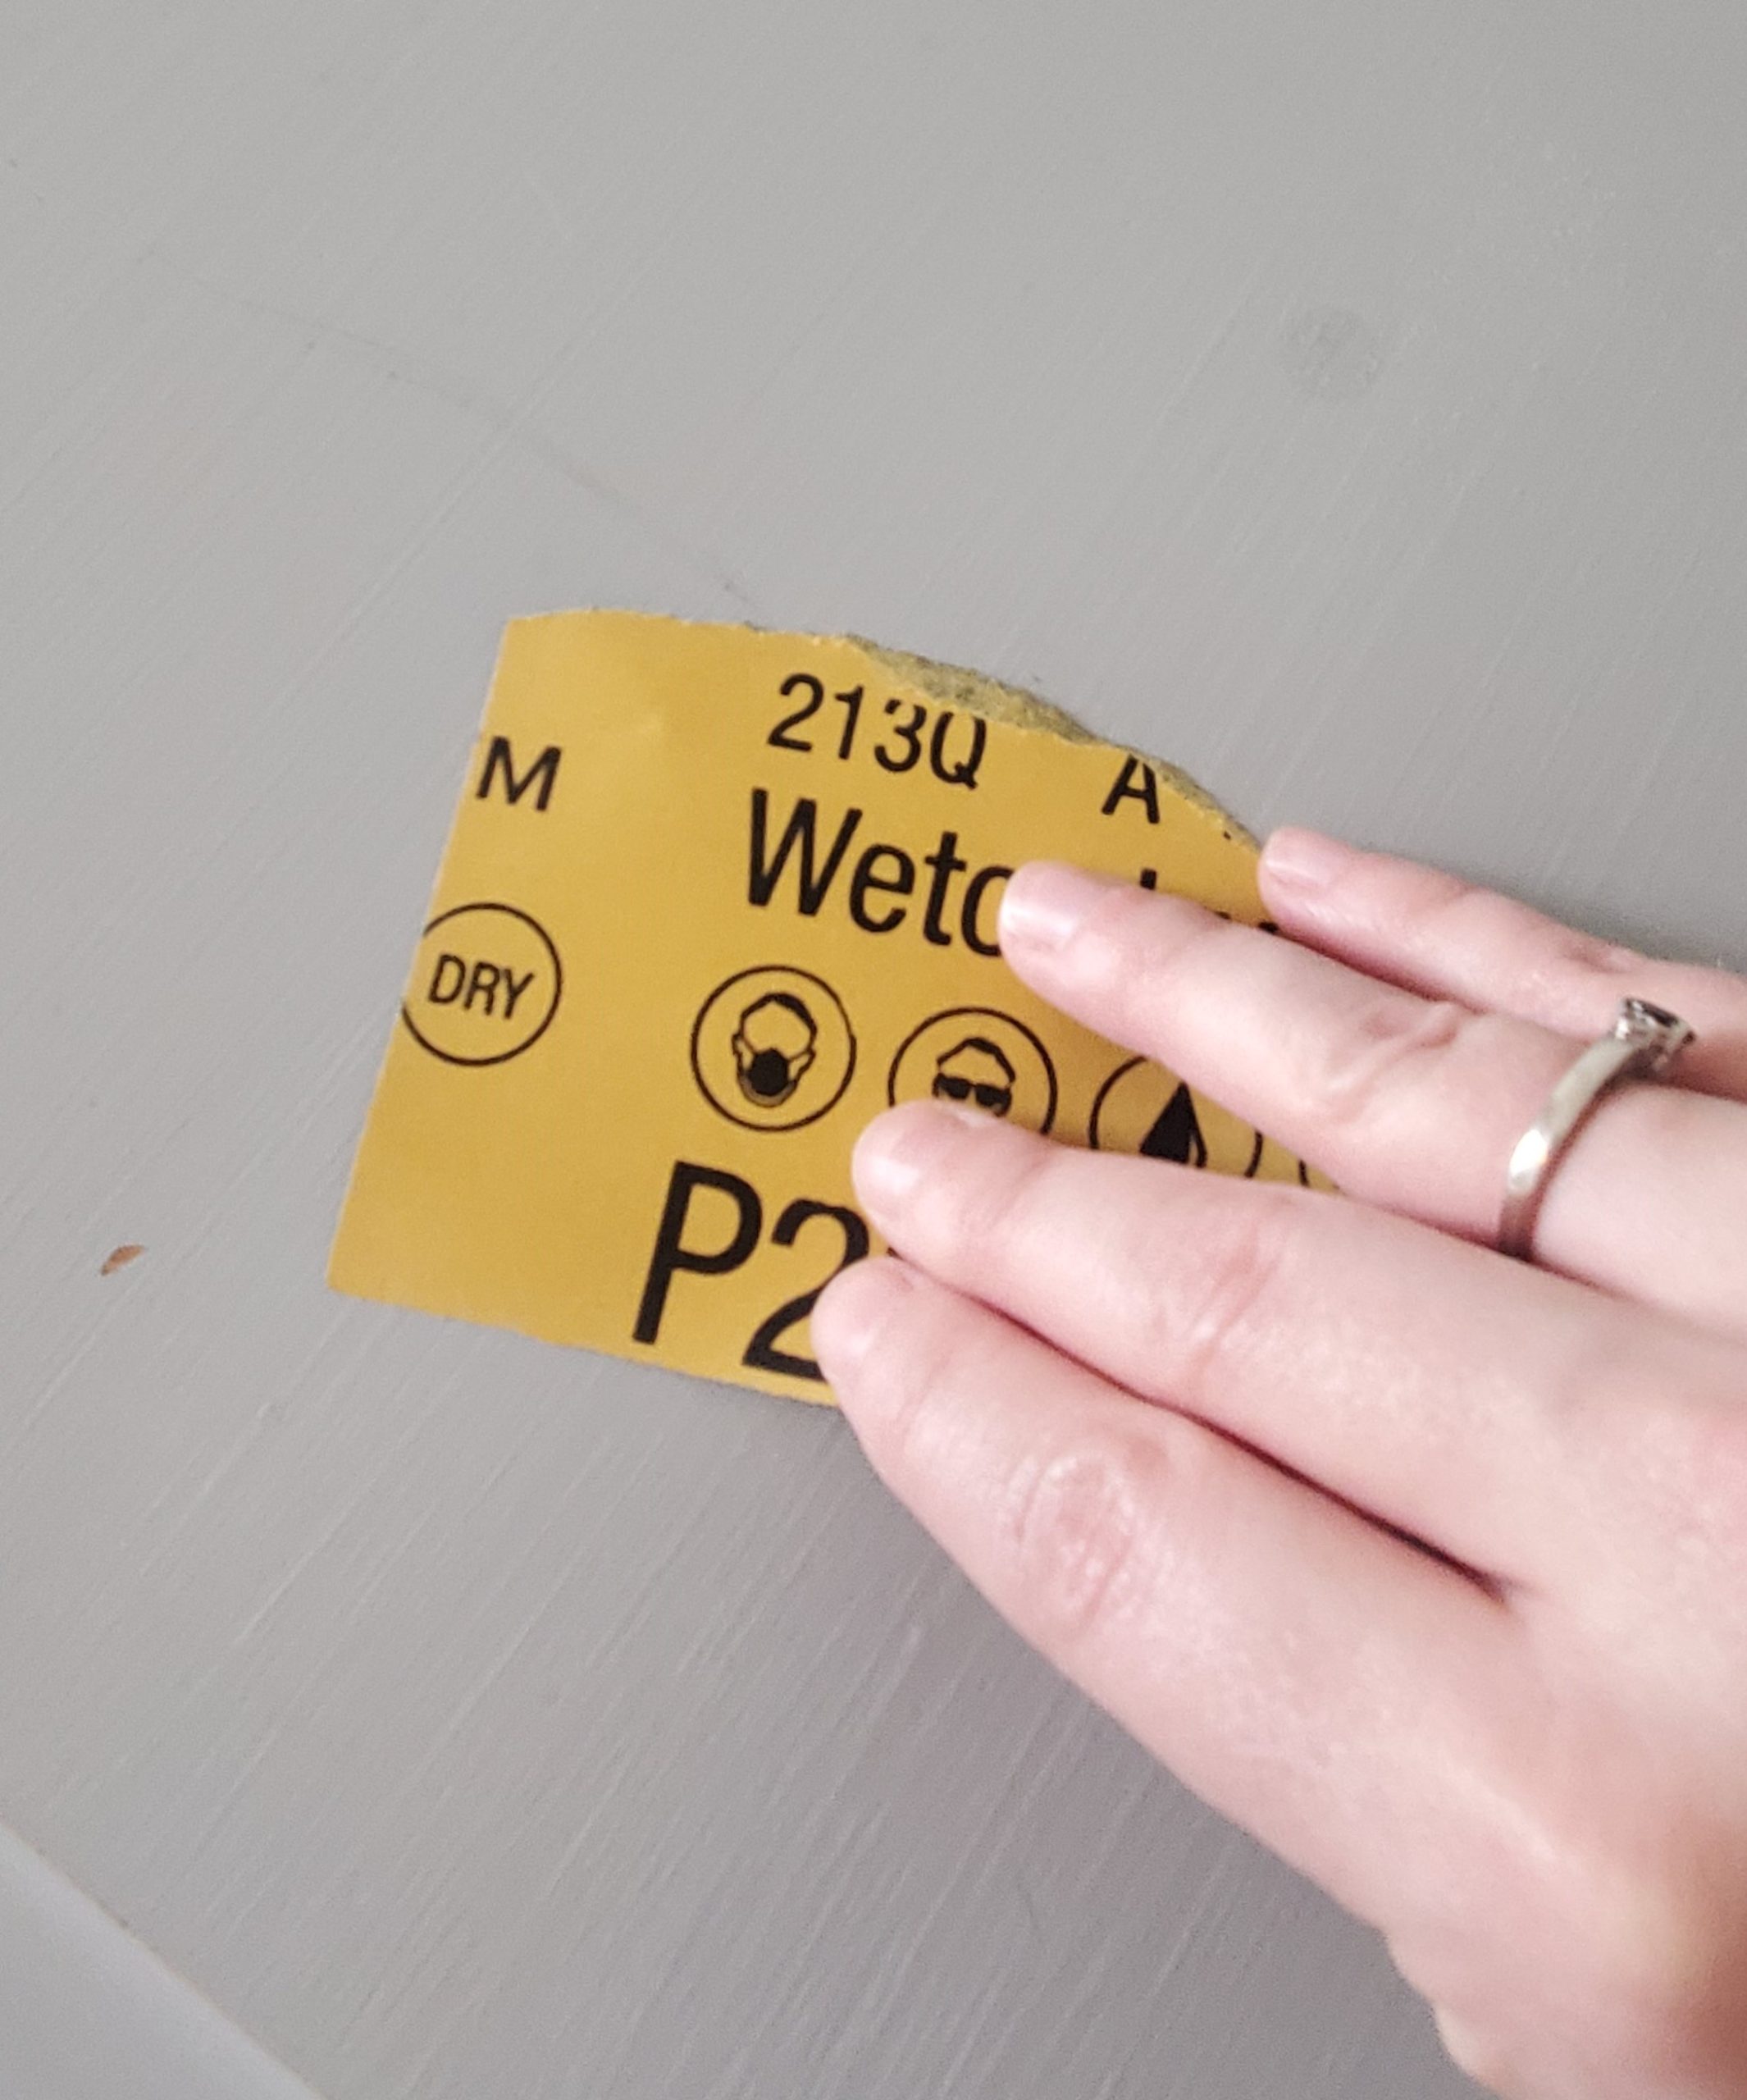
- Next, use the tack cloth or wet rag to wipe down the furniture and remove any dust from the sanding.
- Now you’re ready to paint! Using the roller, add a light coat to the entire dresser and the front of the drawers. Use the small paint brush for areas that are hard to get to with the roller.
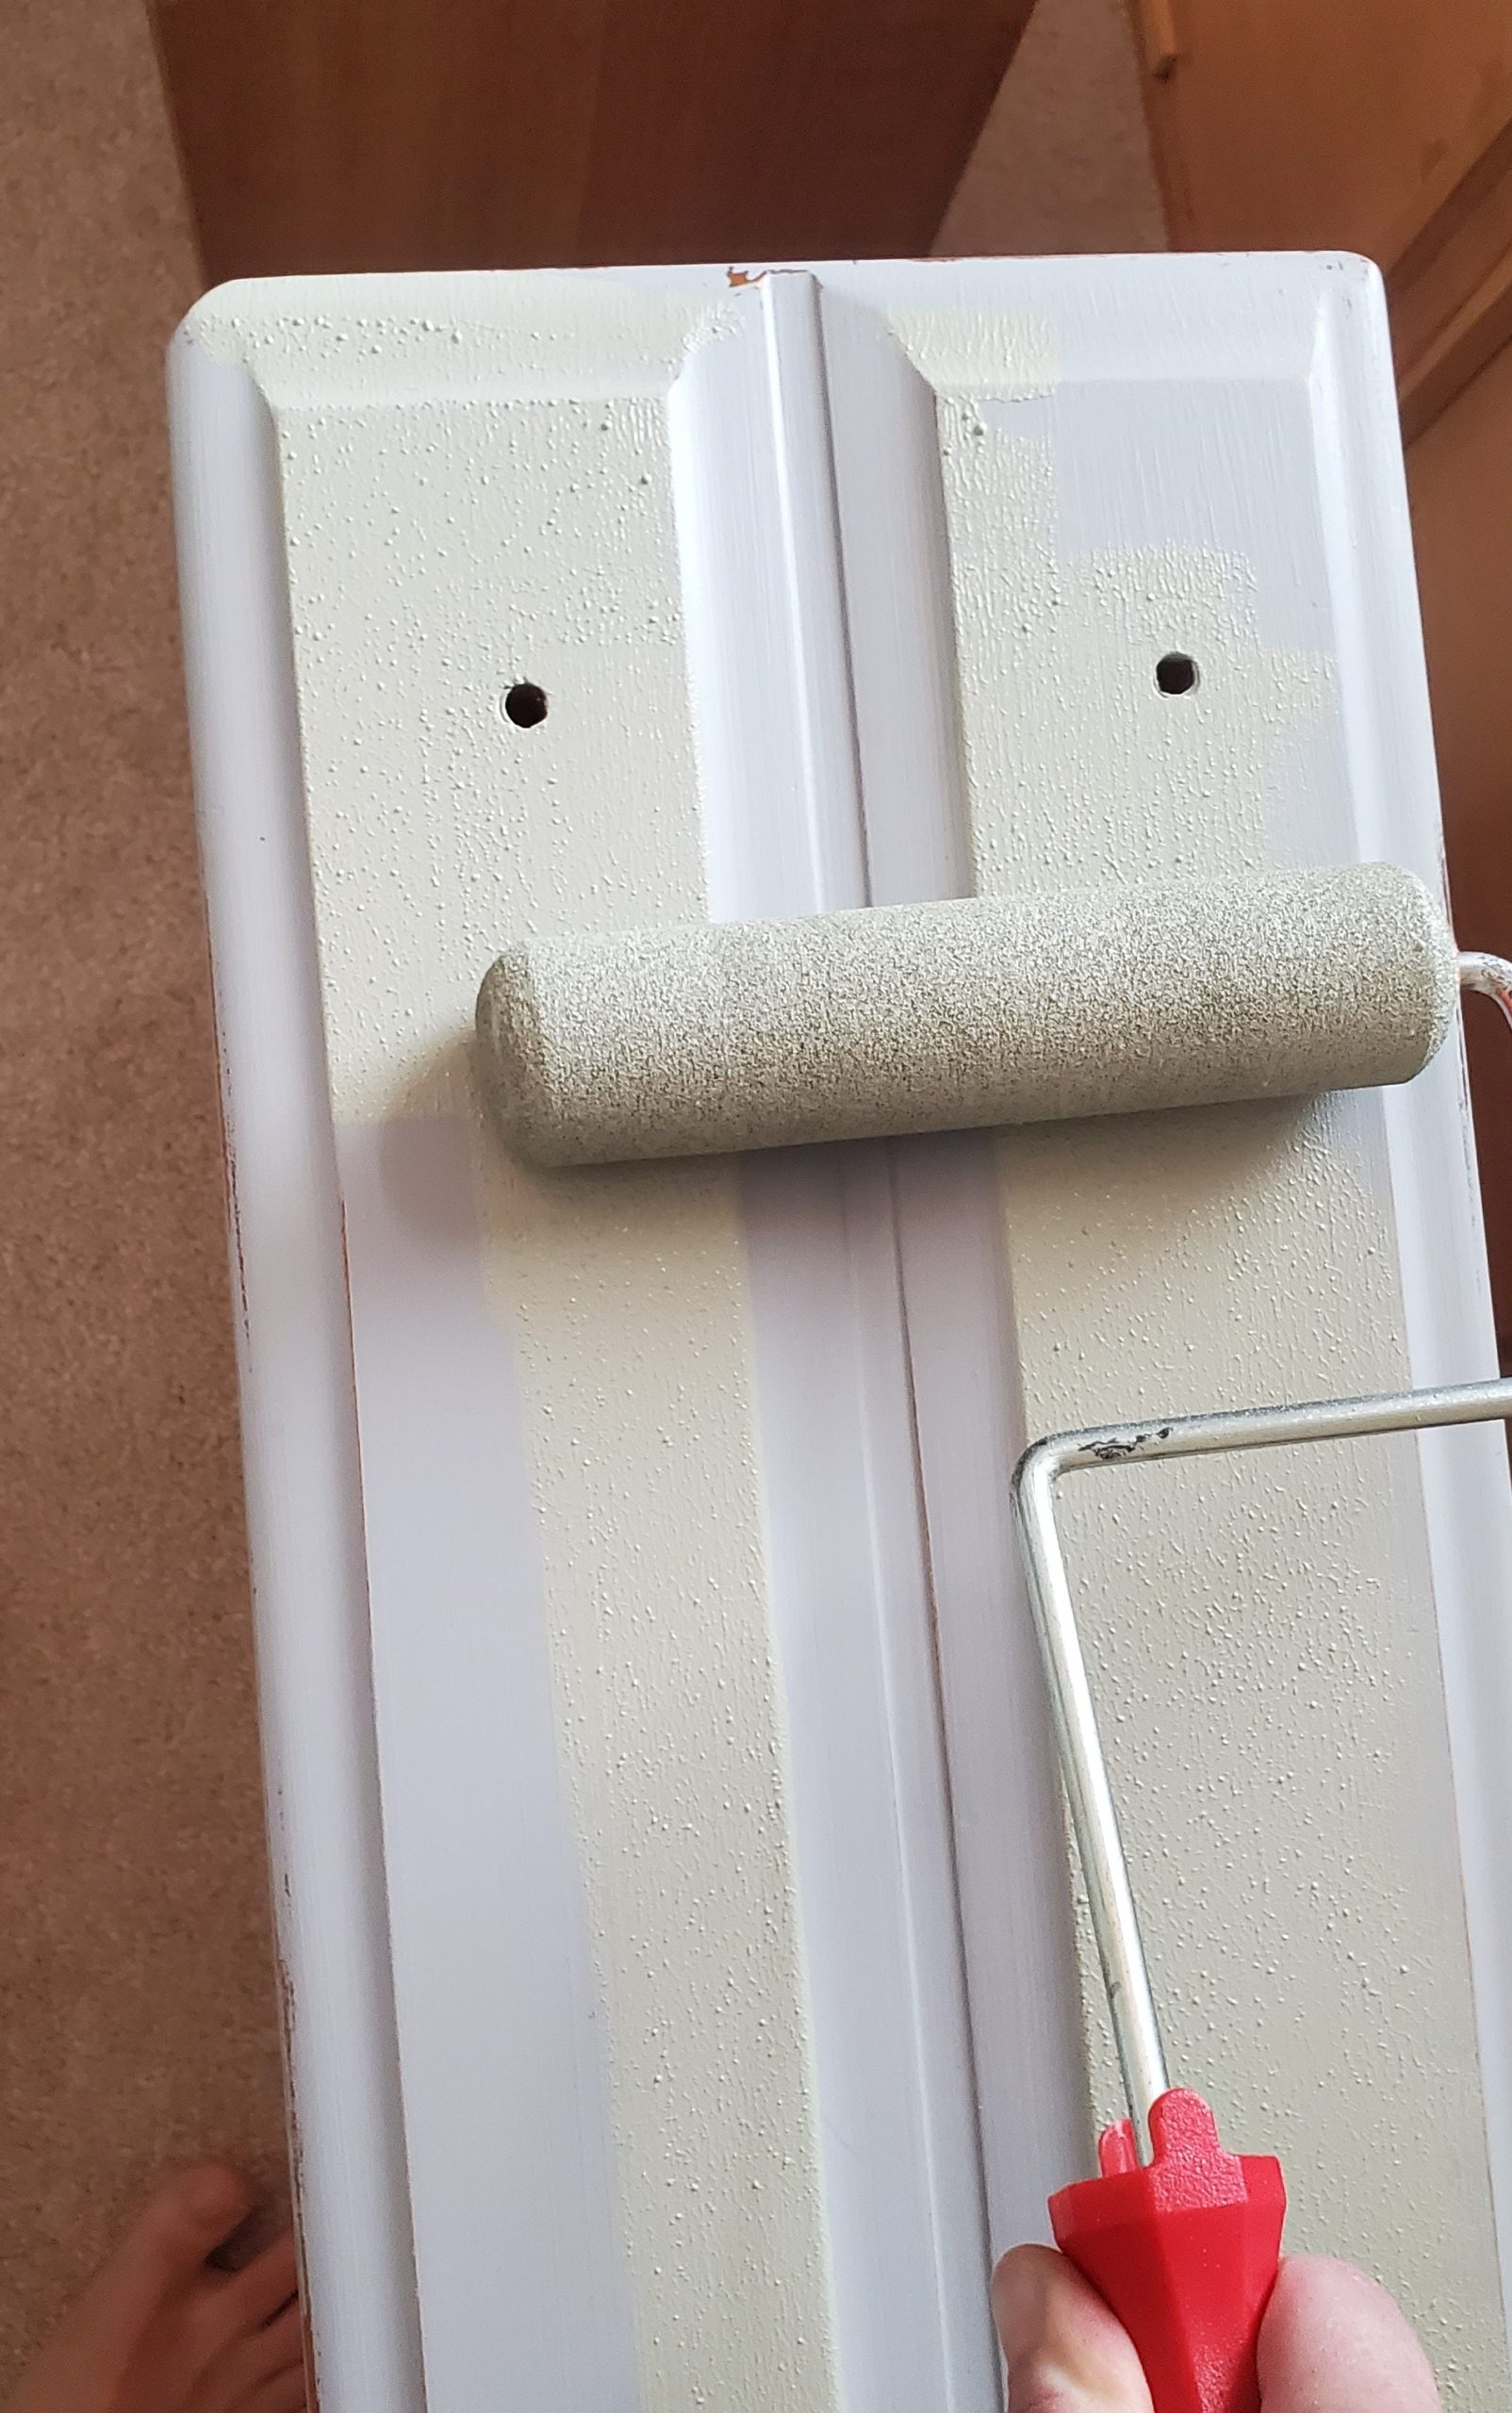
- Let it dry for 1-2 hours before adding another coat. I ended up using 2 coats total, but depending on the original color you are trying to cover up, you may need more. Here is what it looked like after 1 coat.
- After the last coat, let it dry for 24 hours or so before putting the hardware back on.
And that’s it! Here is the final finished product:
We love how it turned out! If you’re looking for more home inspiration, check out this post on how to re-stain finished wood.
